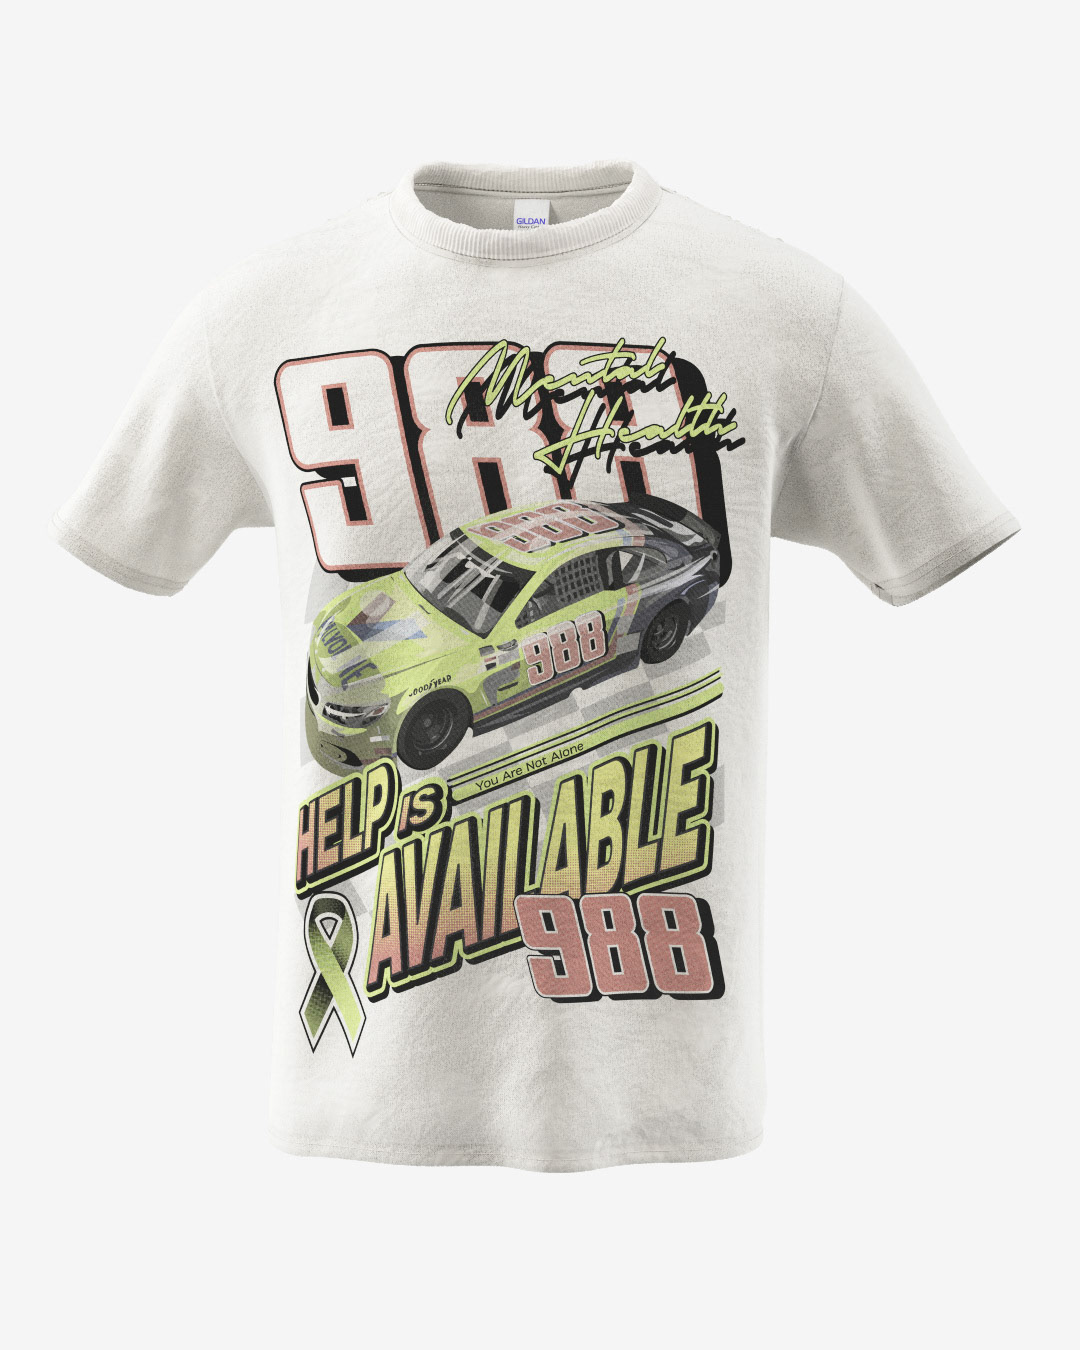
For Mental Health Awareness Month I've challenged myself to create a graphic a day.
How can we as a community elevate the visibility of mental health resources available for those who need?
How can we as a community elevate the visibility of mental health resources available for those who need?
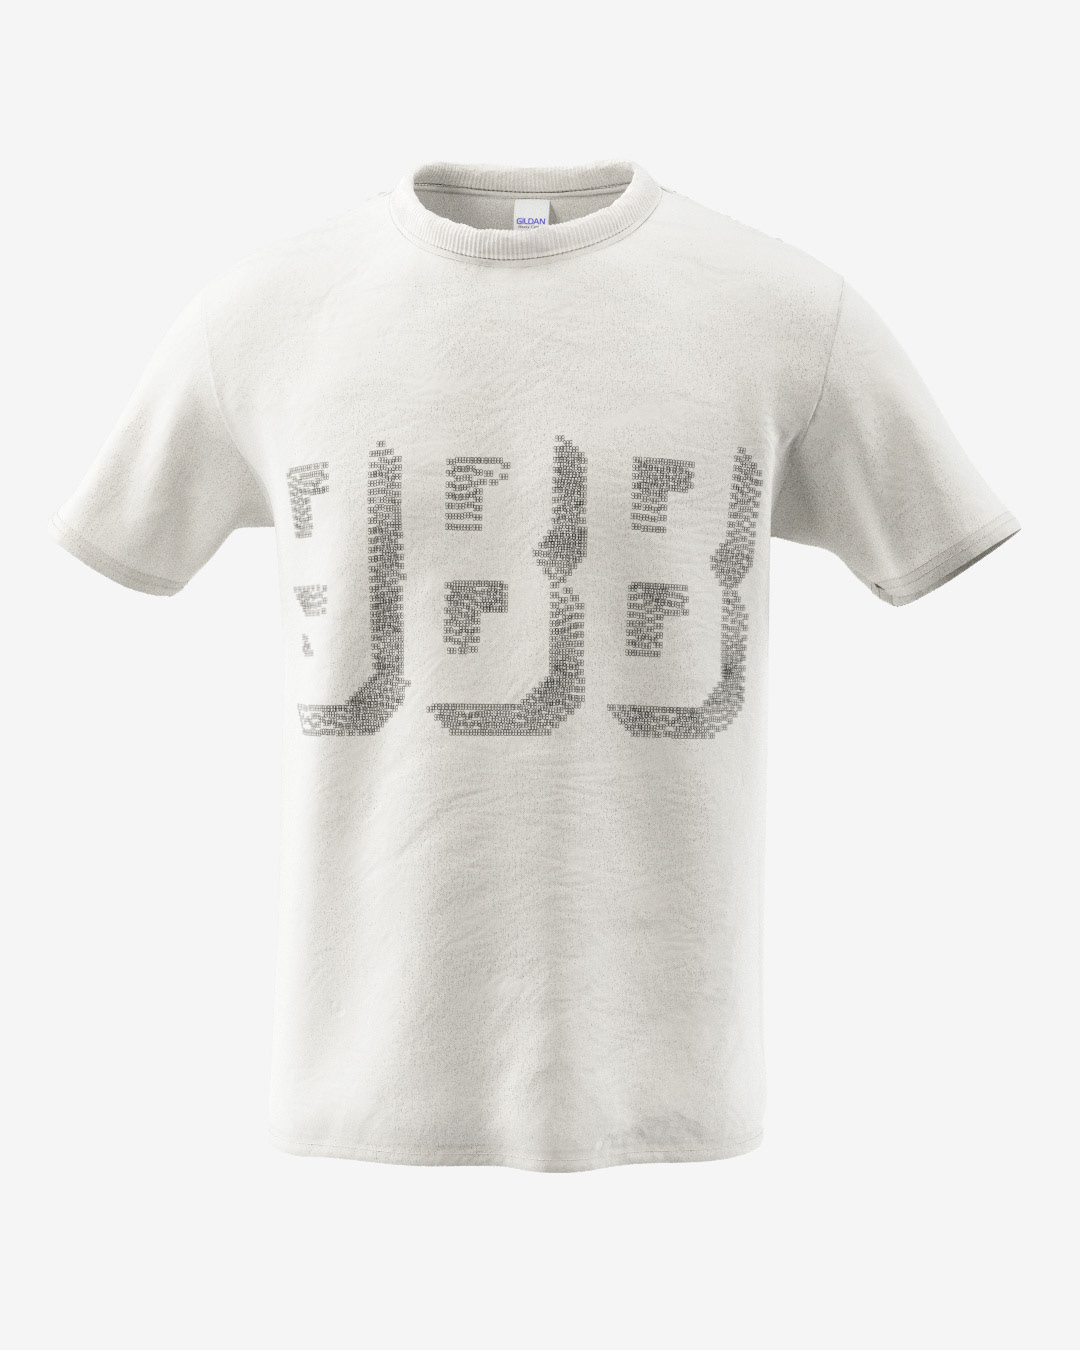
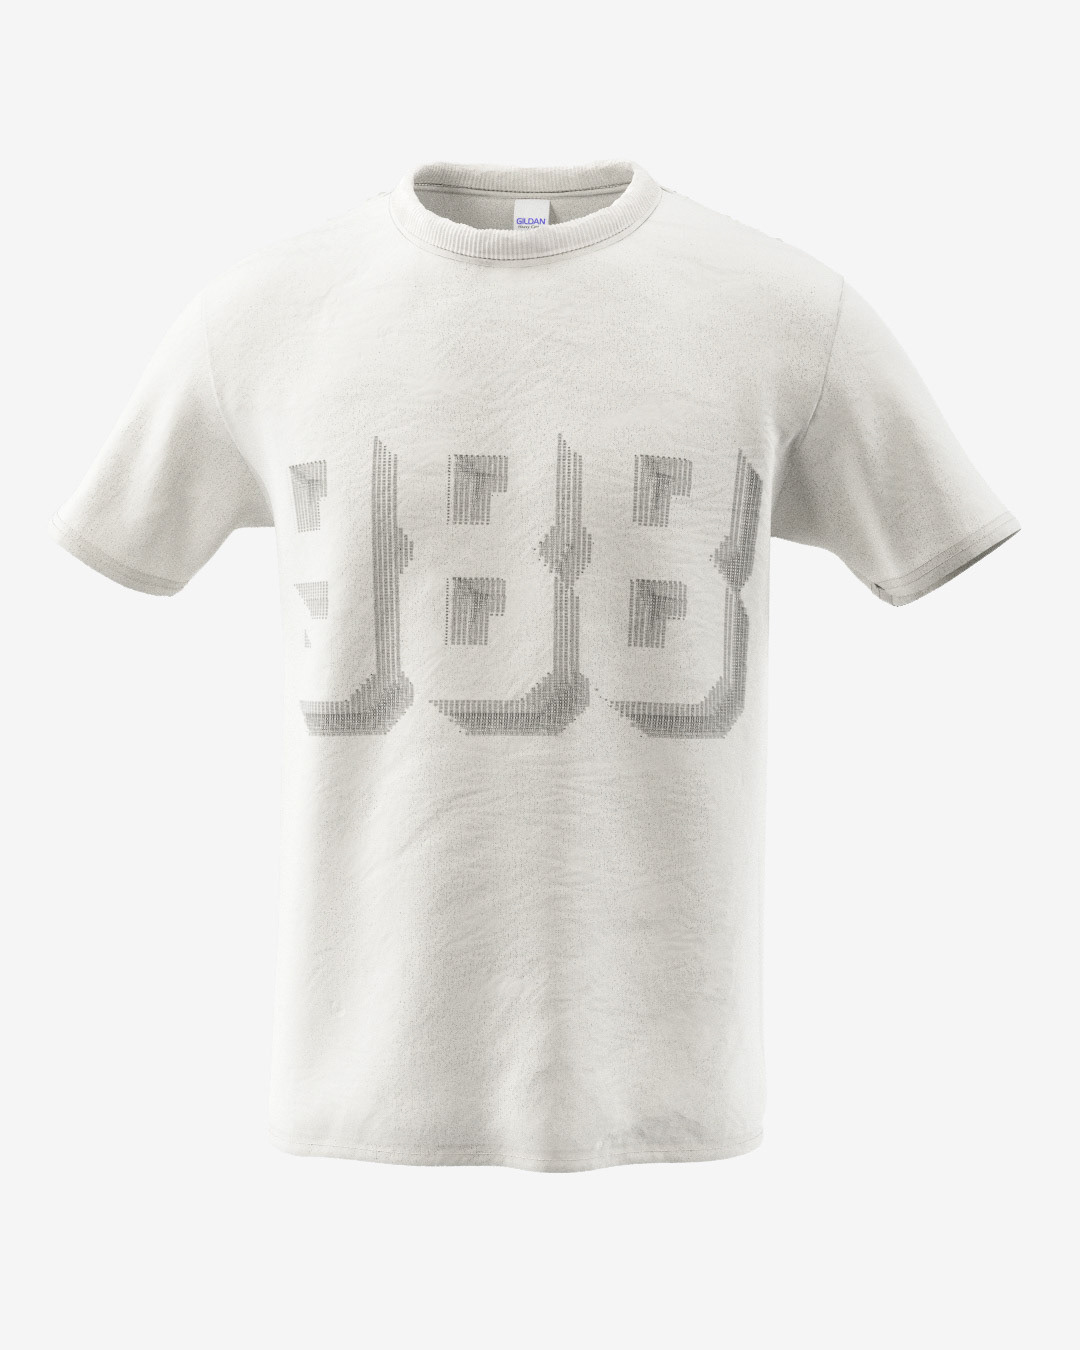
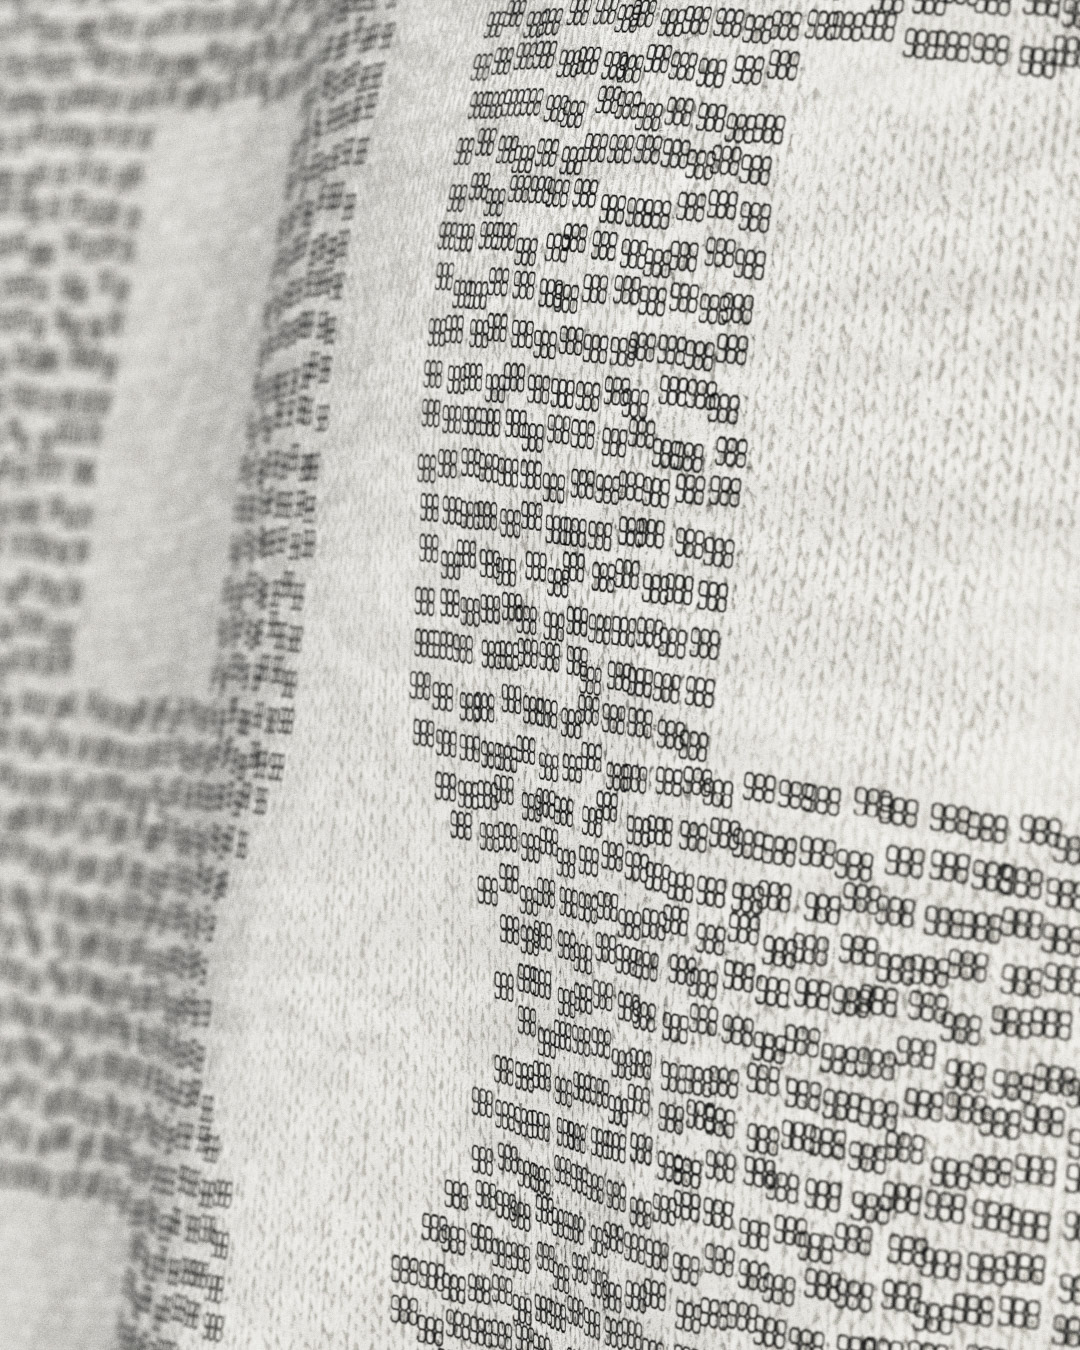
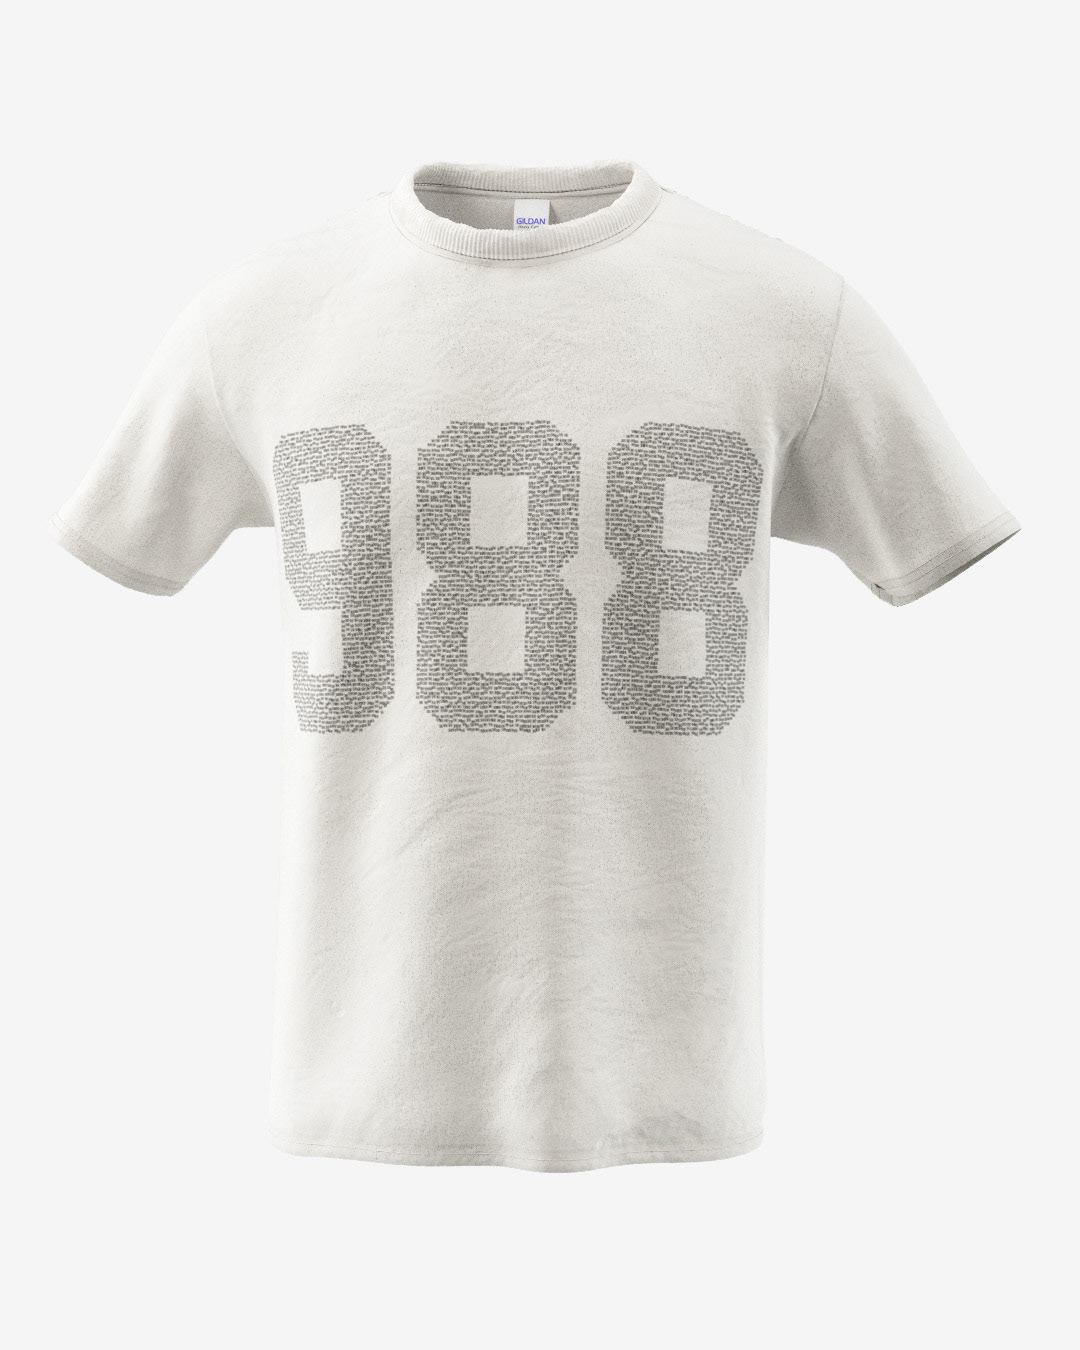
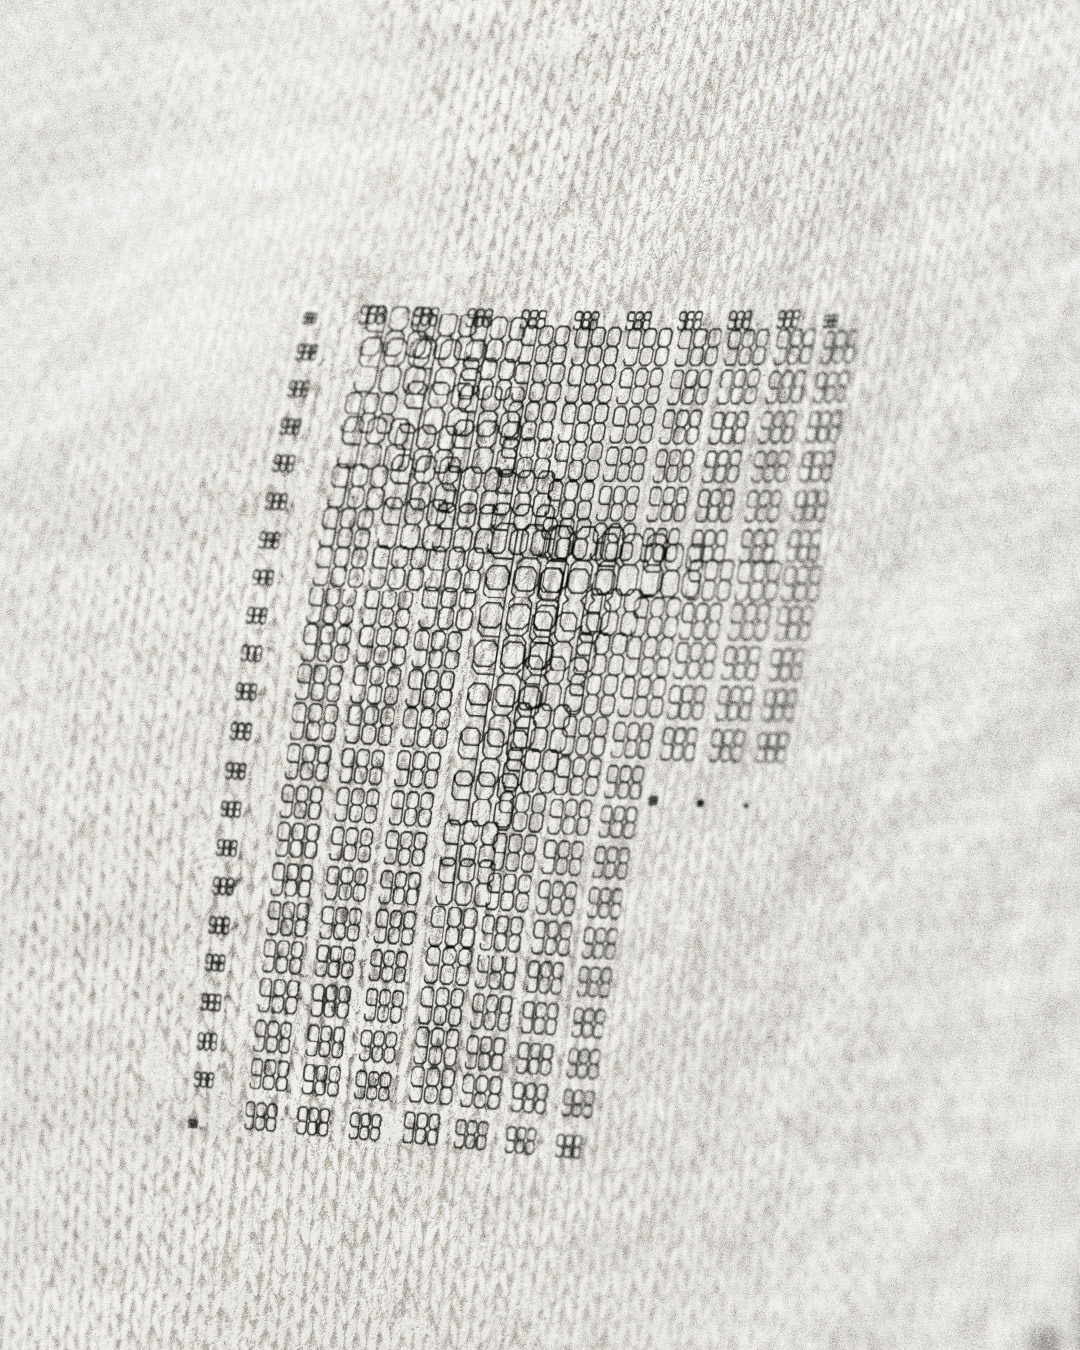
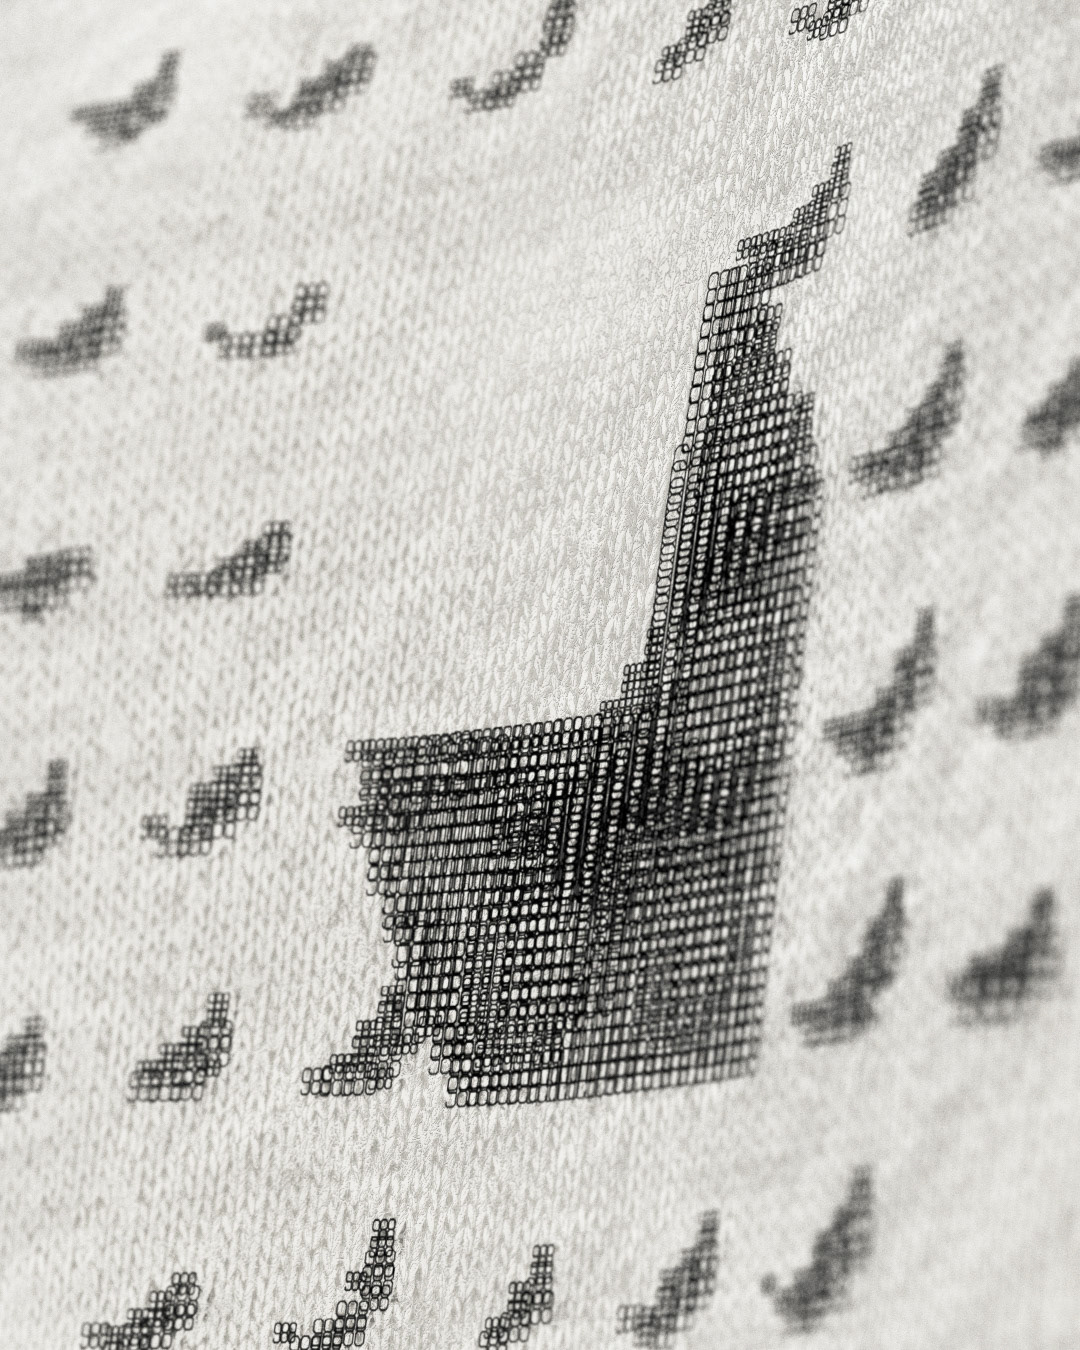
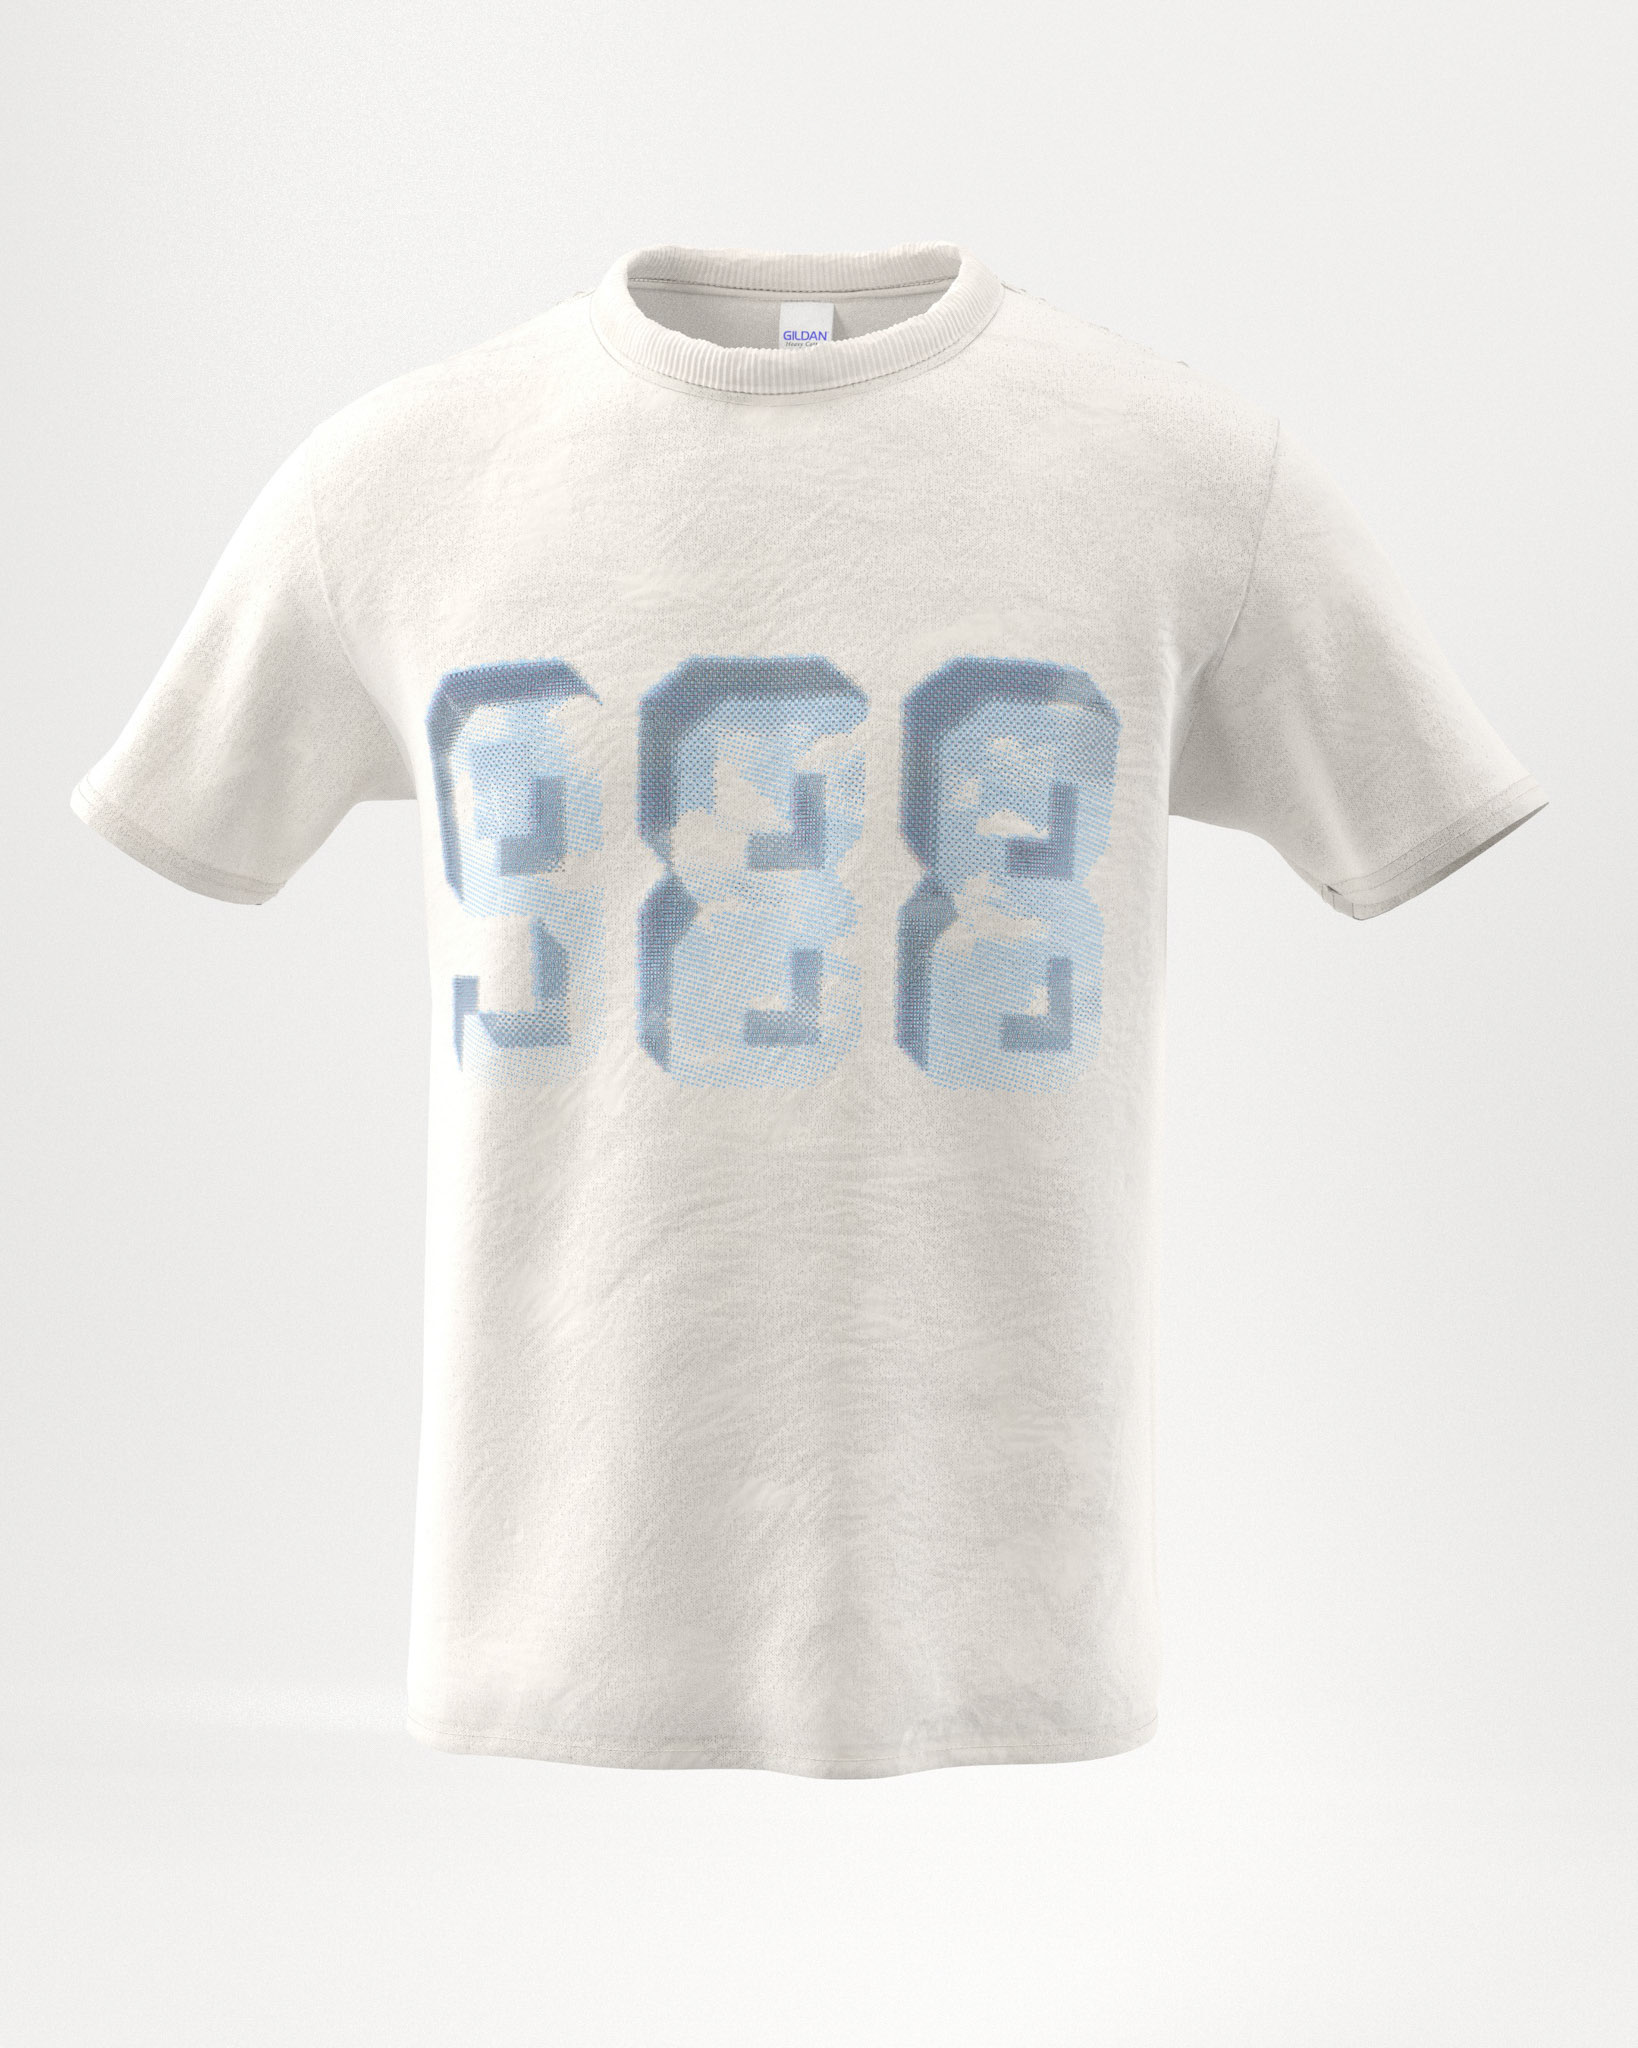
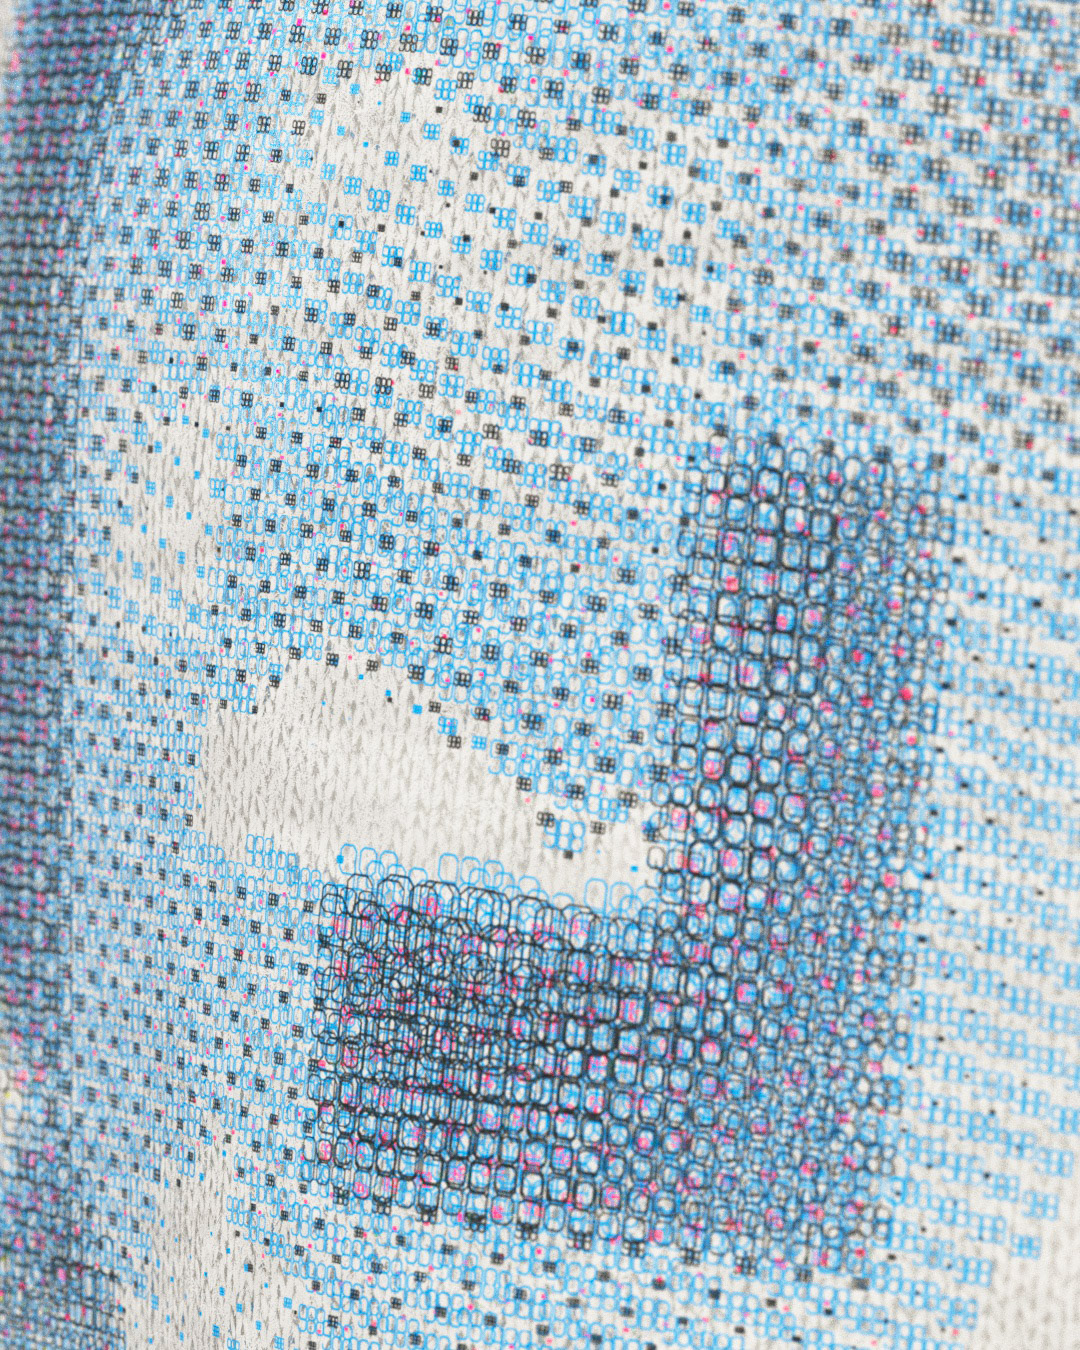
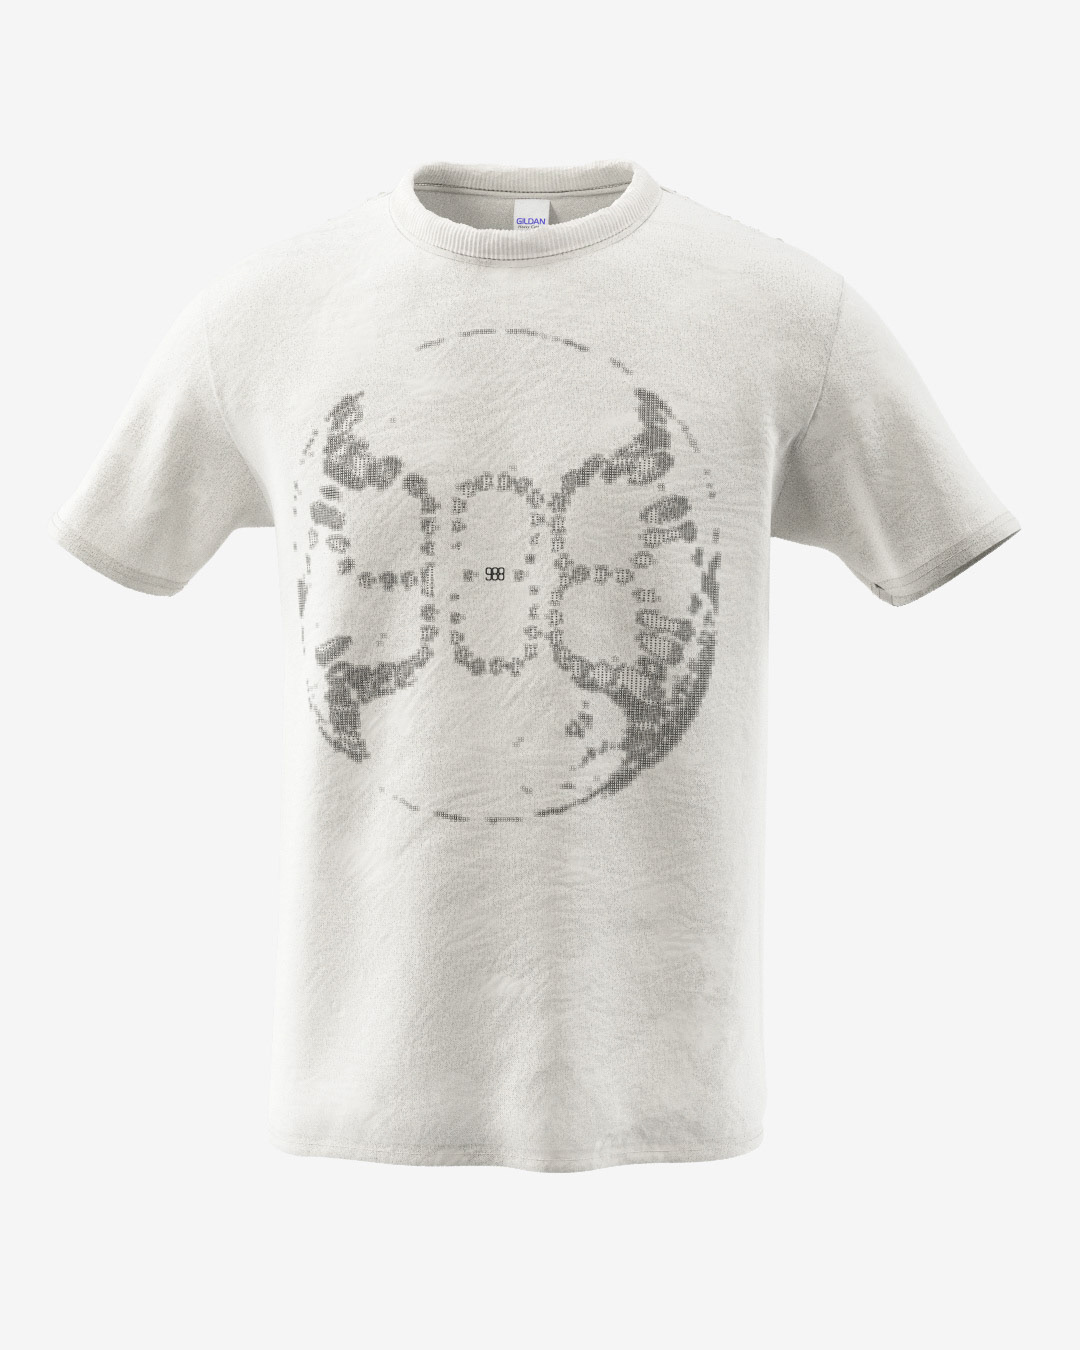
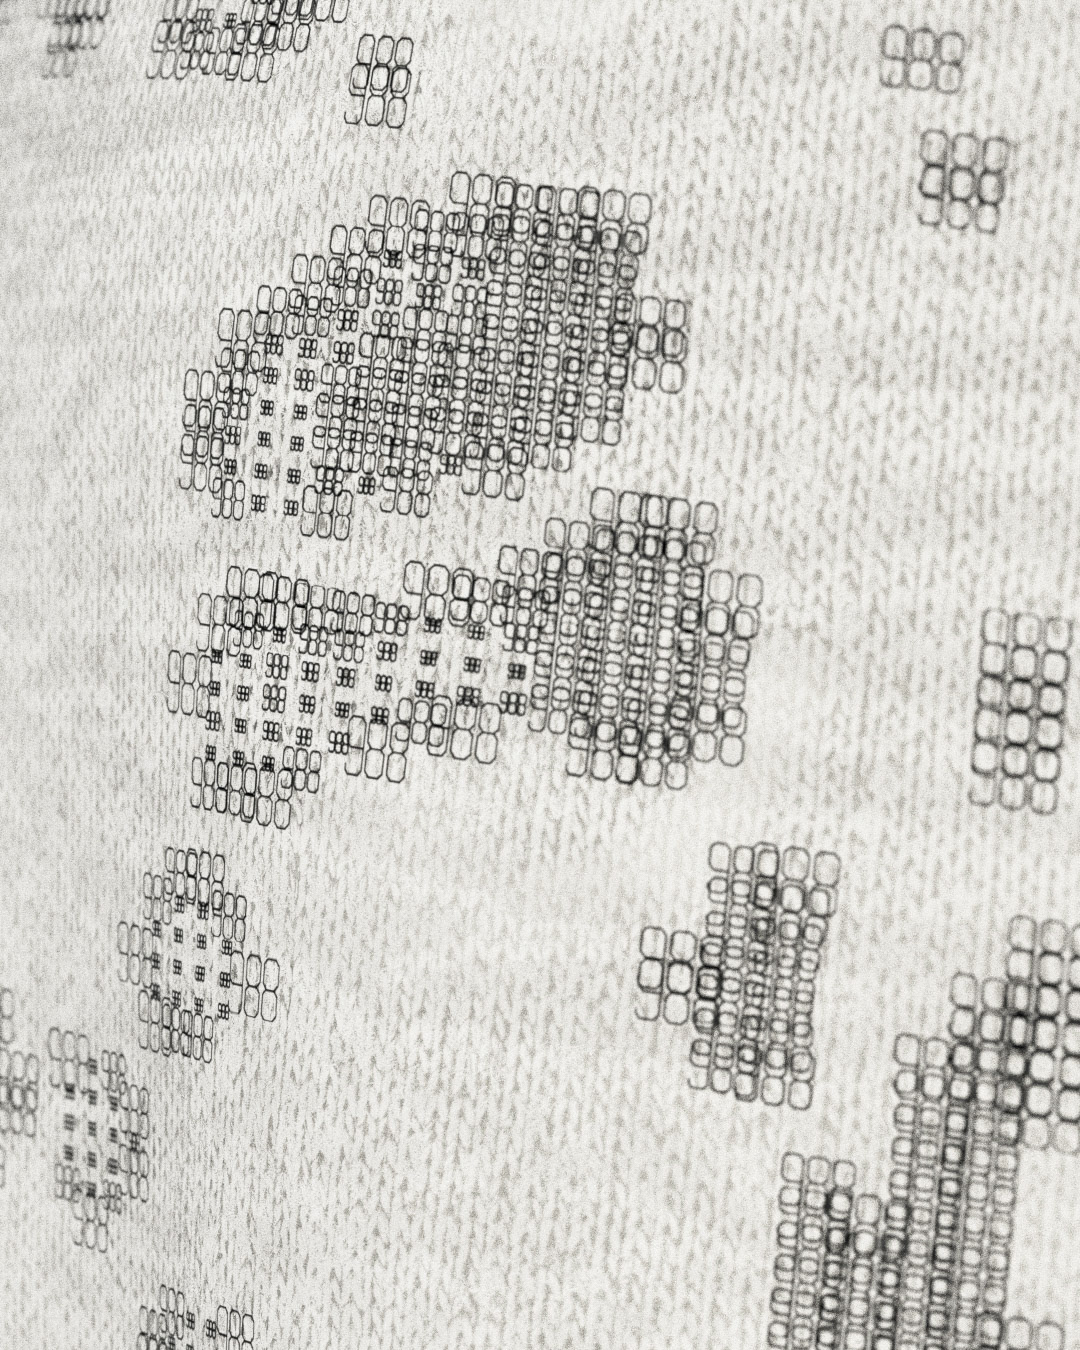
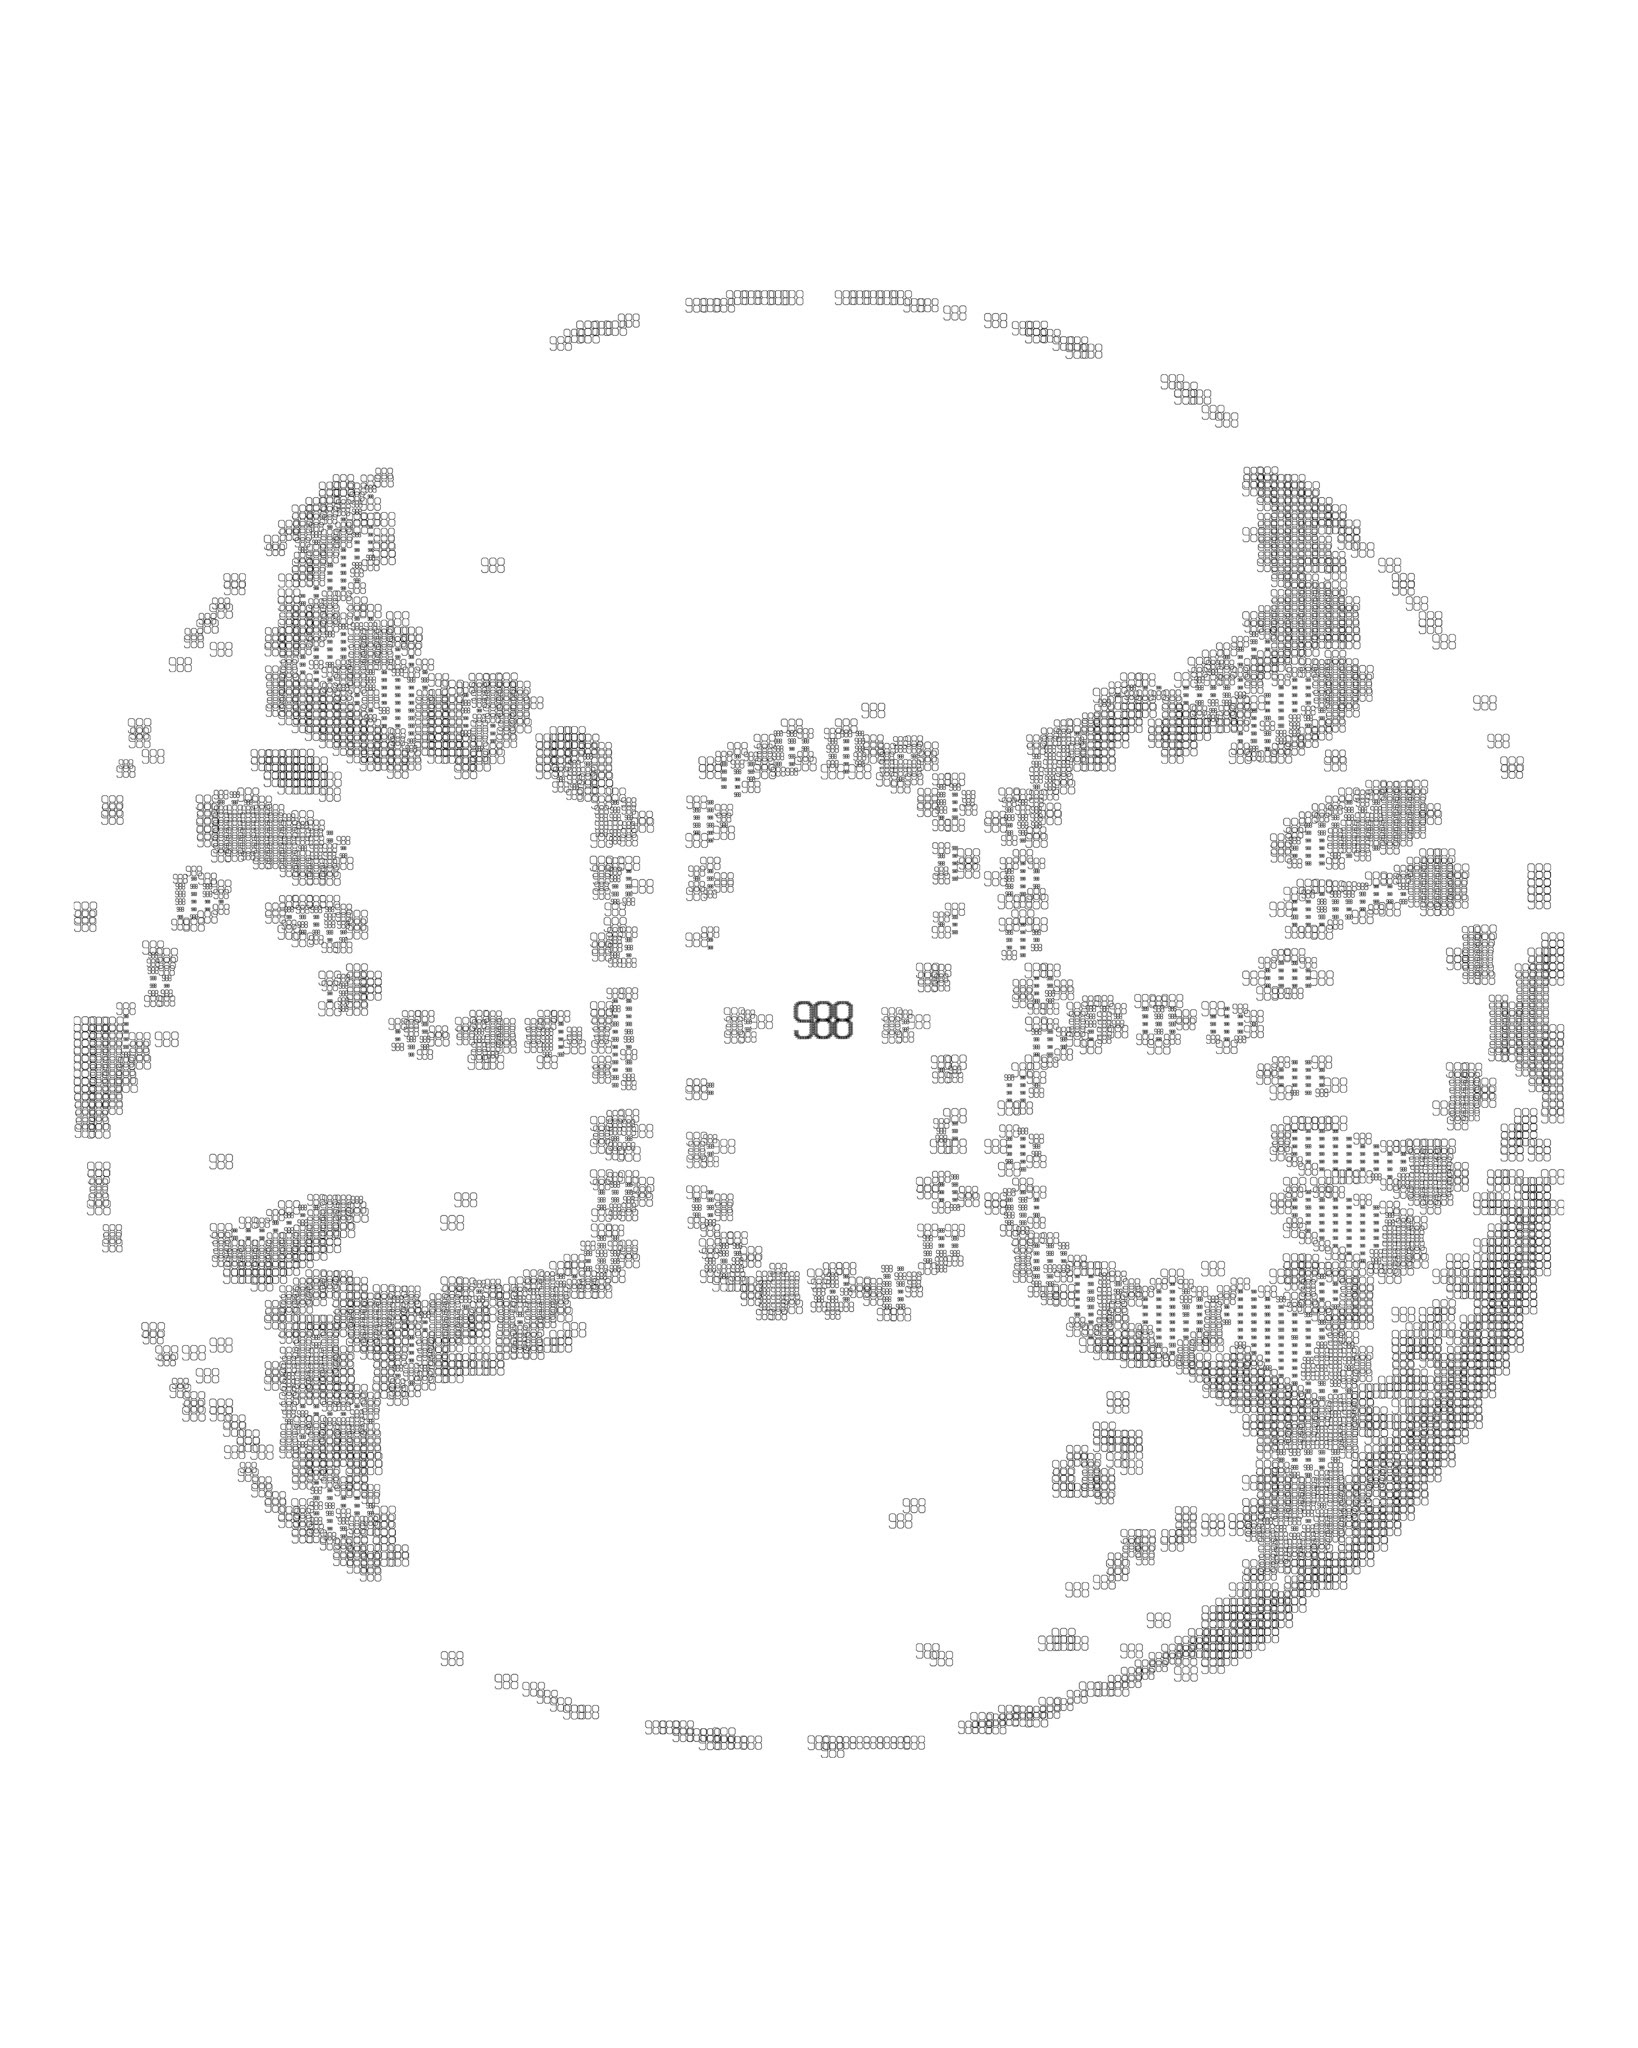
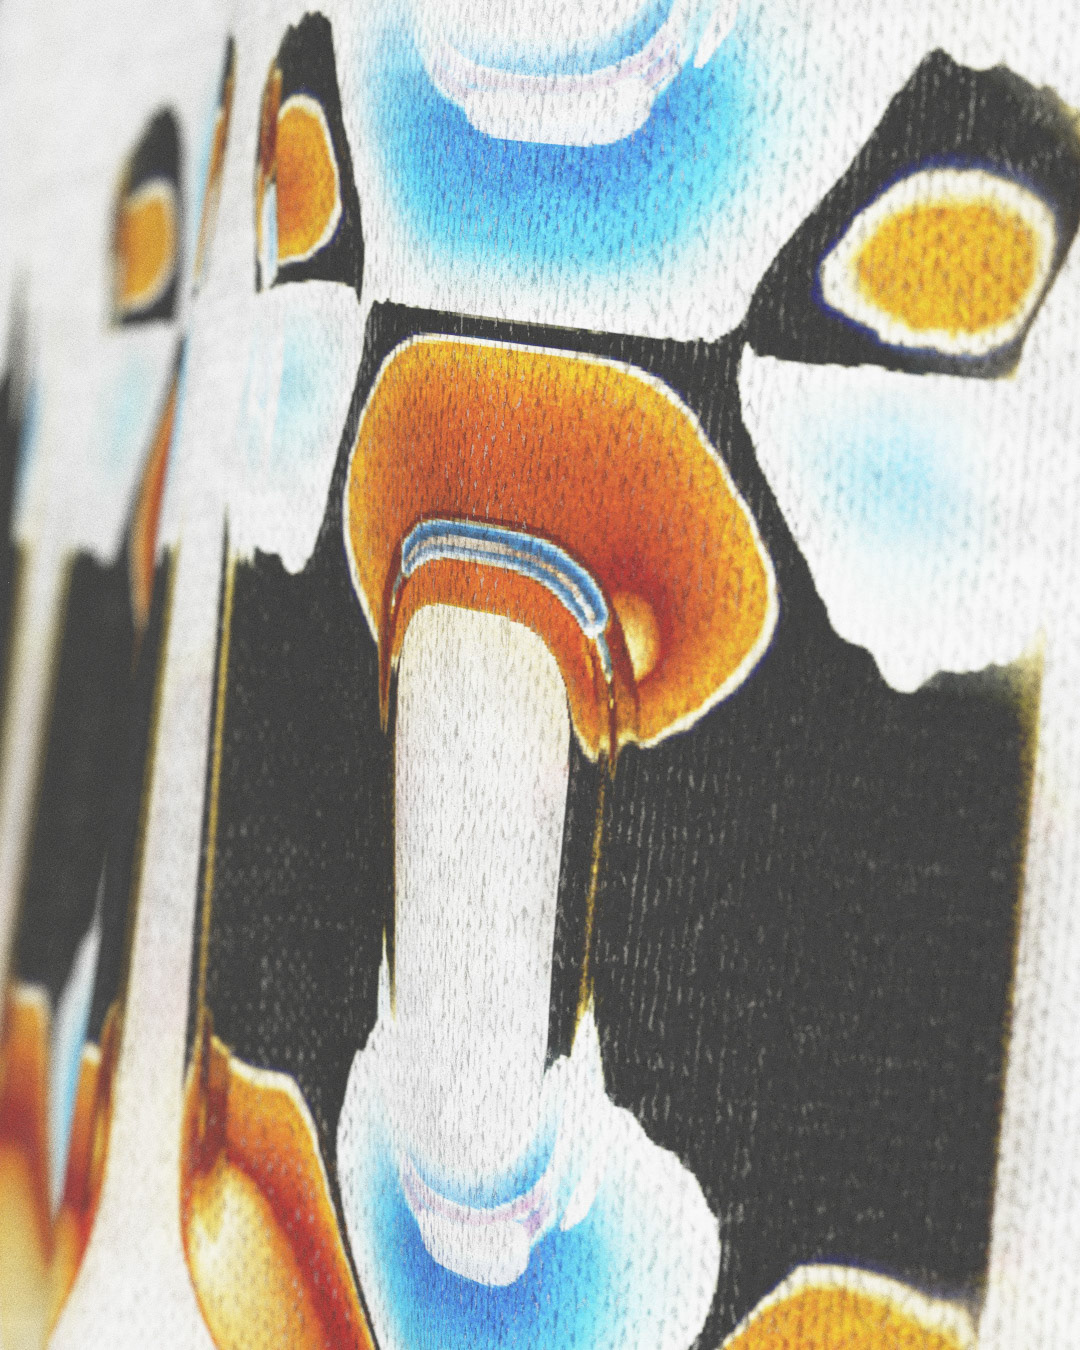
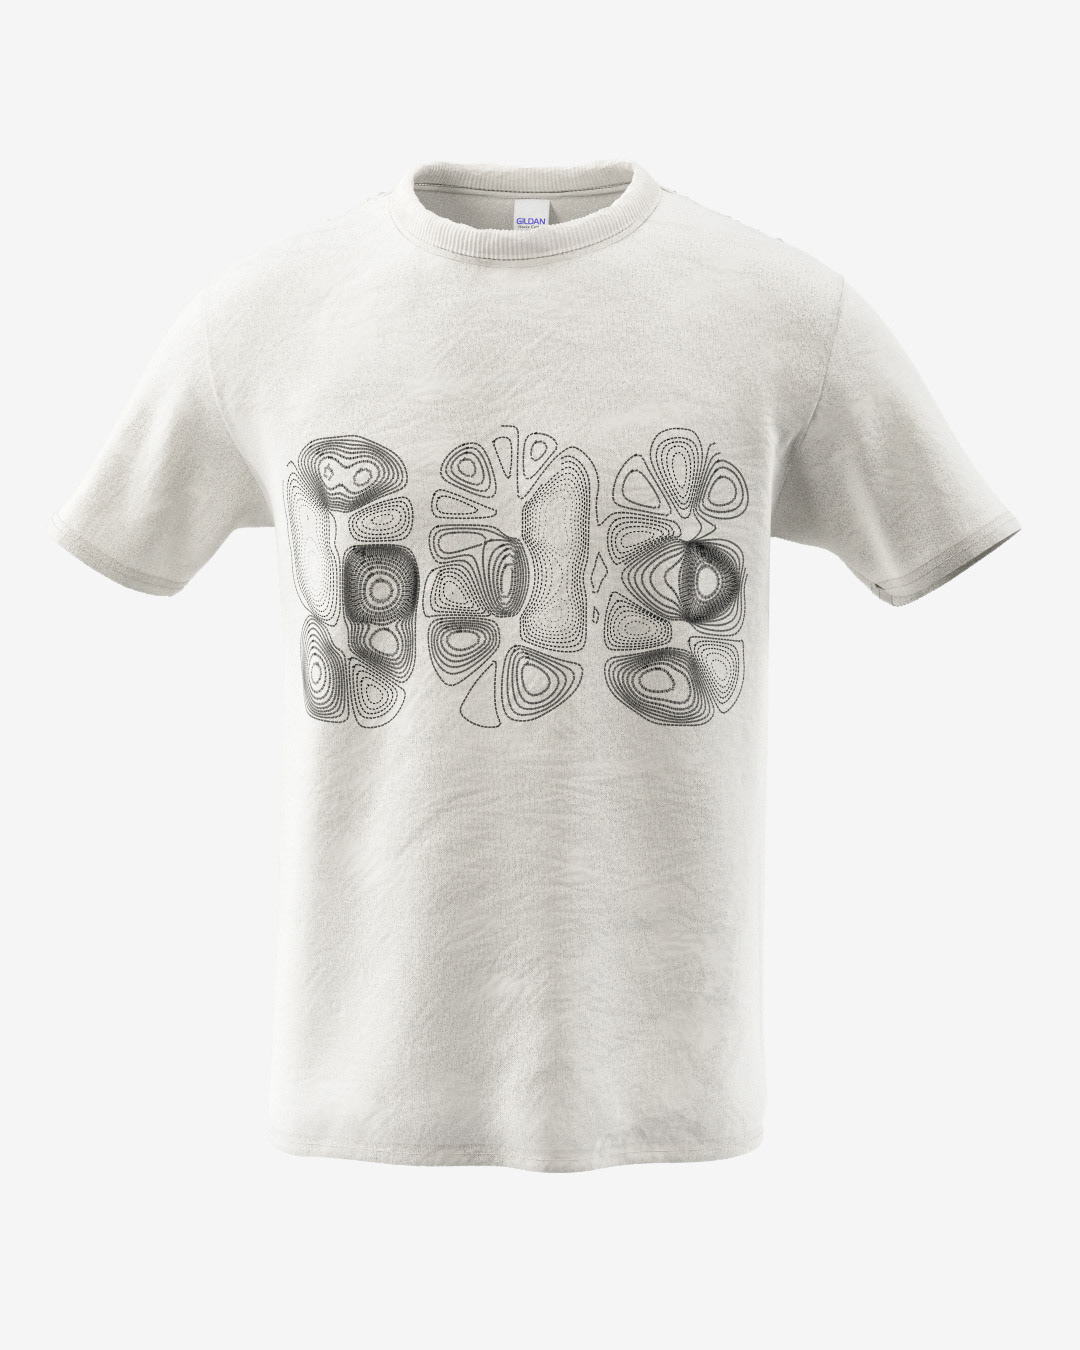
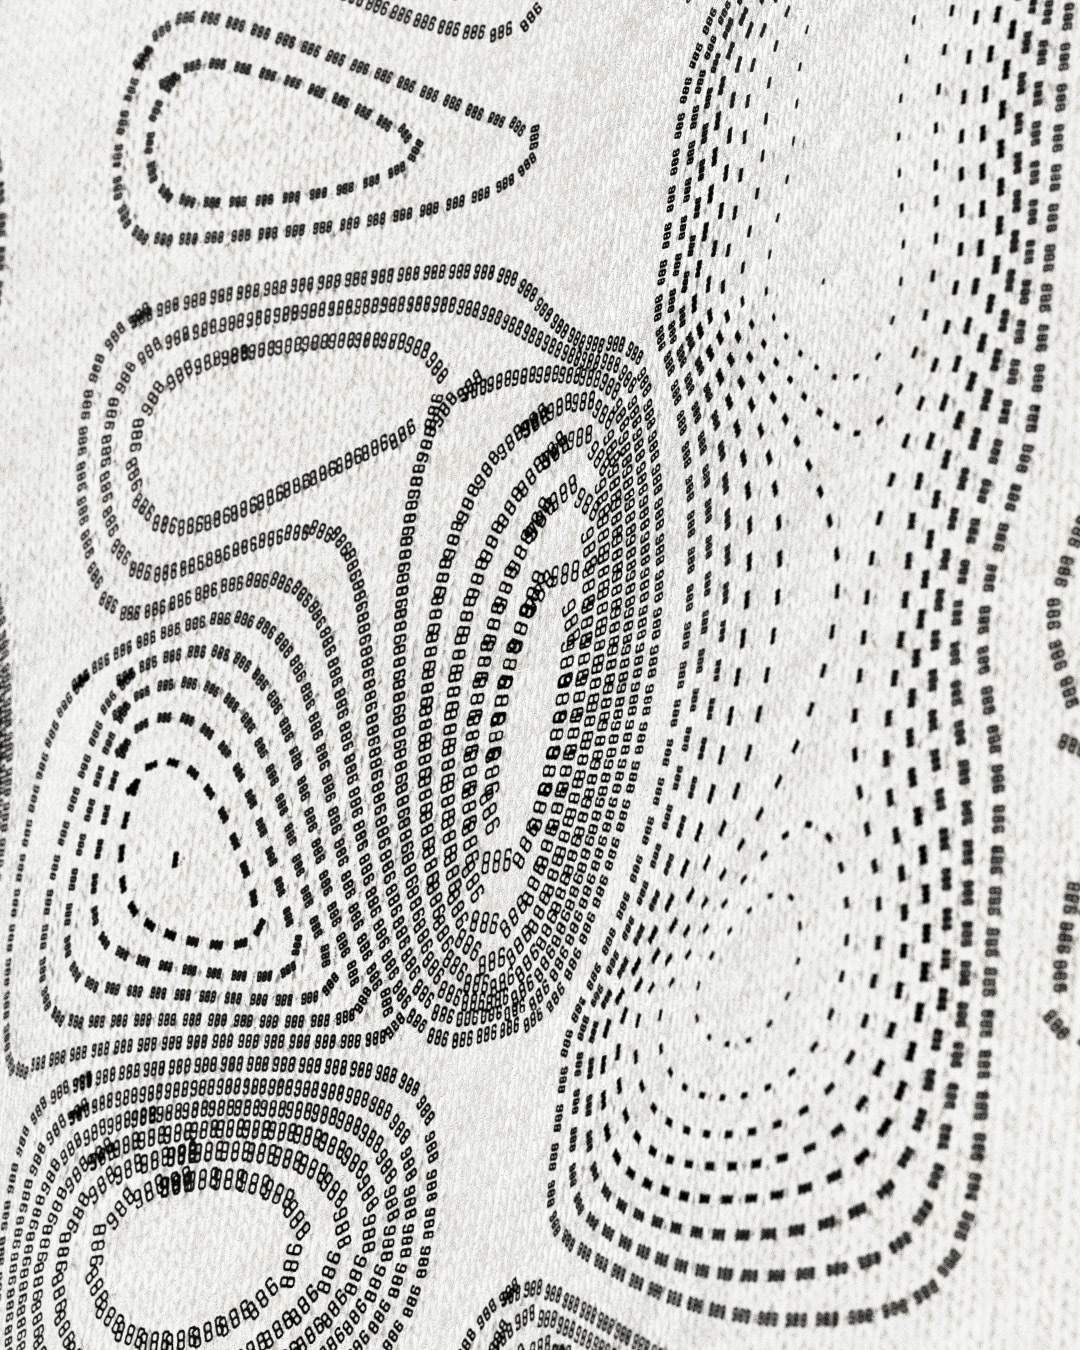
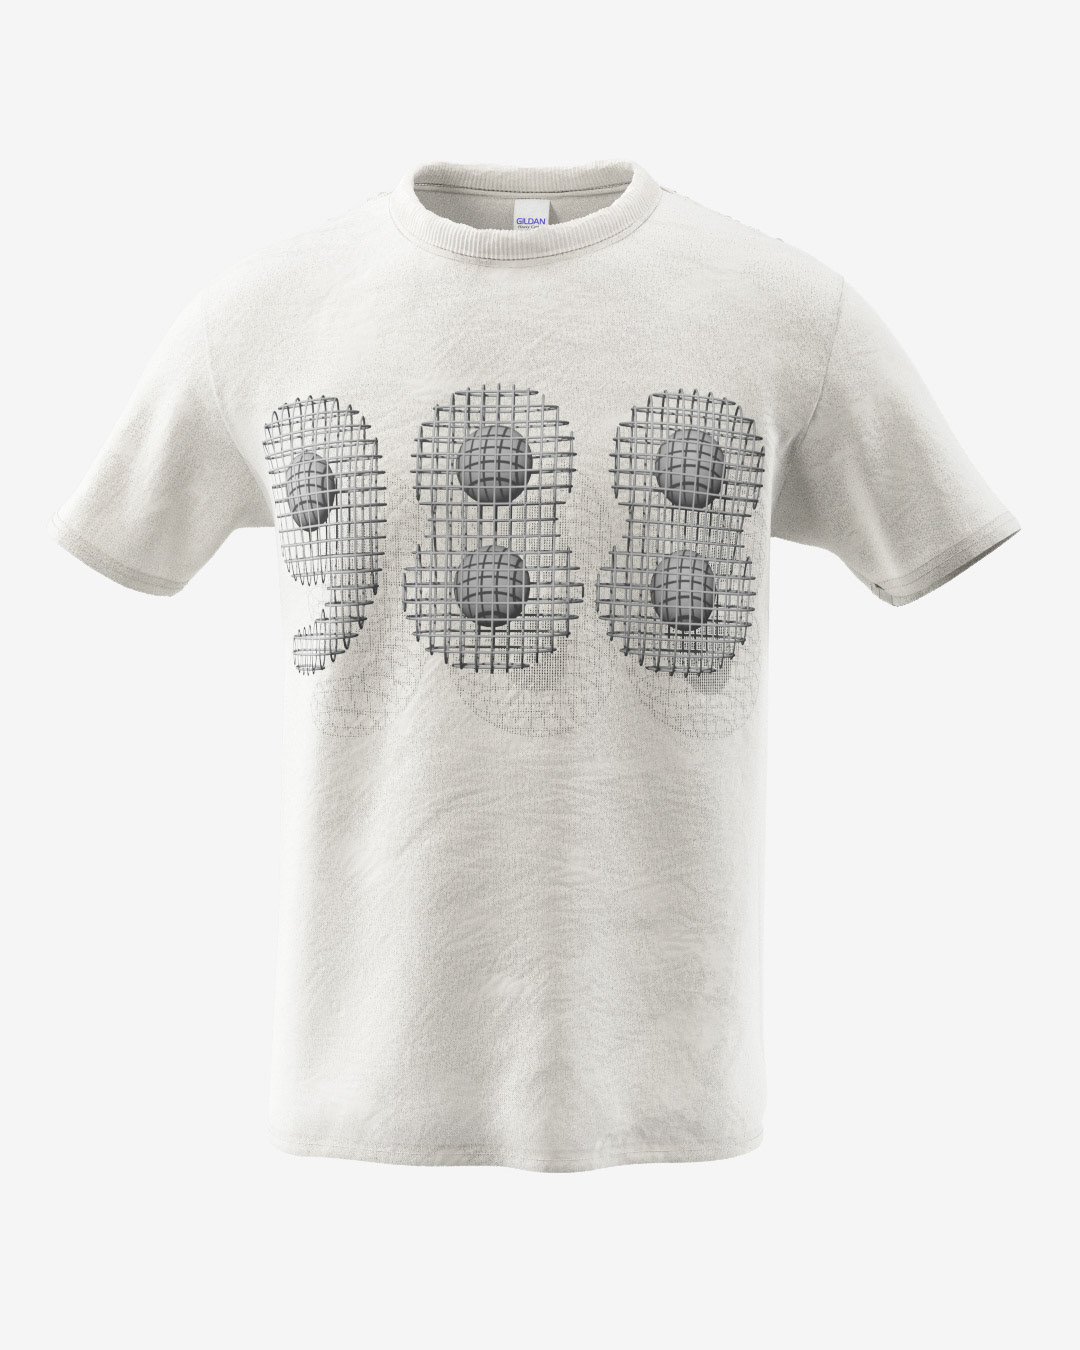
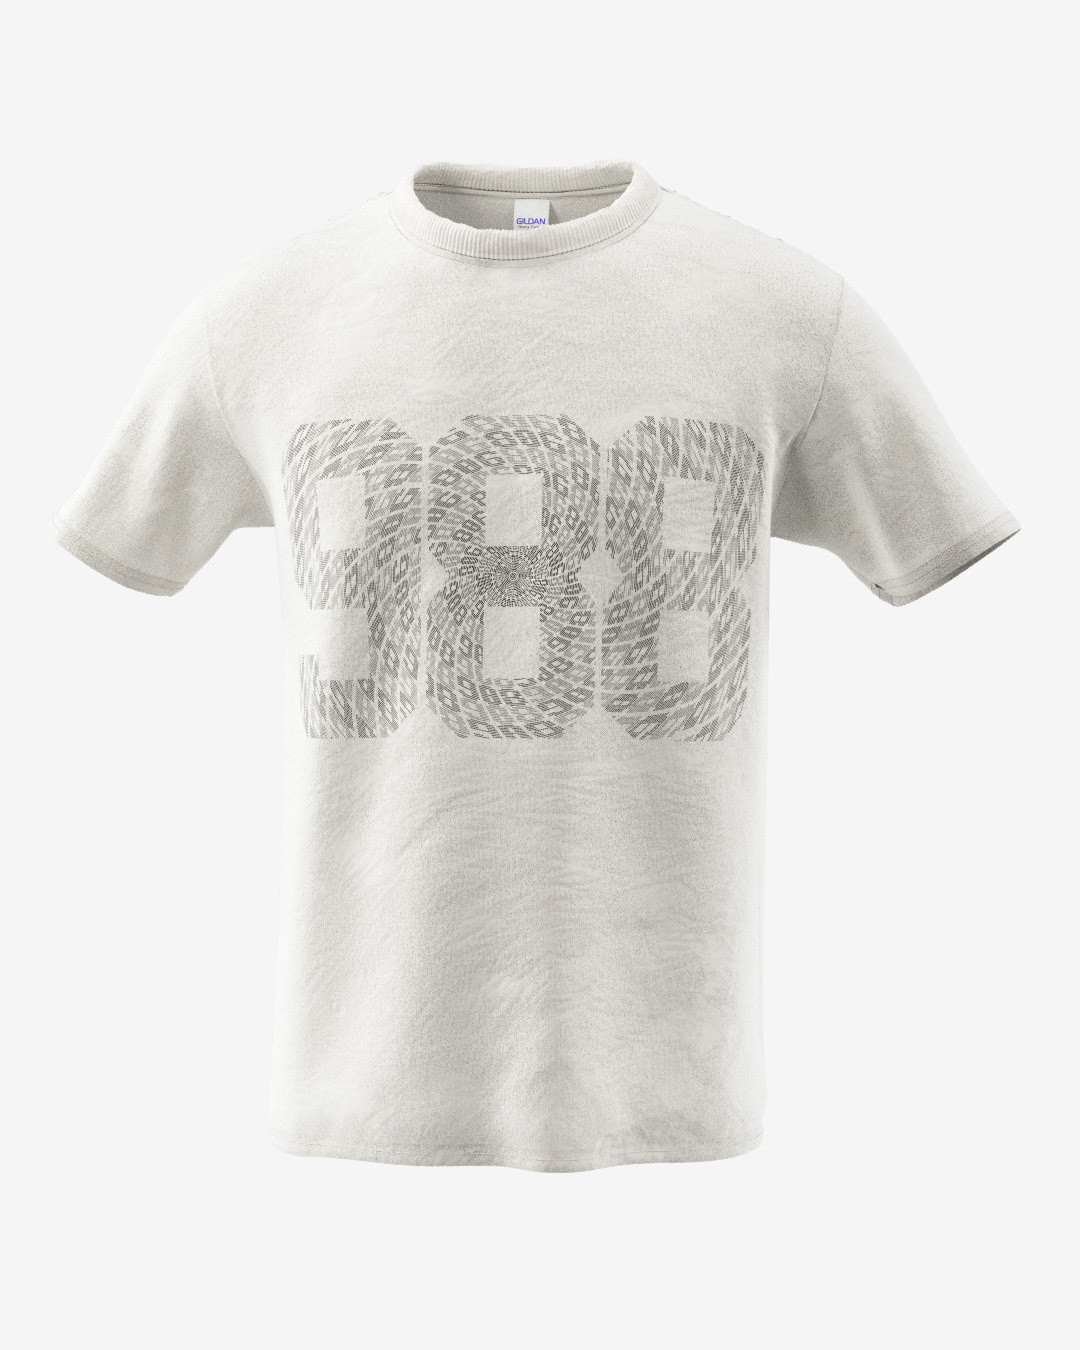
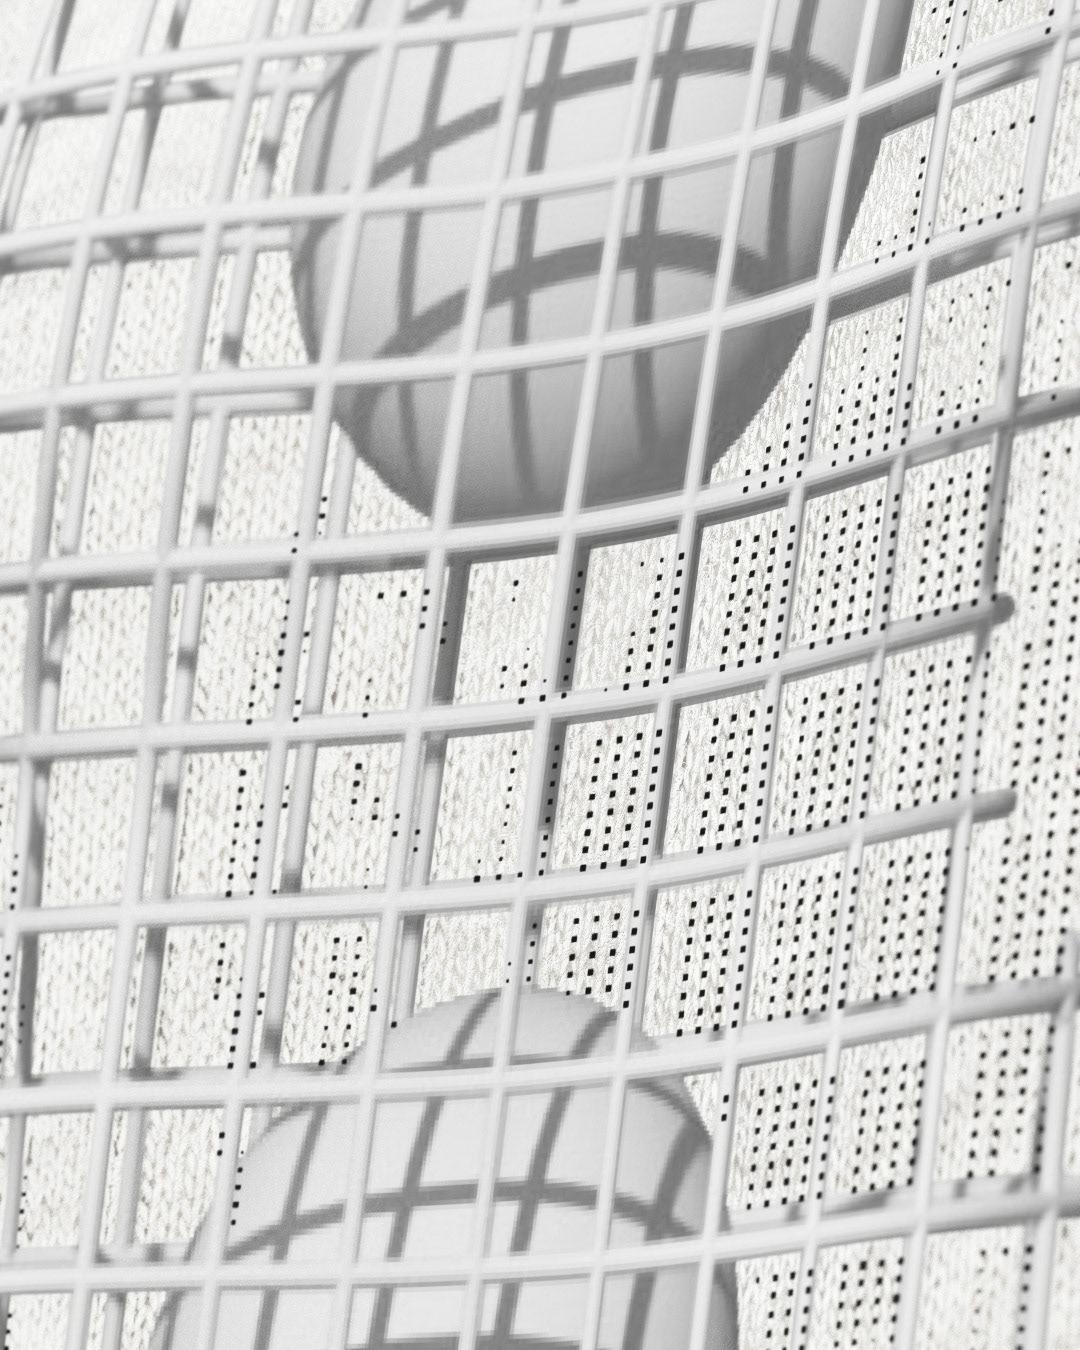
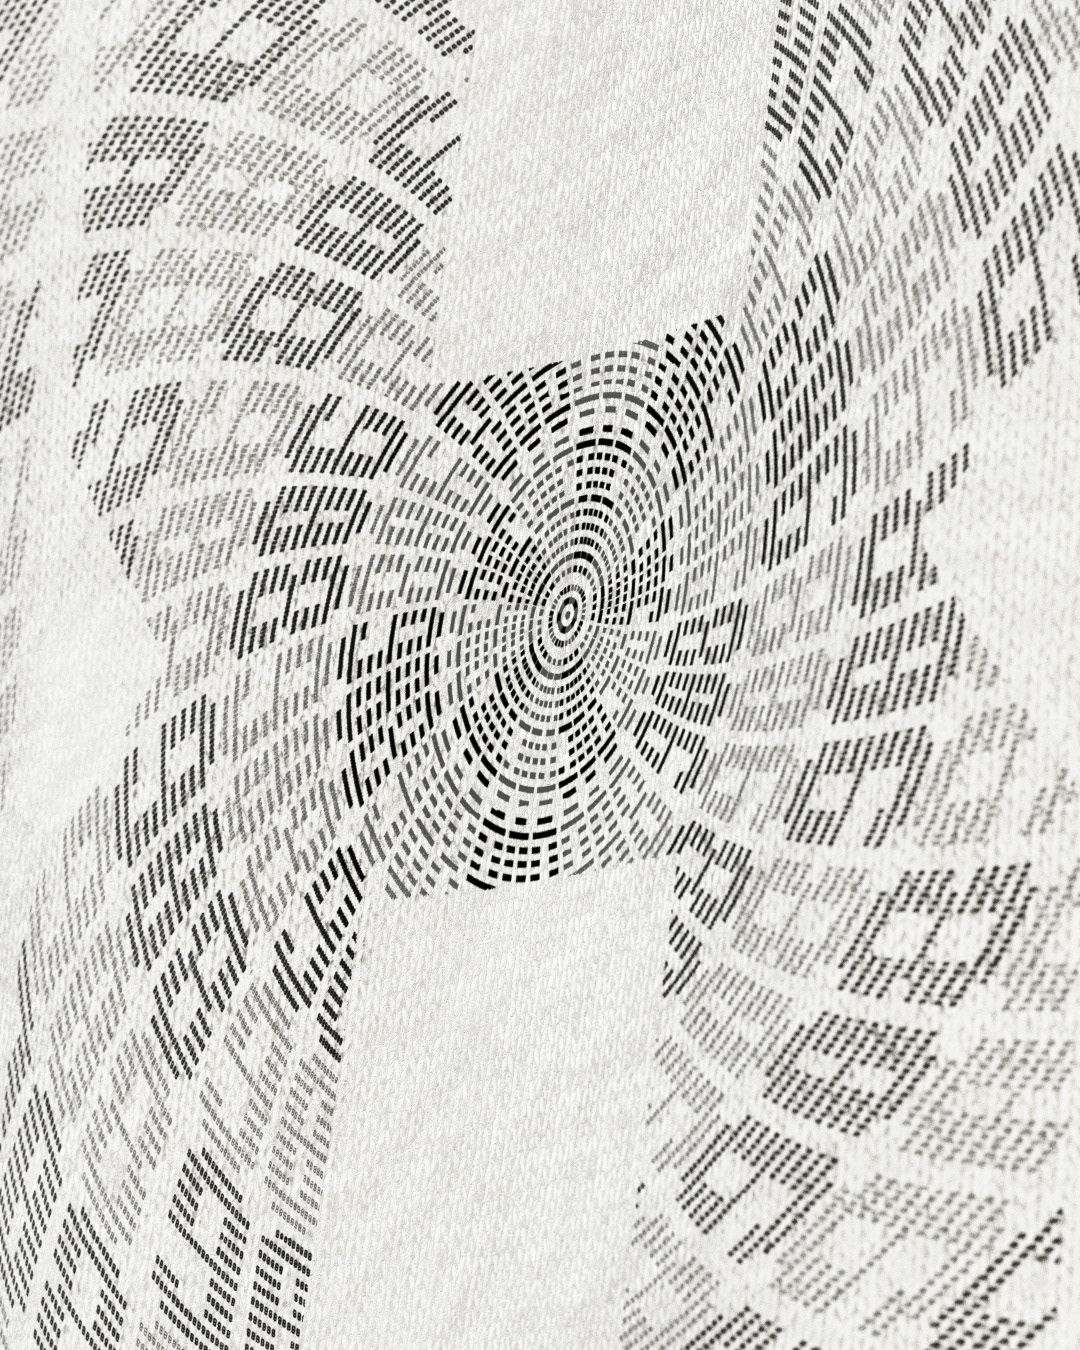
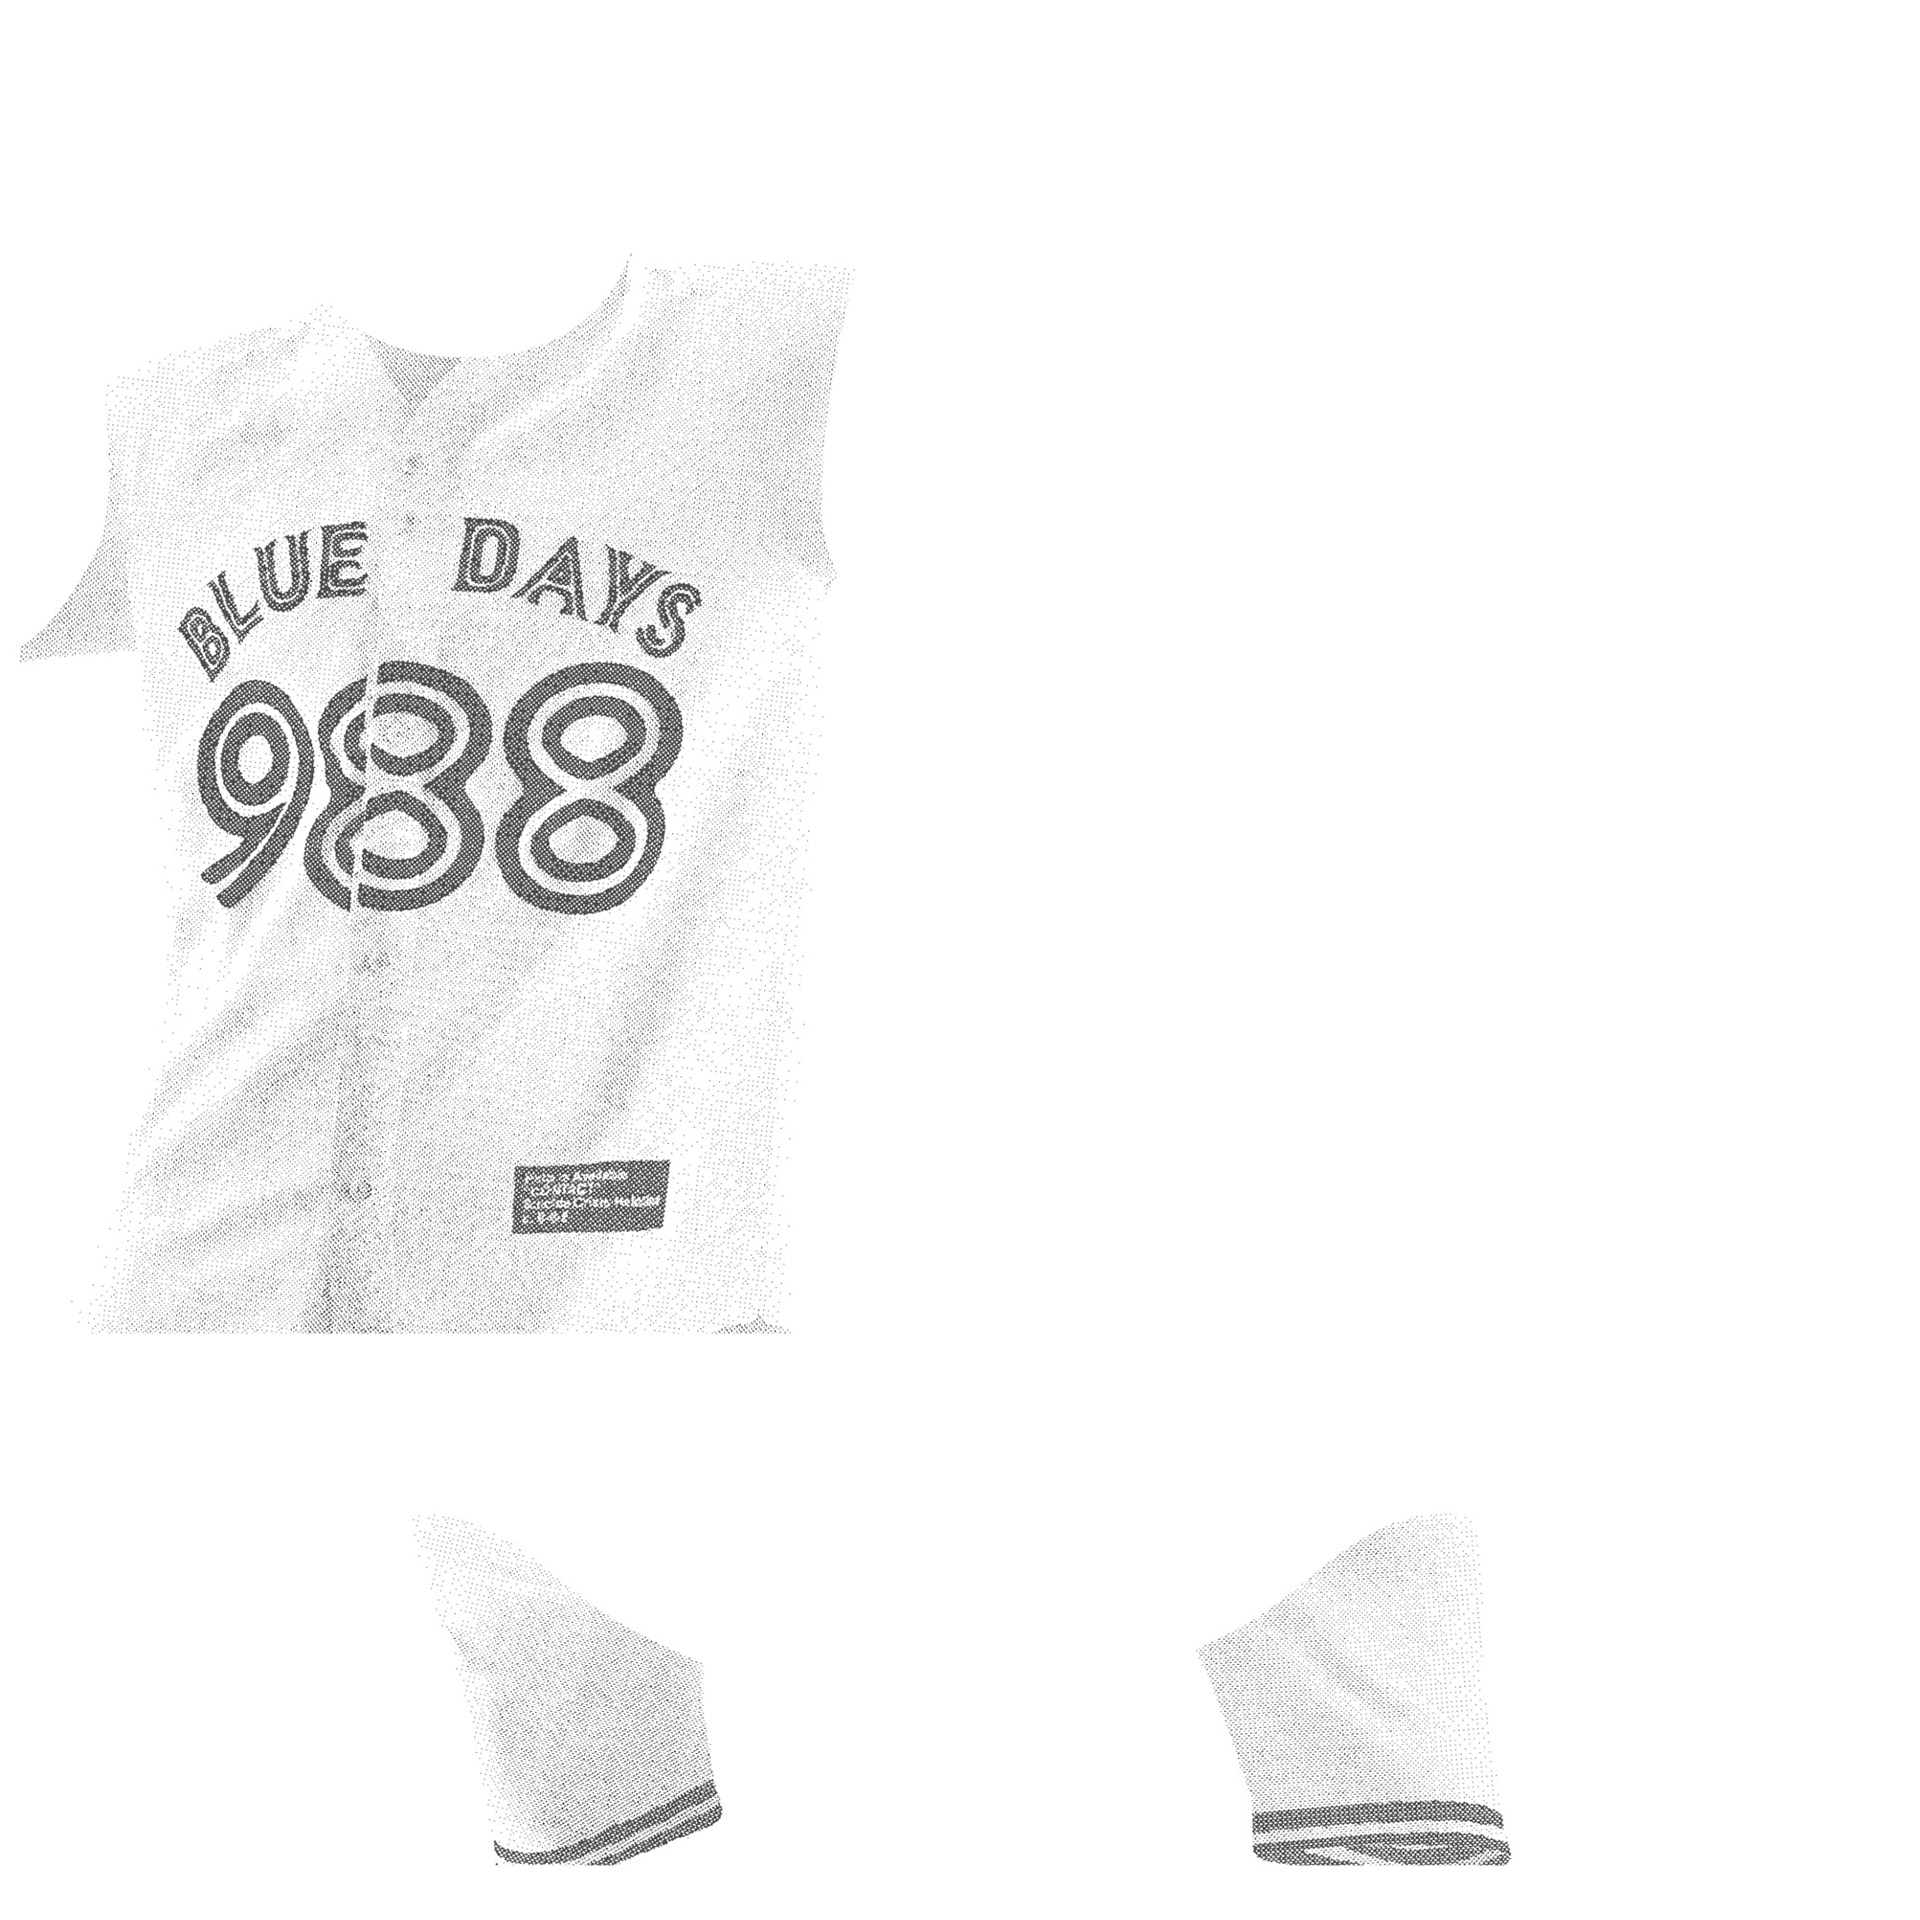
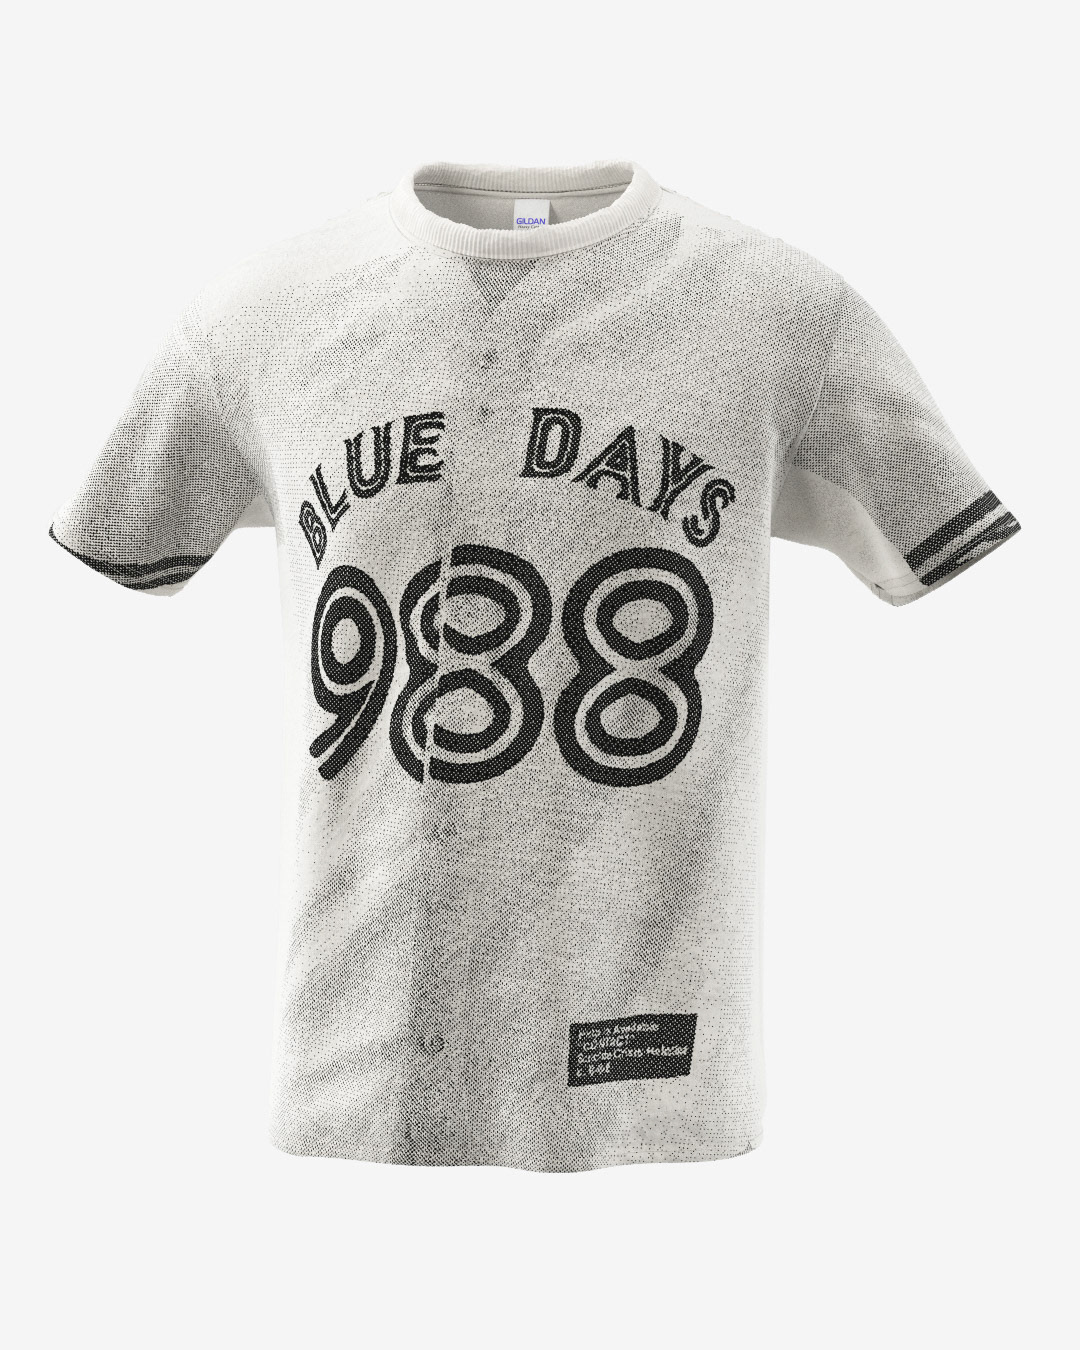
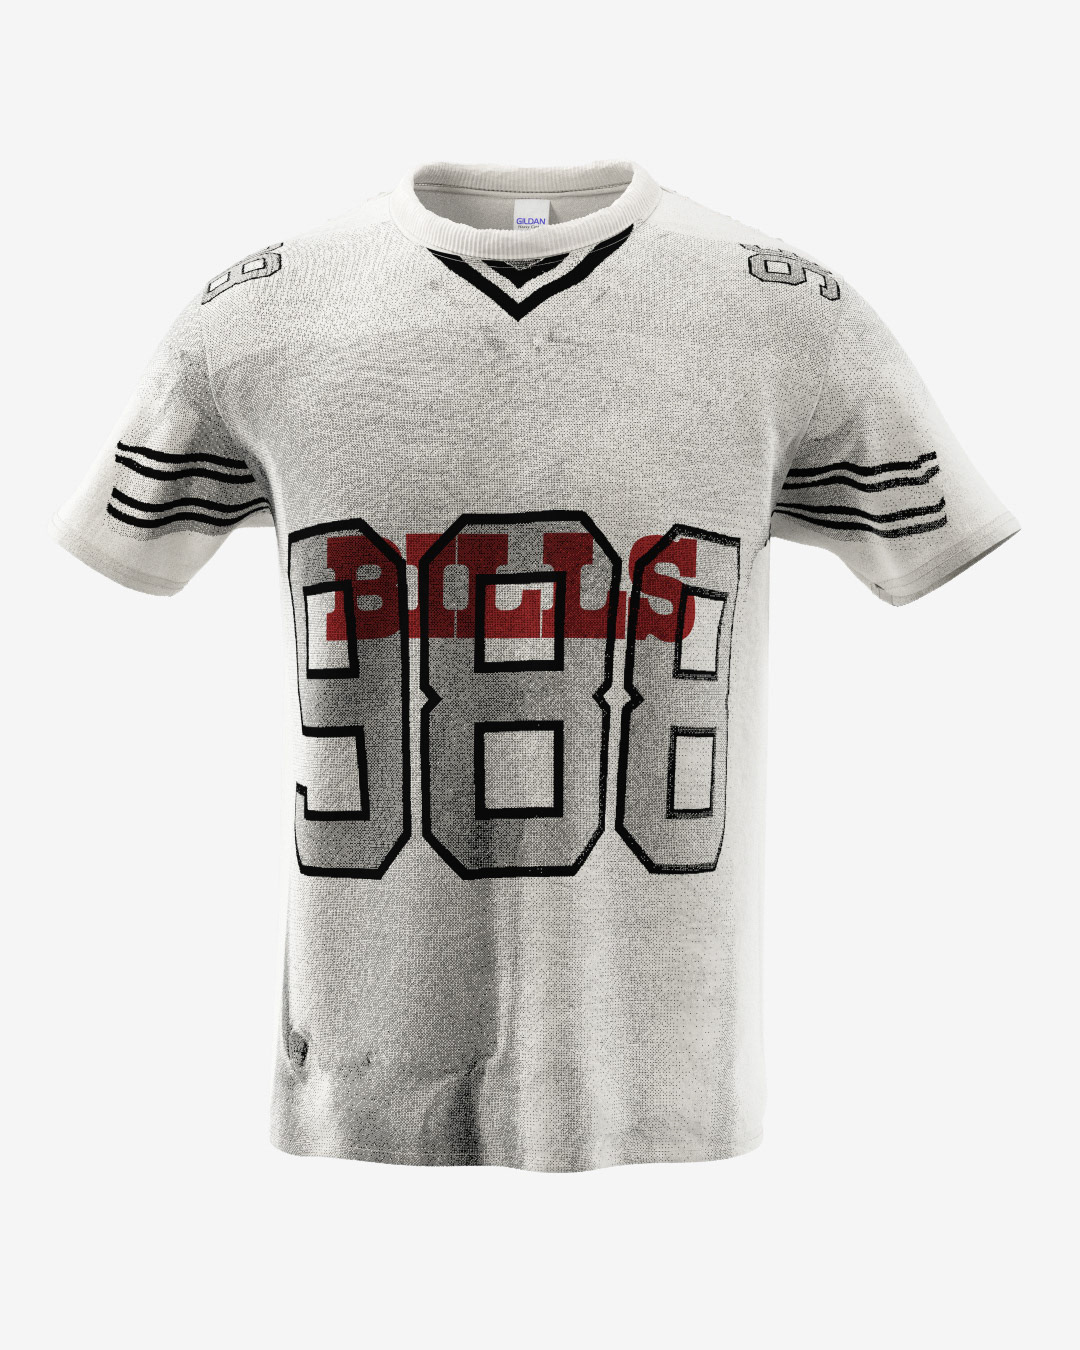
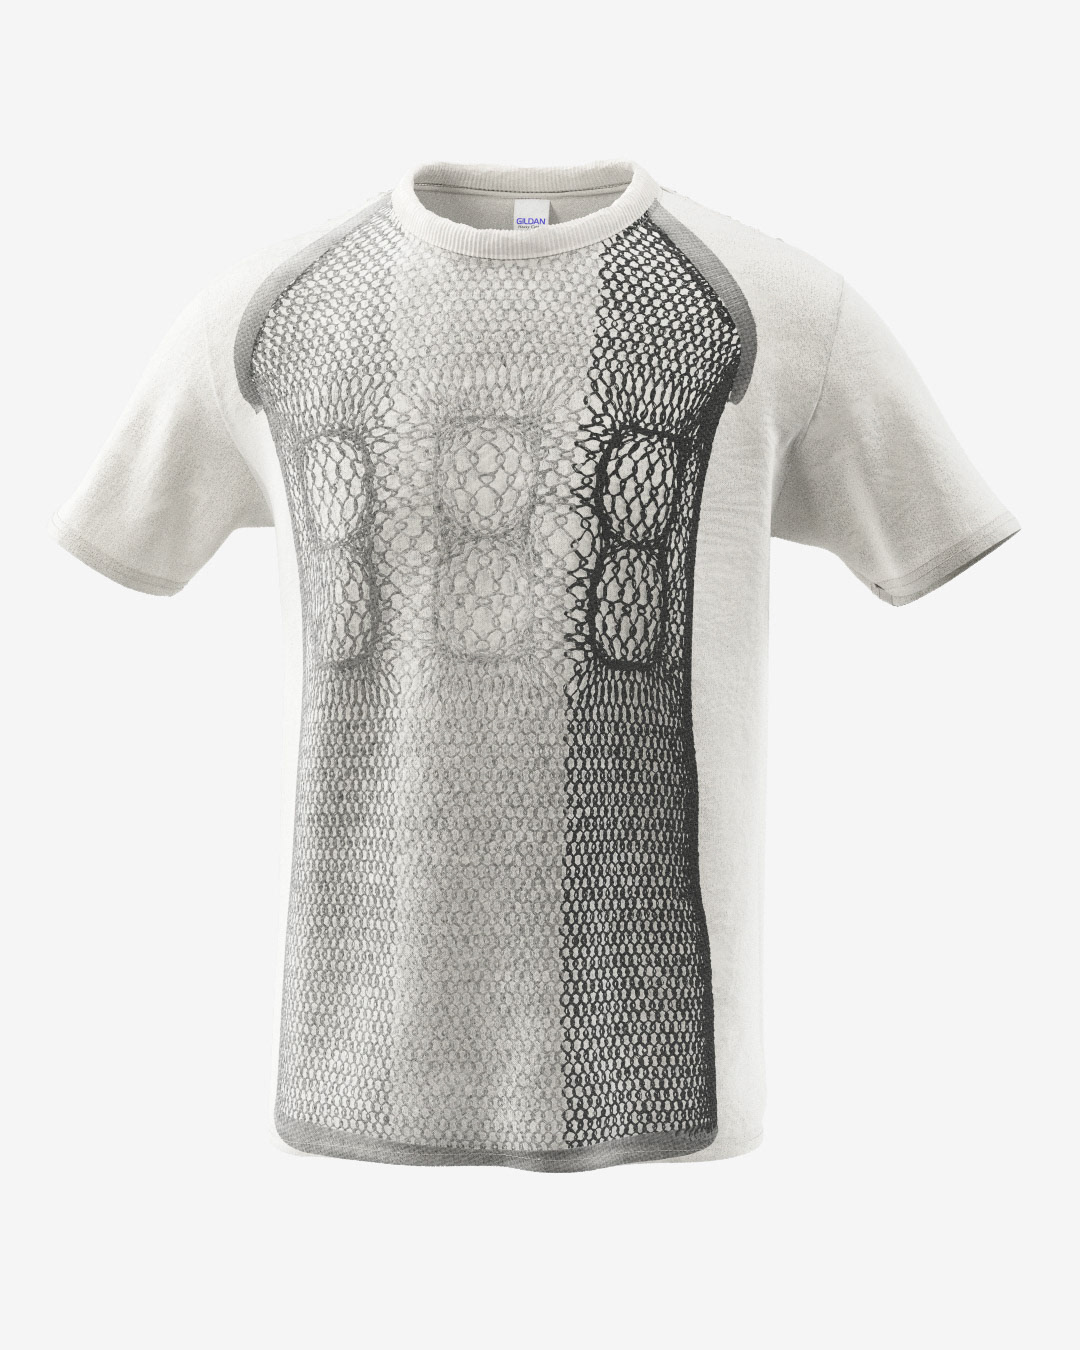
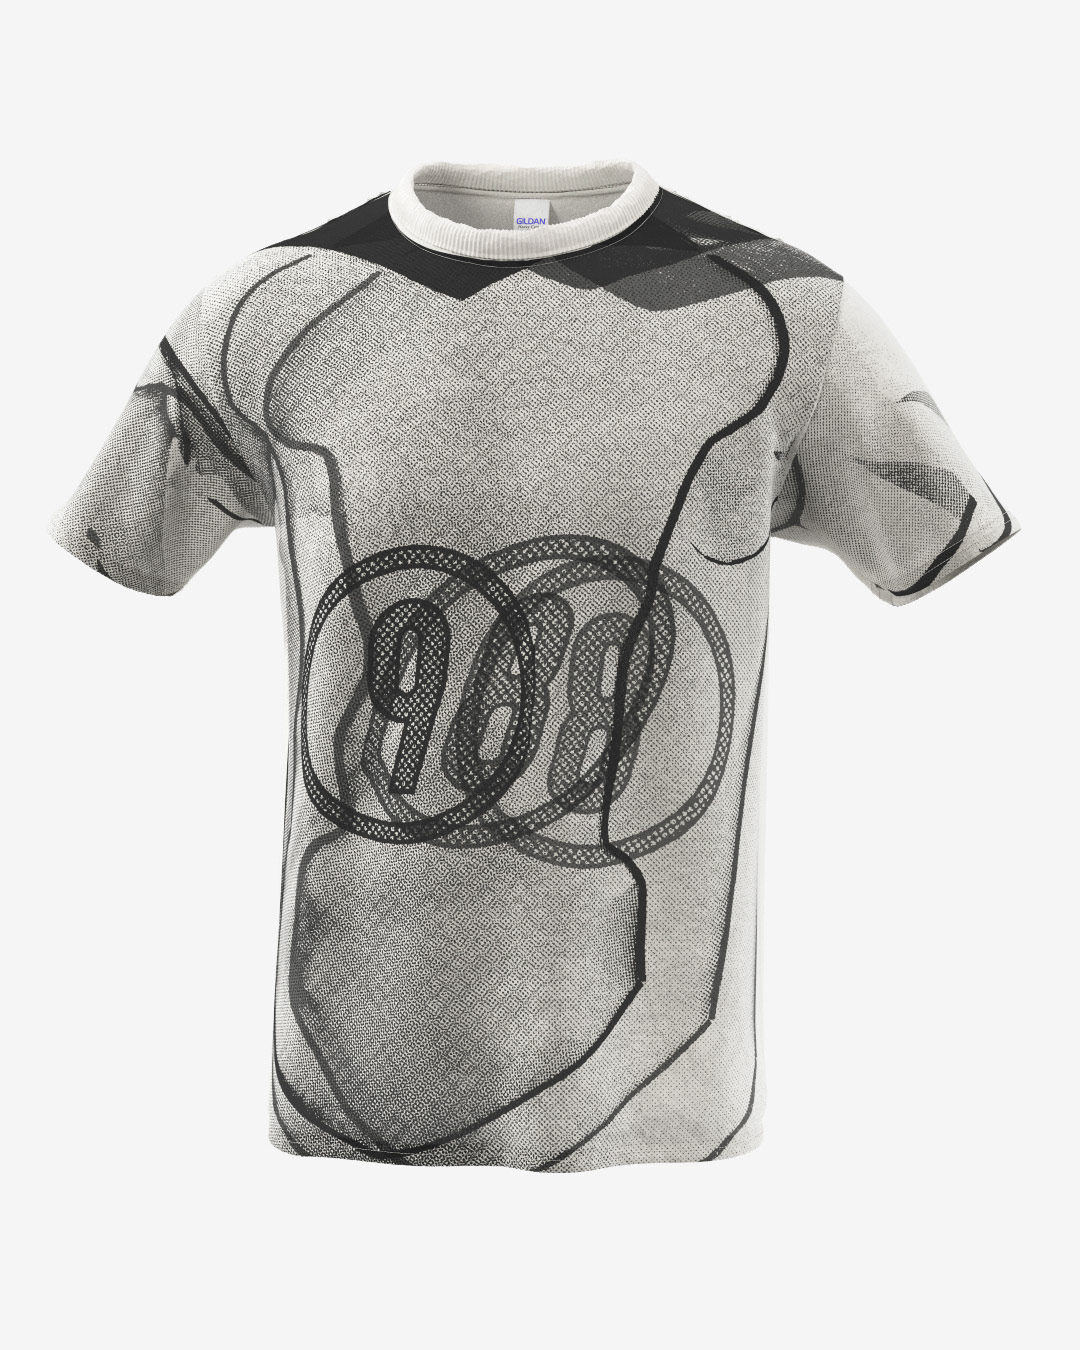
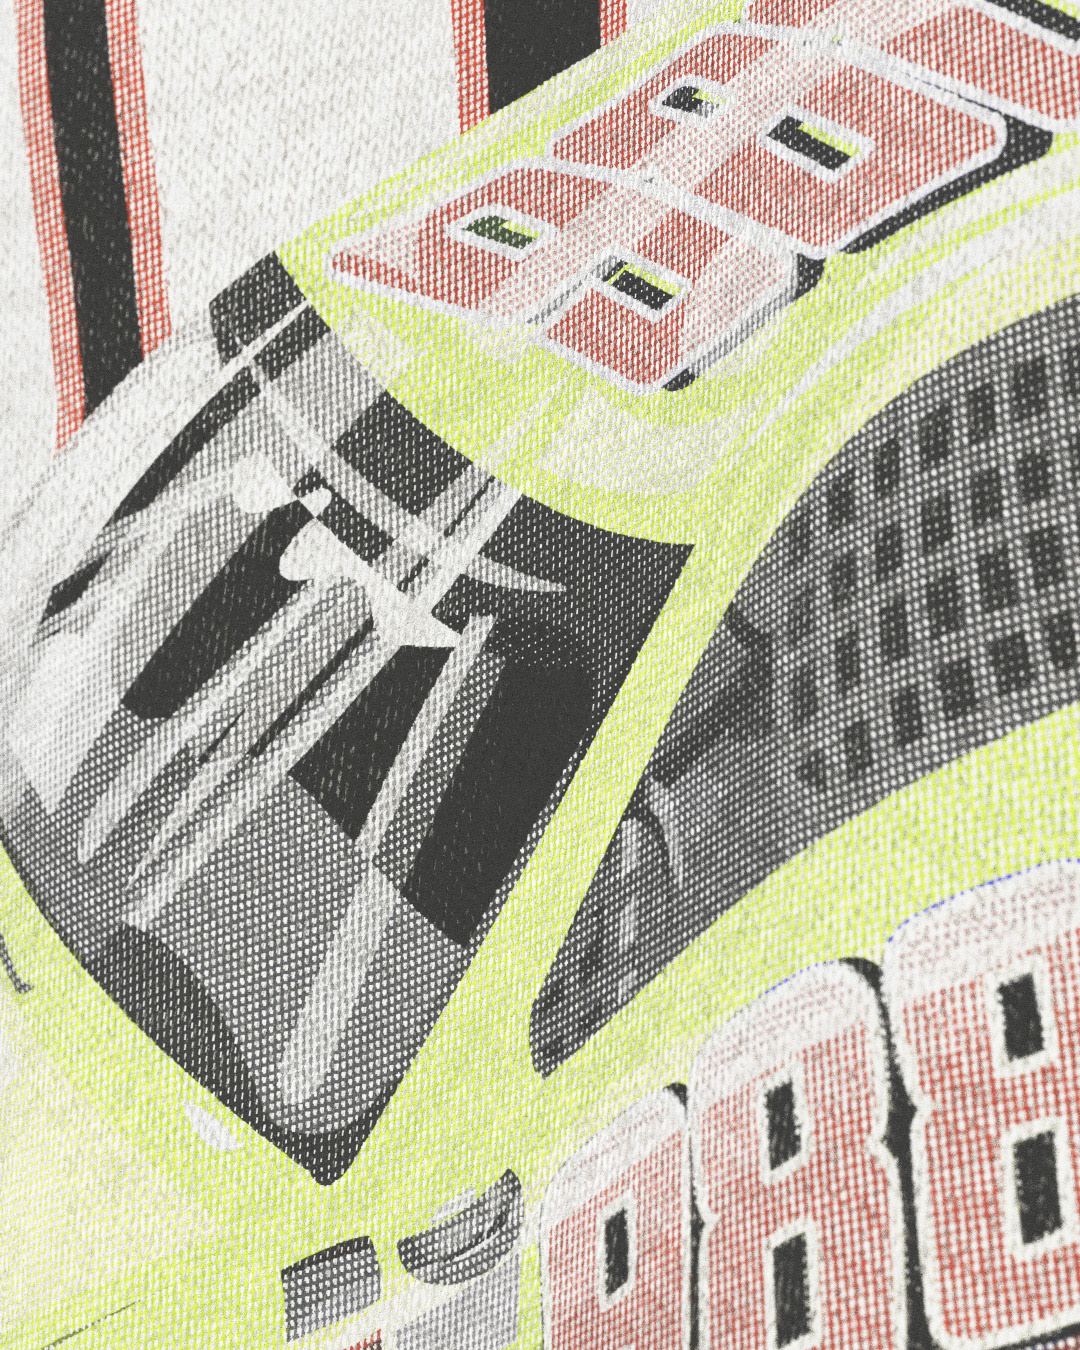
Using VFX tools I started exploring methods of manipulating type in 3D space. Primarily working in SideFX Houdini, initial graphics were created by digitally replicating a screen-base prints, then using that greyscale data to assign "988" type in place of halftone dots. The greyscale values are used to manipulate the scale of the type, which is then exported in the digital form of a .DFX before being converted to a vector graphic in Adobe Illustrator.
3D Render
Halftone to Vector Conversion
Pictured above: An example of the methodology.
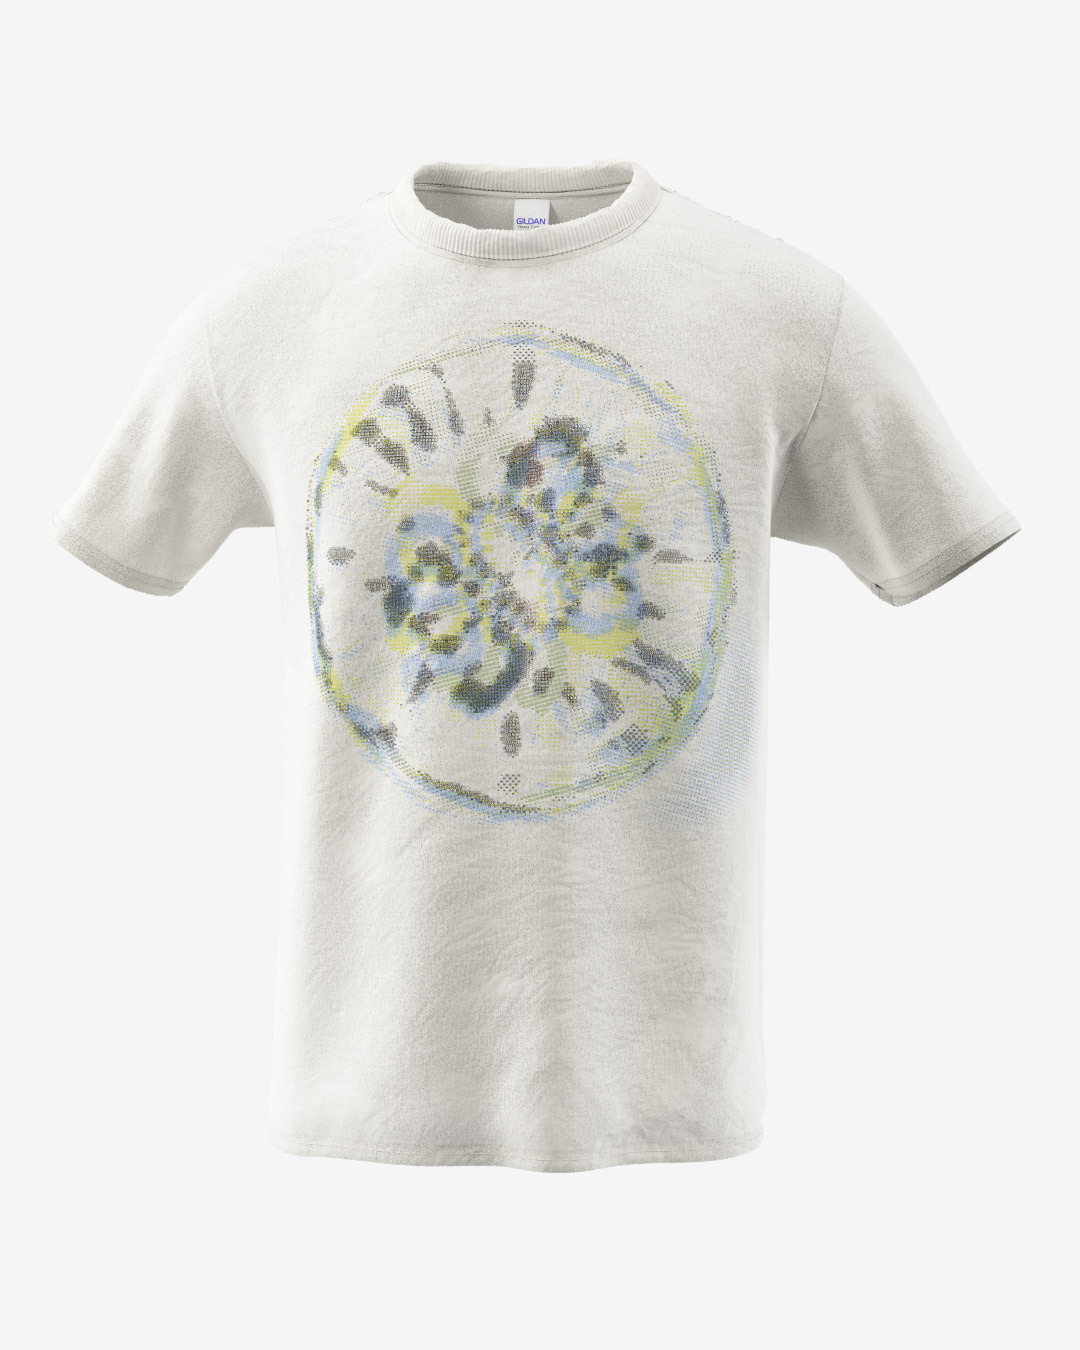
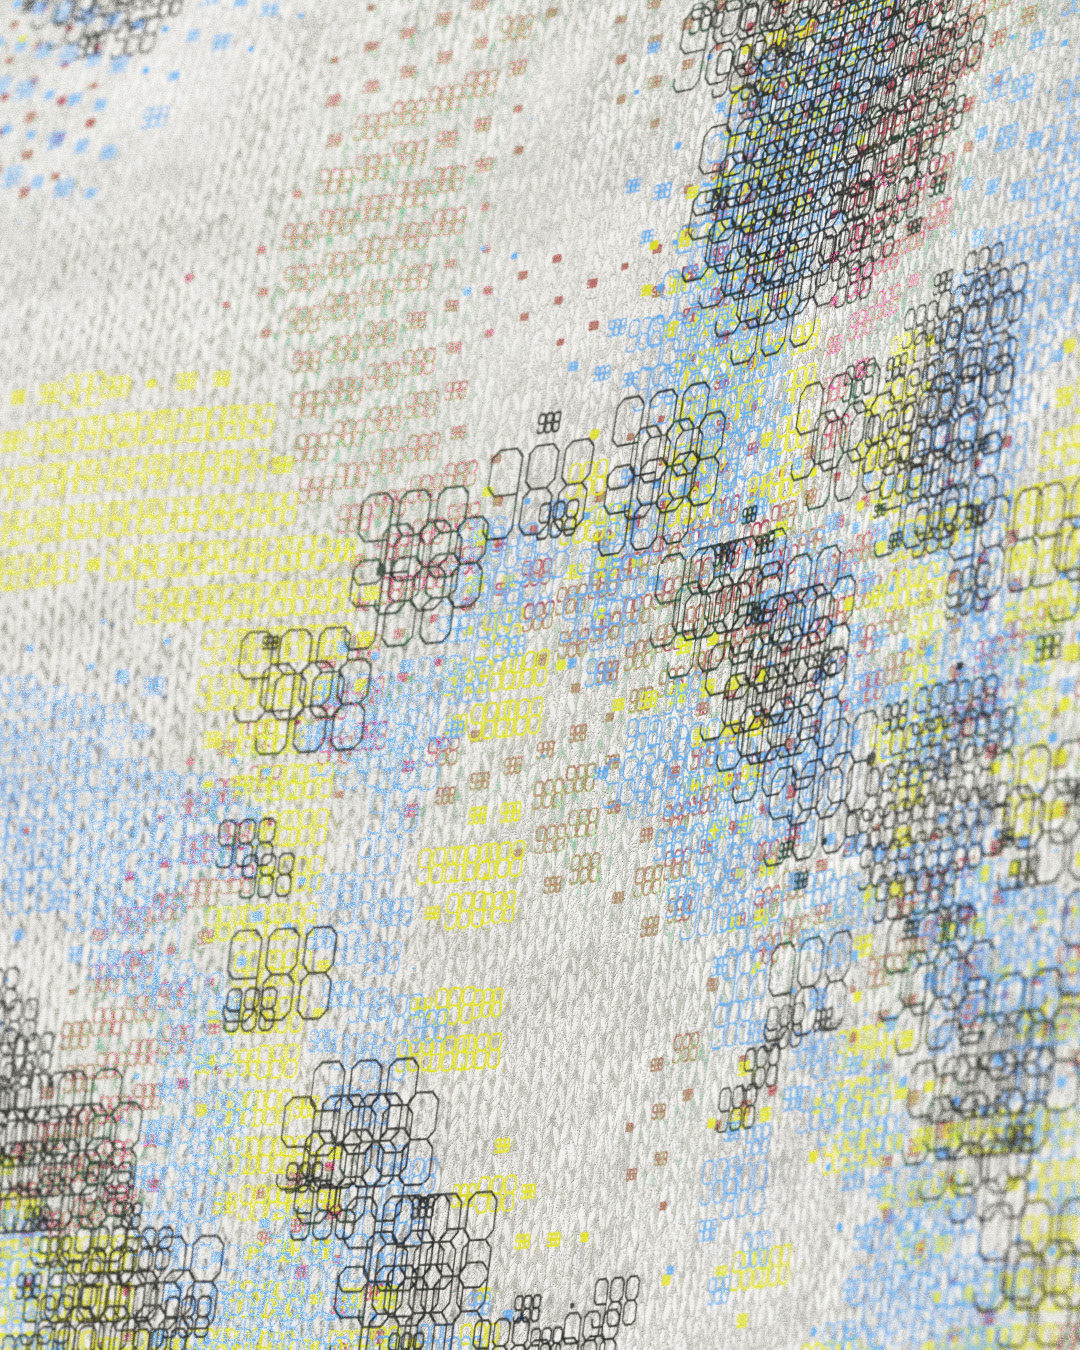
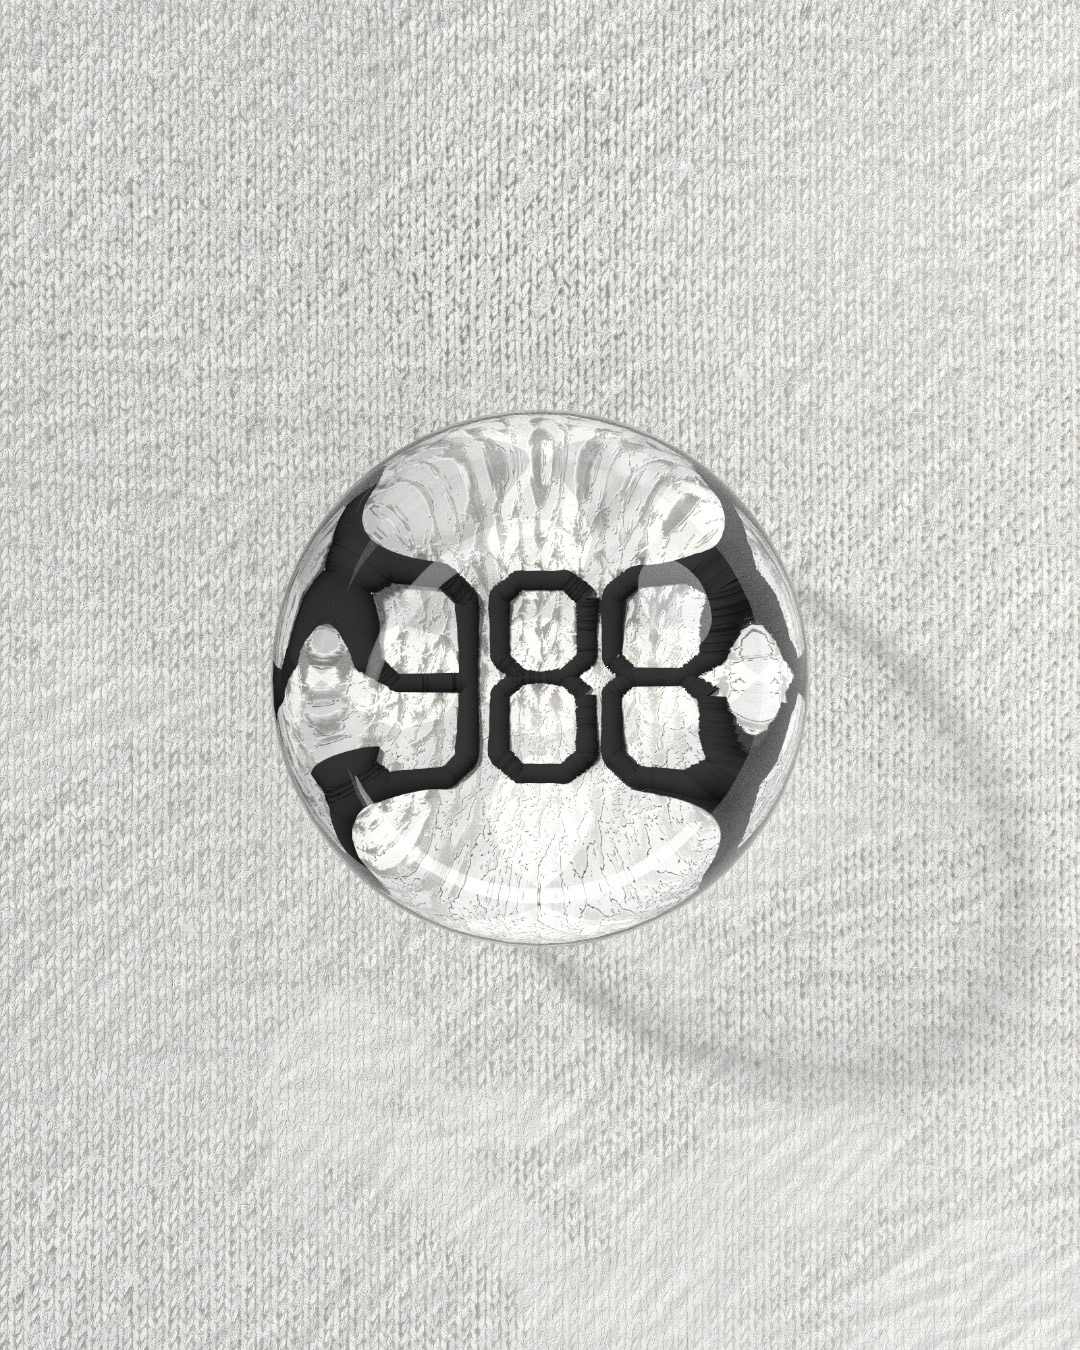
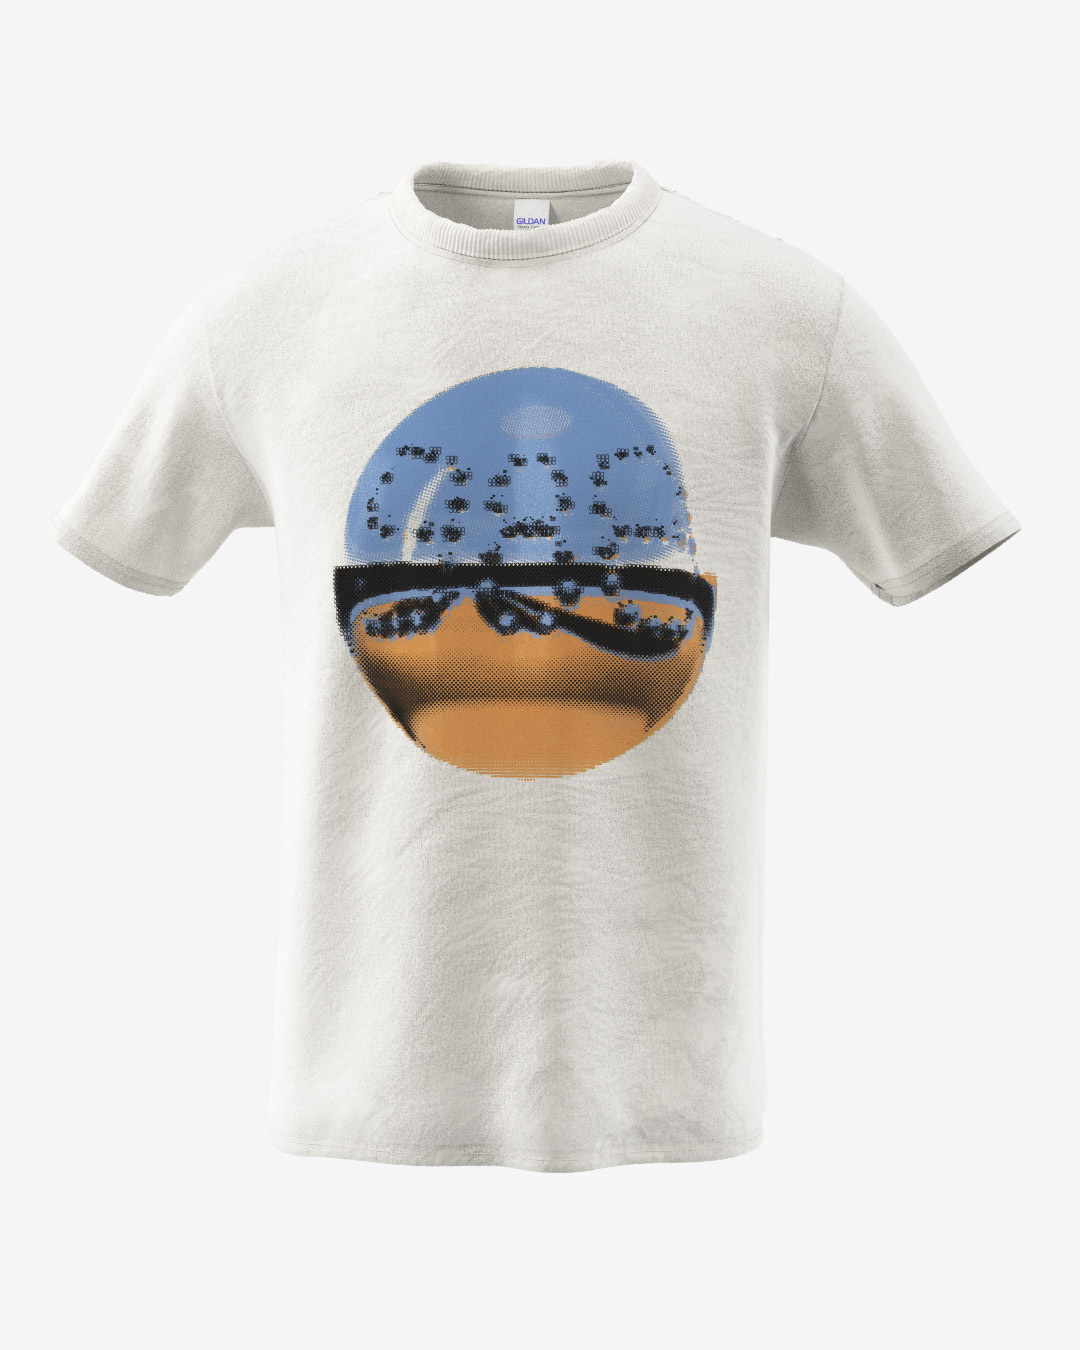
The image of a glass orb (above/left) was staged in a 3D, and rendered using Redshift. The Orb is placed on top of a small "988" type, and a swatch of fabric - the same used for the t-shirt 3D model. This image is then retouched and brought back into Houdini, where the "988" type is applied.
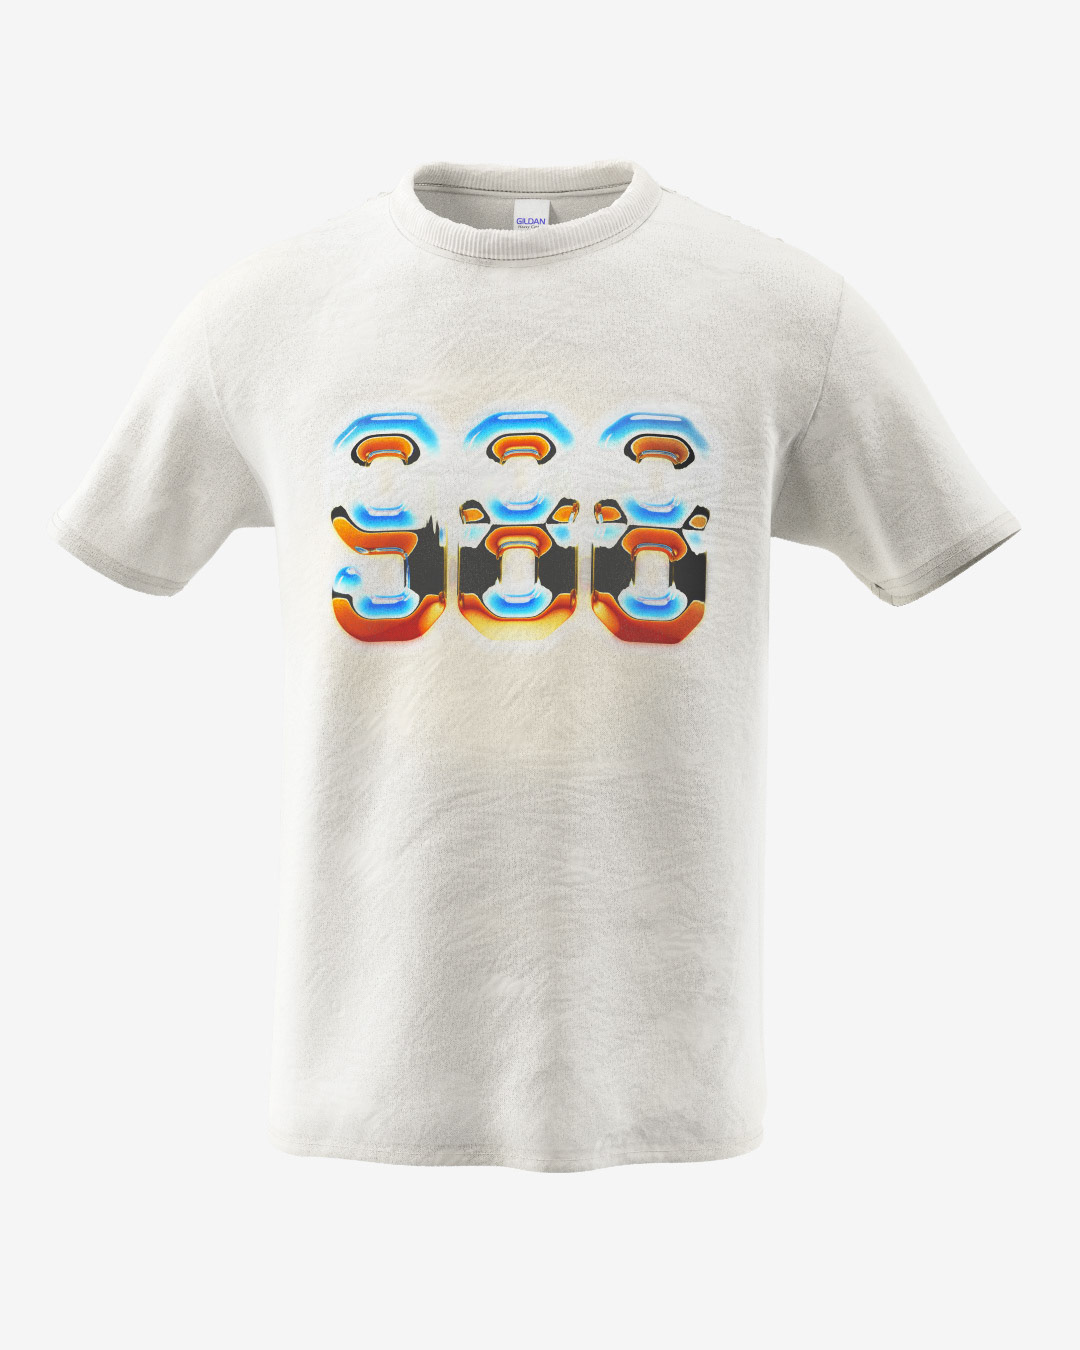
"Chrome" is handled similarly as 3D space and materiality there within allows for control over reflections, refraction, and lighting. The reflected type is out of frame, and the environment is coloured such that it produces the a reflection reminiscent of the stylized airbrushed chrome. The actual geometries are silver.
The image of a glass orb (above/left) was staged in a 3D, and rendered using Redshift. The Orb is placed on top of a small "988" type, and a swatch of fabric - the same used for the t-shirt 3D model. This image is then retouched and brought back into Houdini, where the "988" type is applied.
"Chrome" is handled similarly as 3D space and materiality there within allows for control over reflections, refraction, and lighting. The reflected type is out of frame, and the environment is coloured such that it produces the a reflection reminiscent of the stylized airbrushed chrome. The actual geometries are silver.

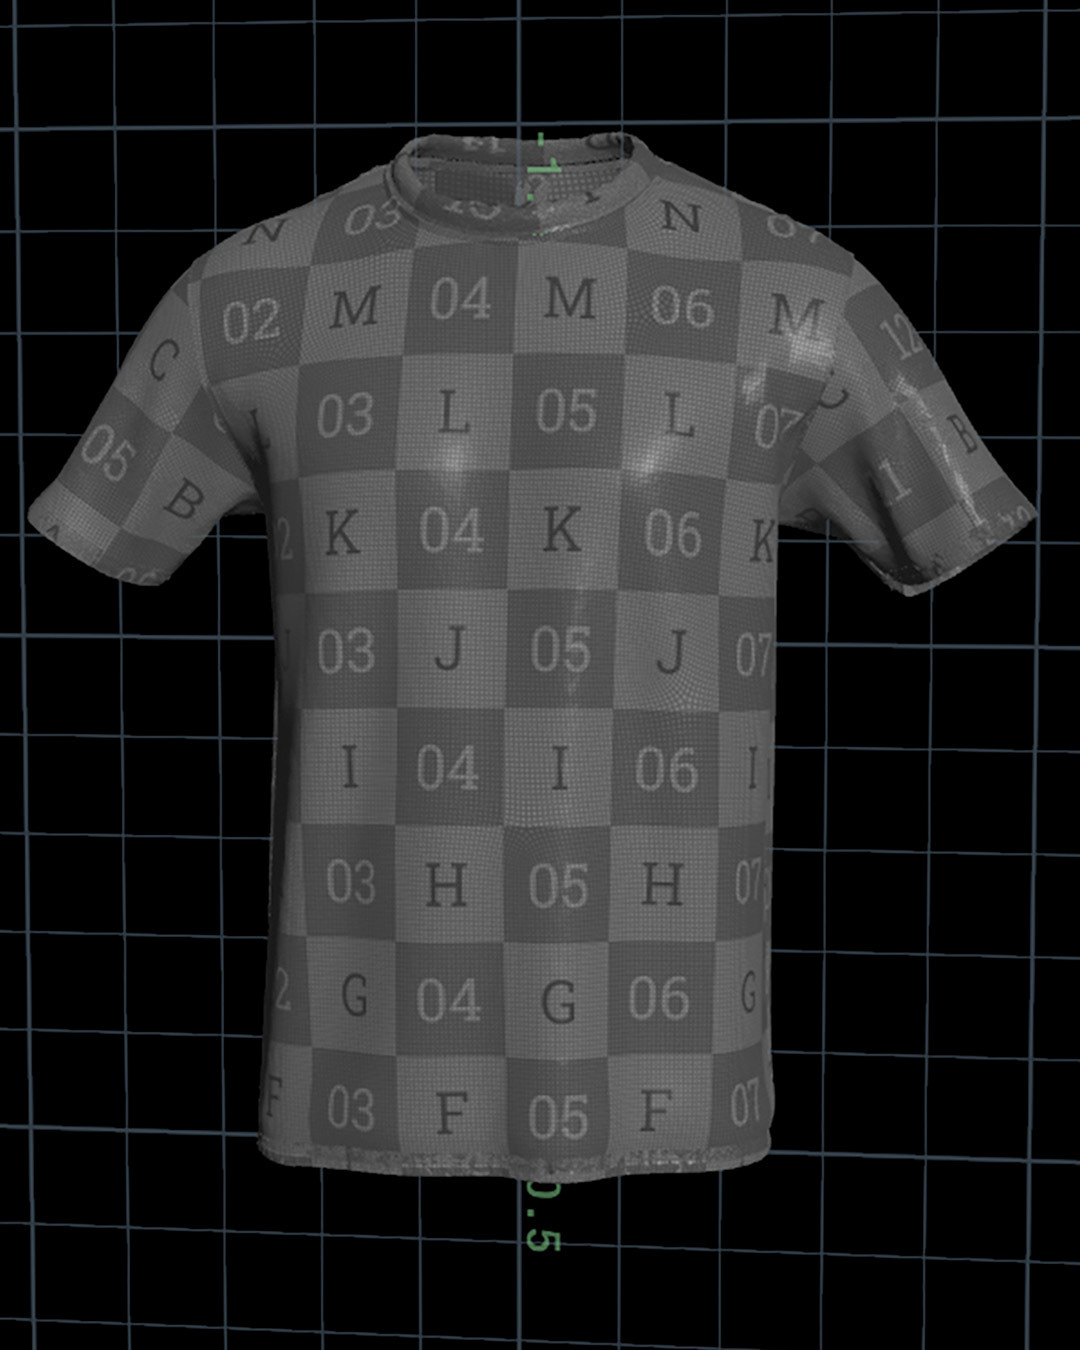
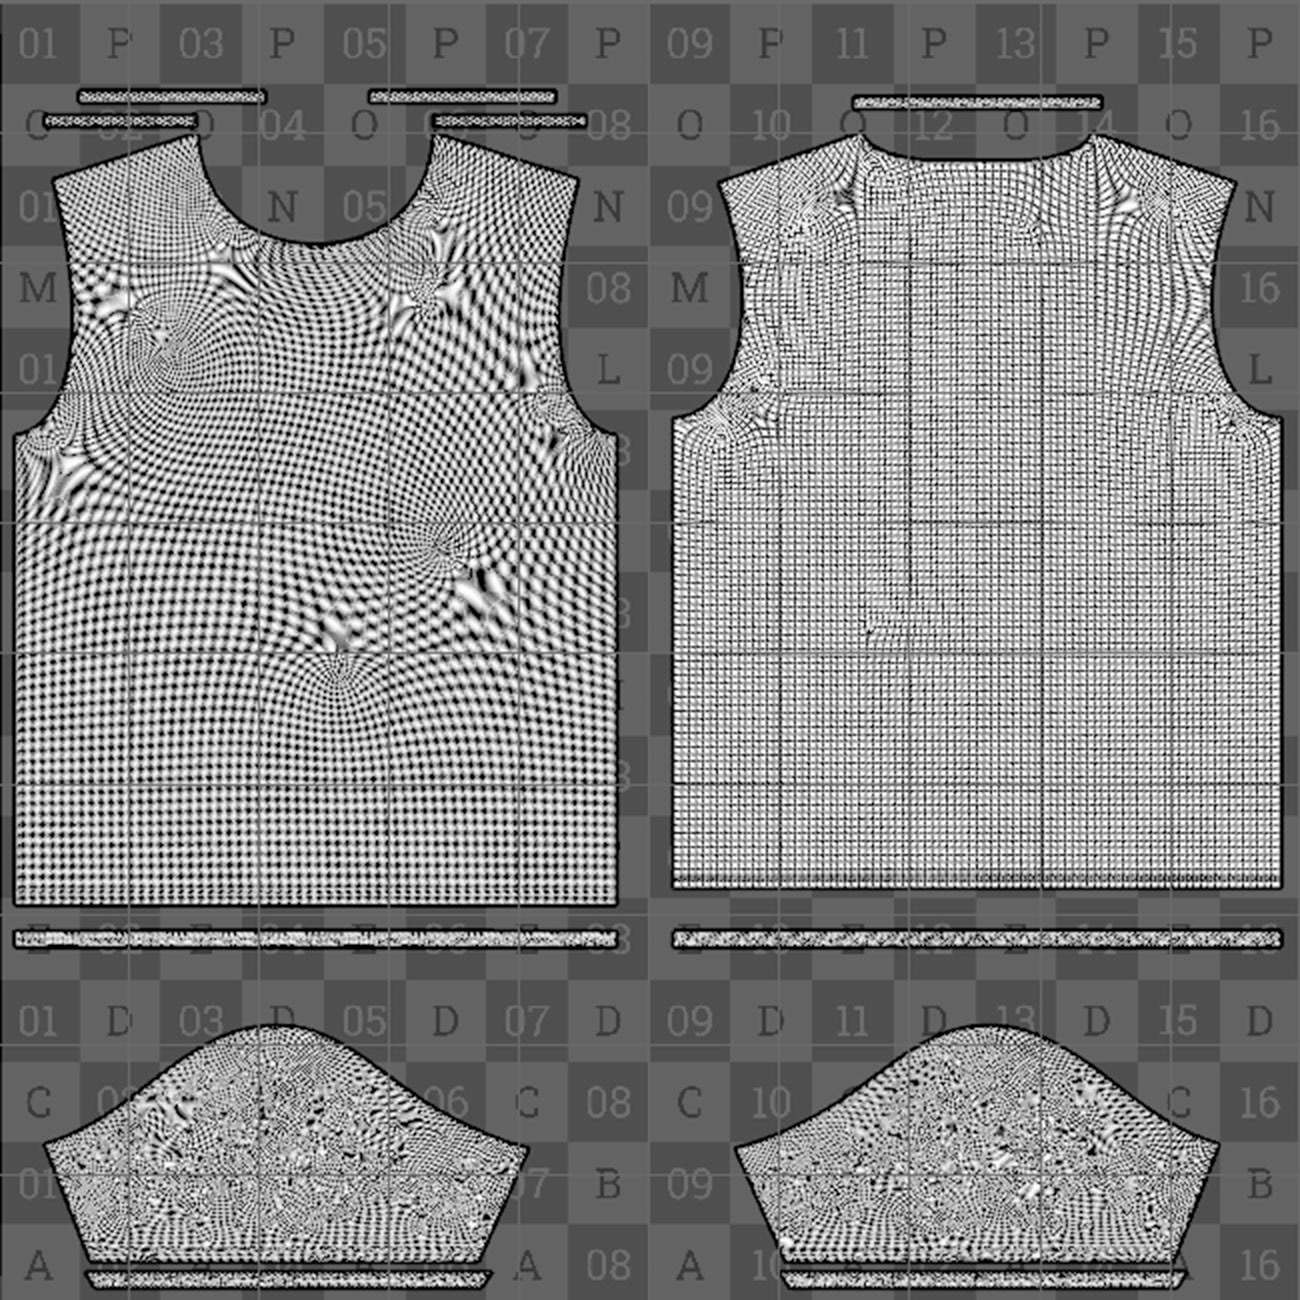
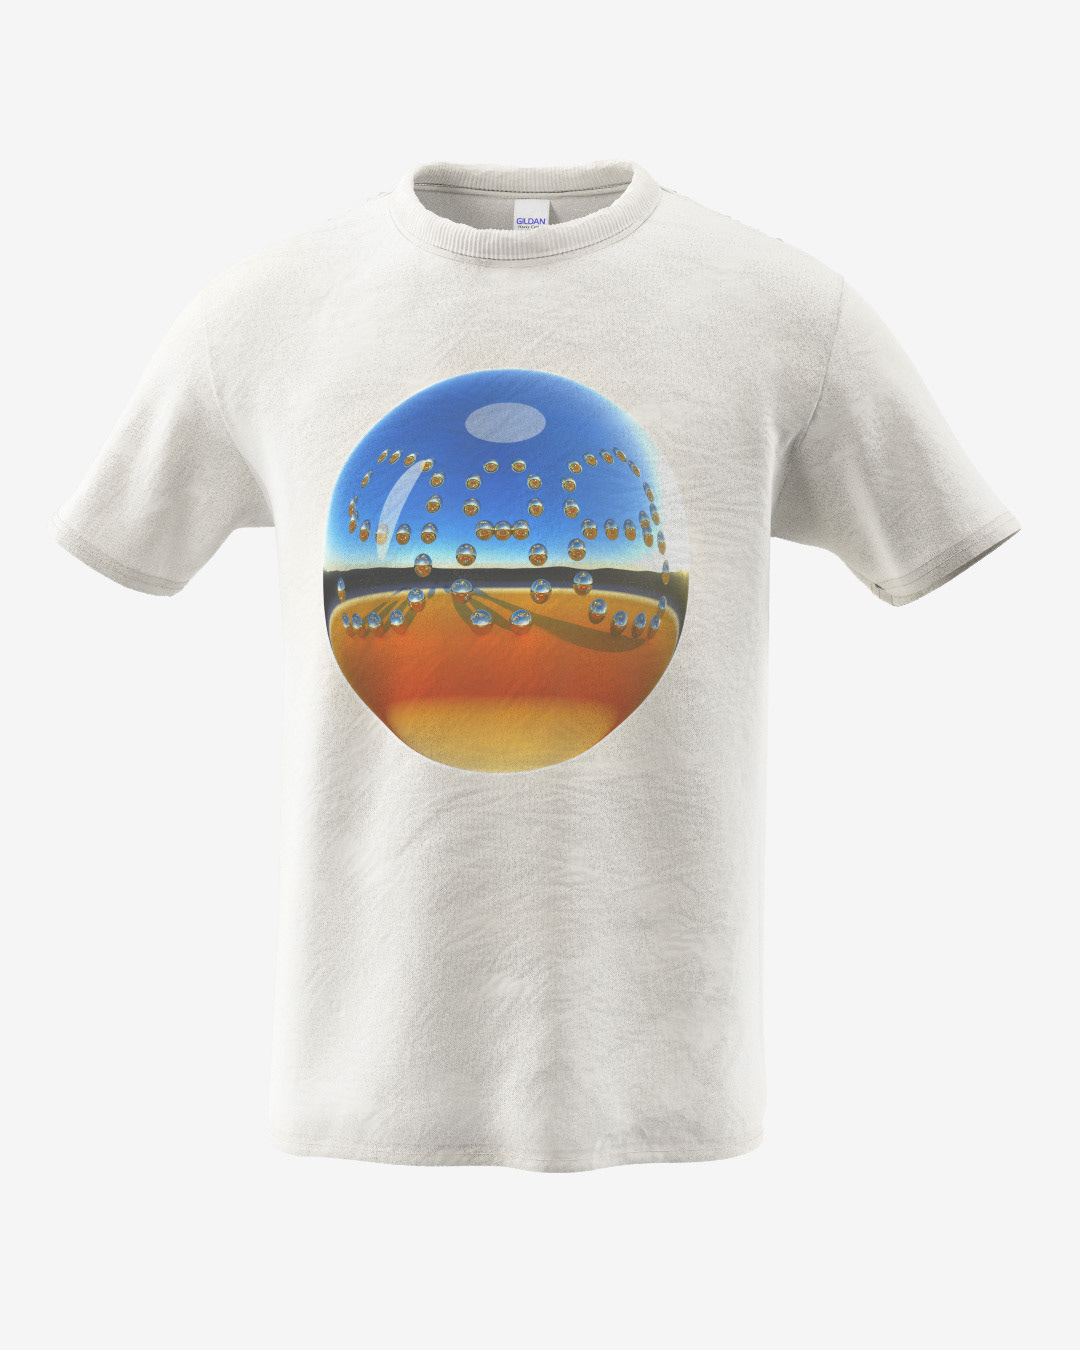
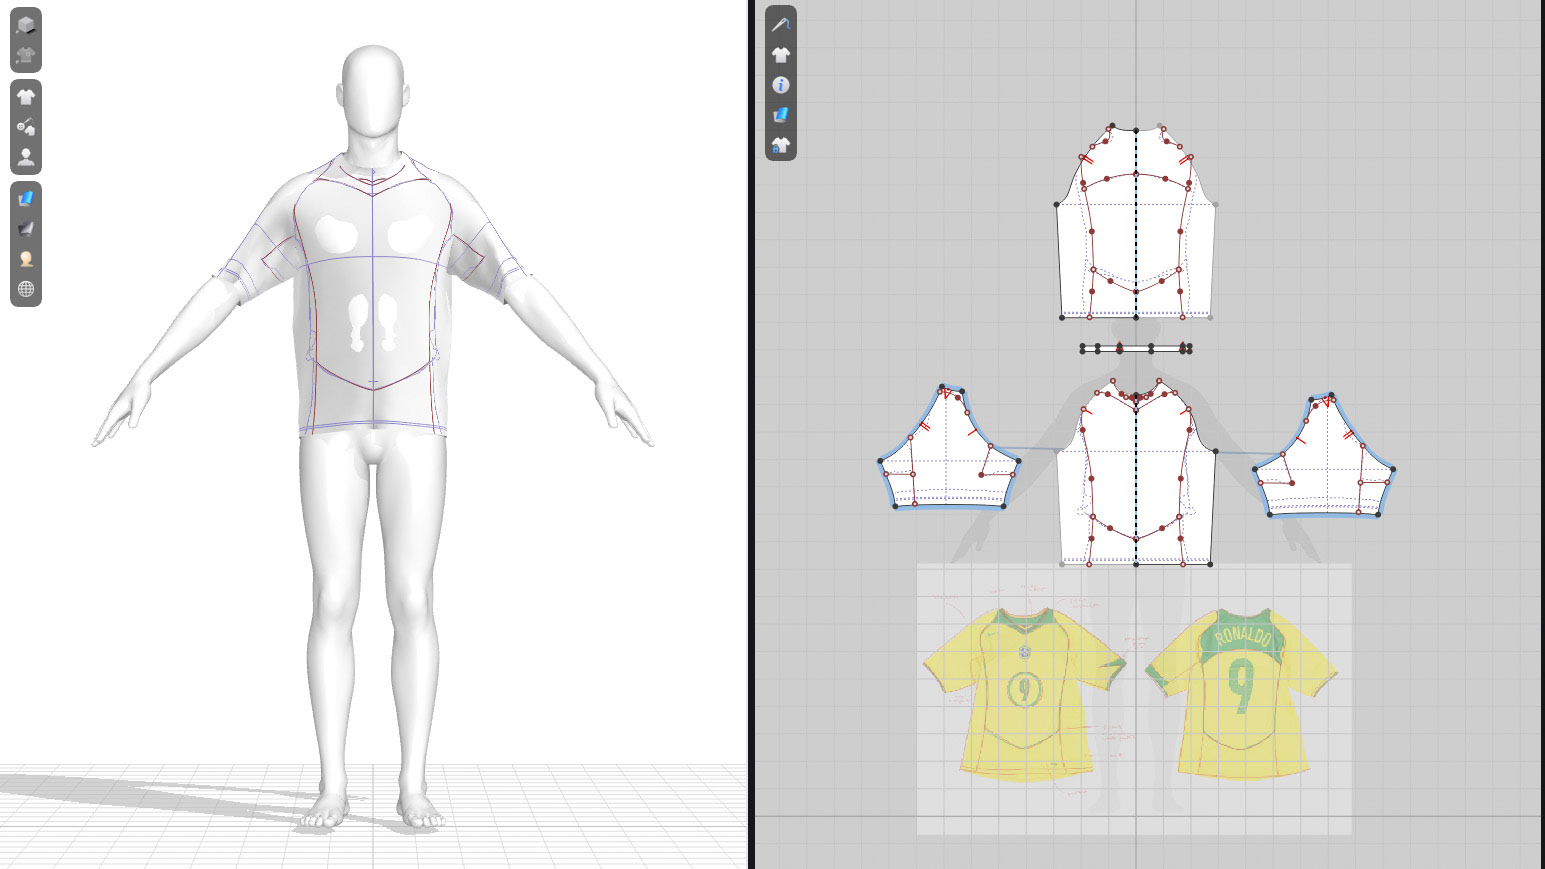
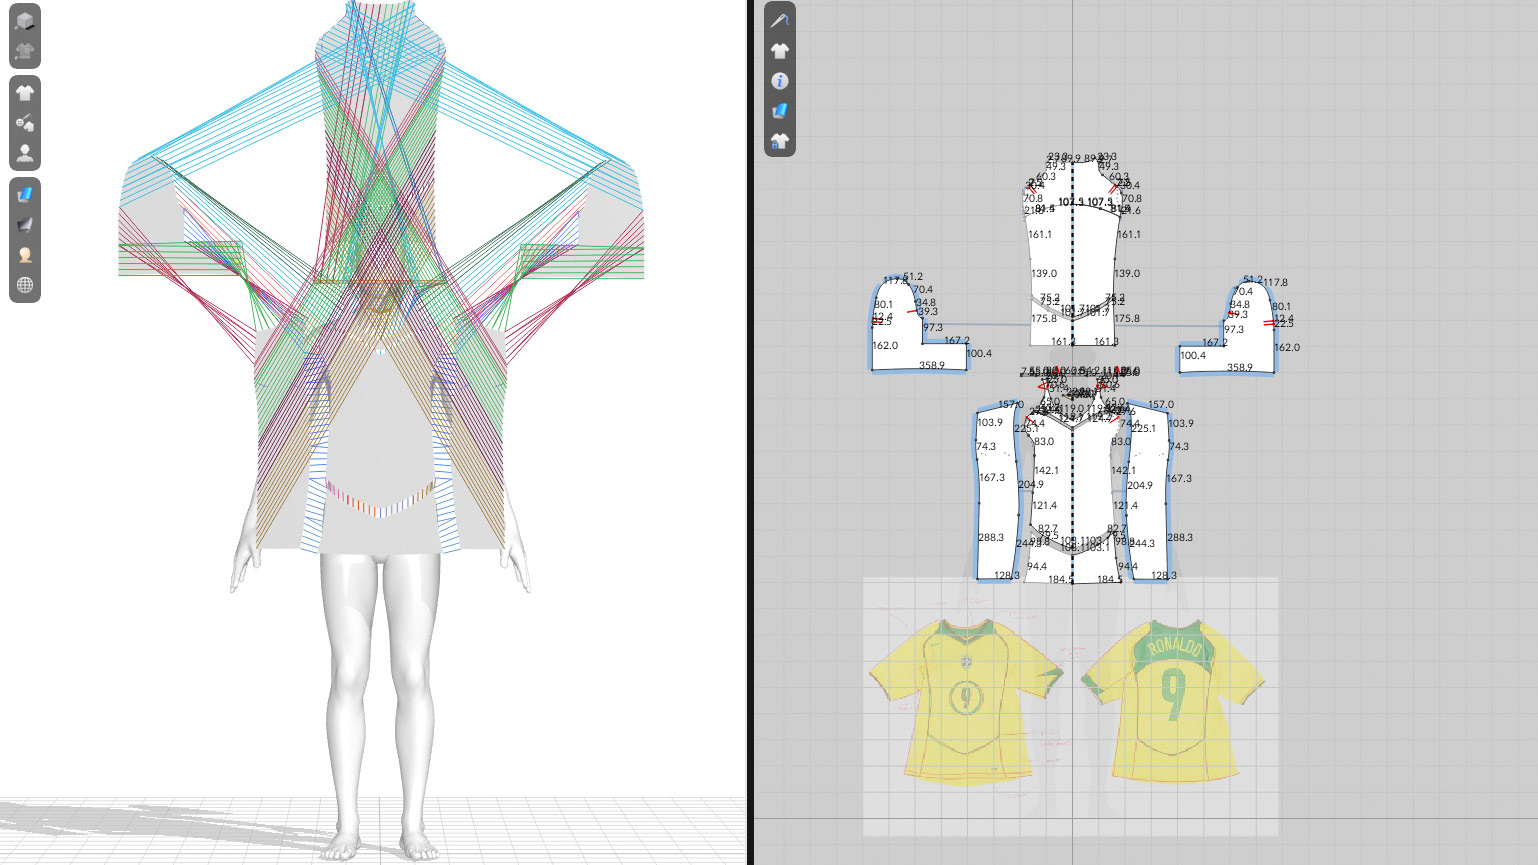
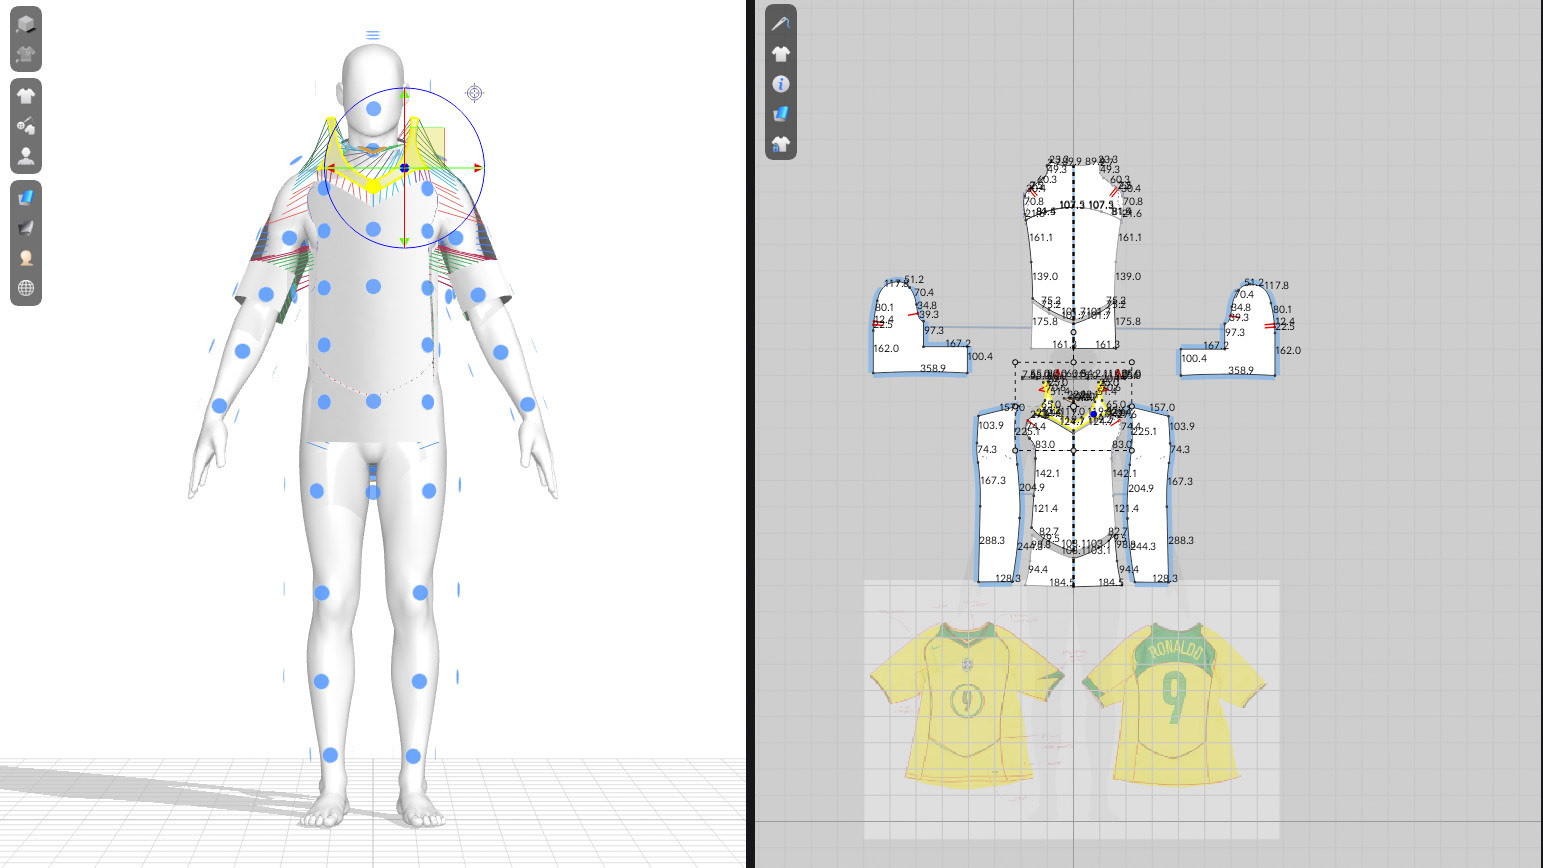
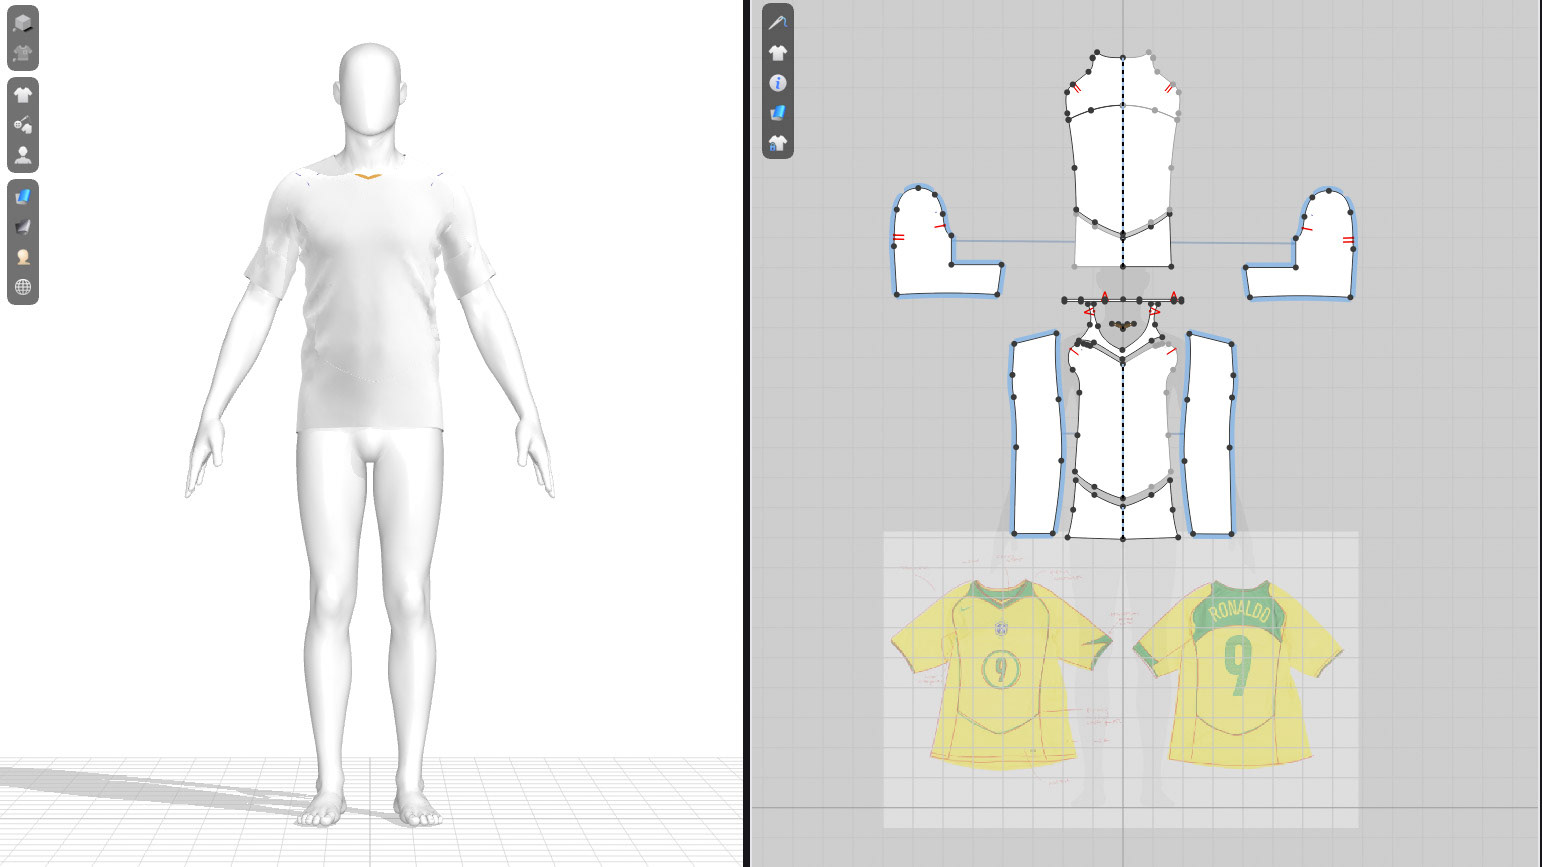
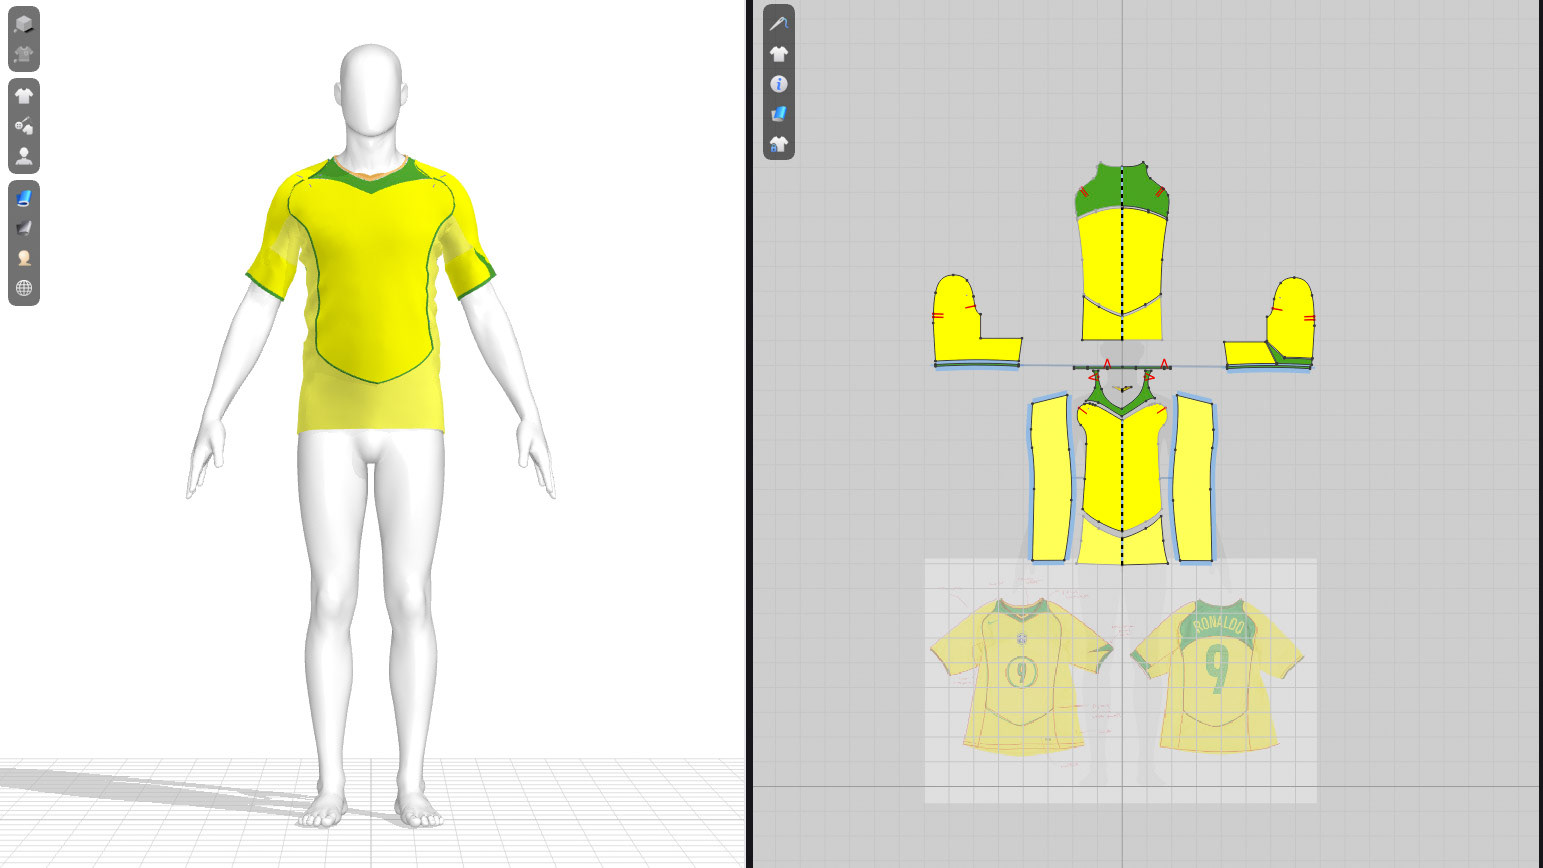
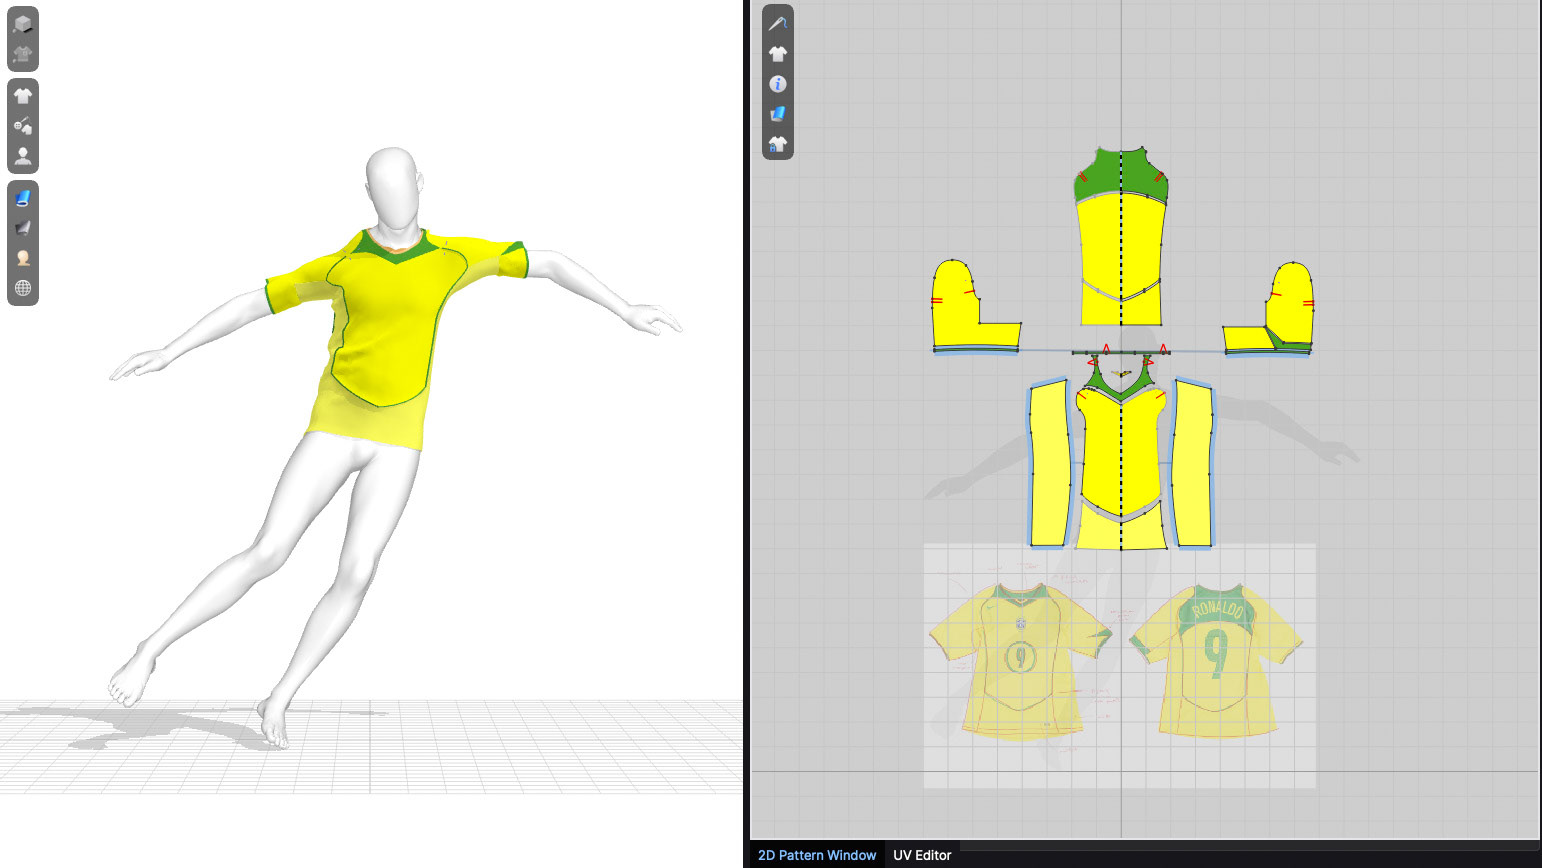
Using the a 2D texture space to apply graphics in 3D allows for complete control, and endless variation. The underlying T-shirt model was constructed by dissecting a medium Gildan 5000, those measurements were used to create a digital pattern in Clo3D.
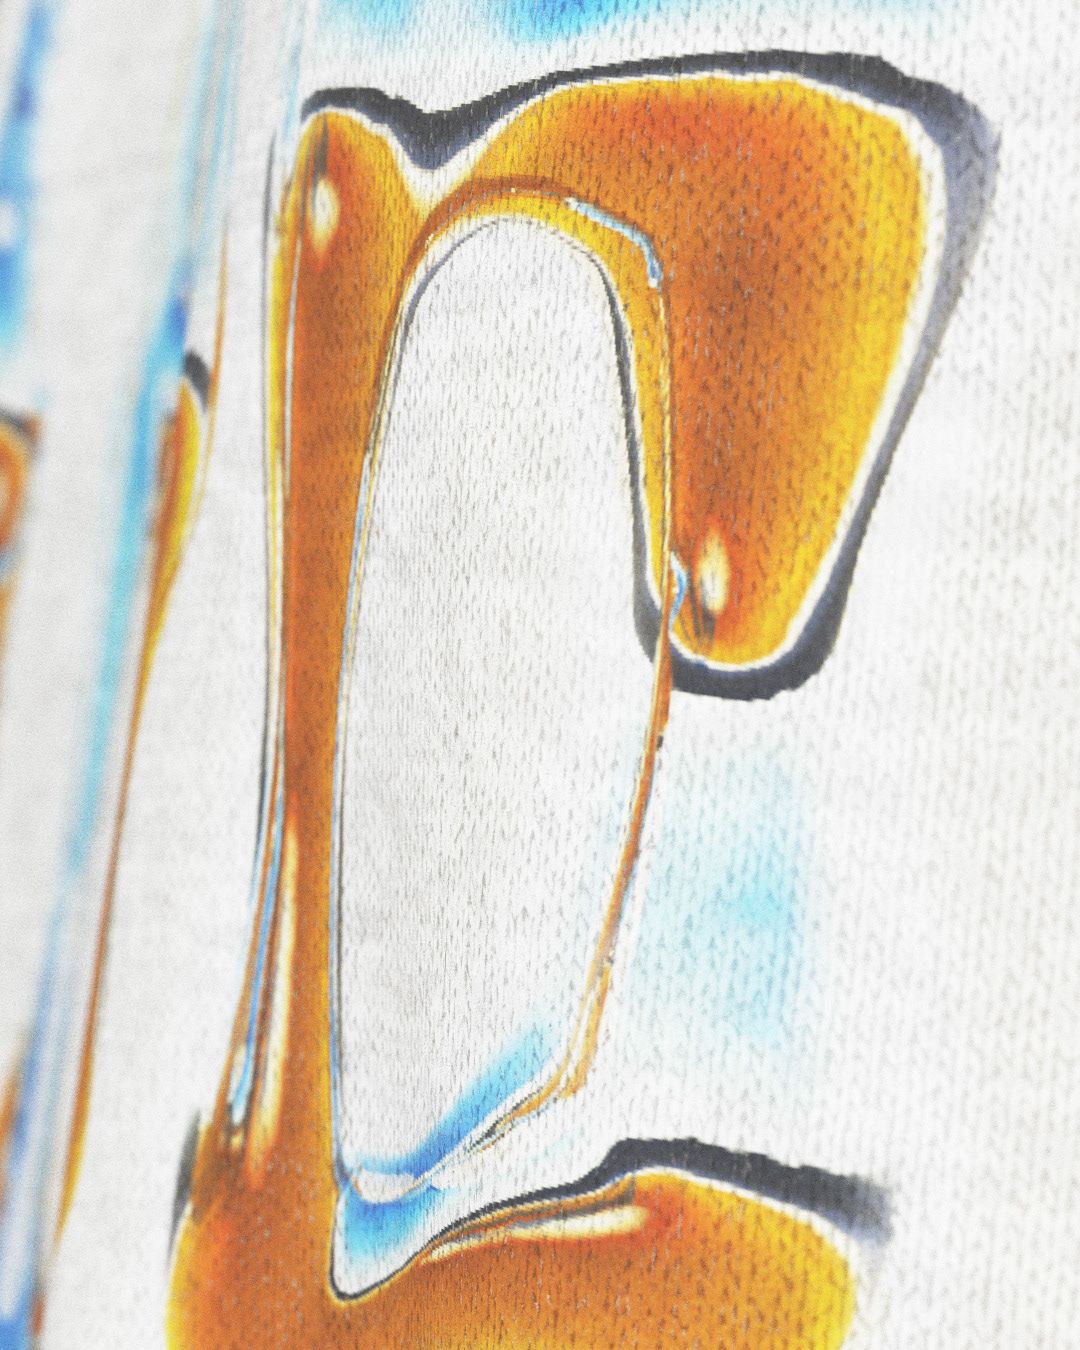
Rendering in Clo3D has its limitations, maintaining the UV Layout or flattened pattern arrangement affords consistency across DCCs.
Rendering in Clo3D has its limitations, maintaining the UV Layout or flattened pattern arrangement affords consistency across DCCs.
Lorem Ipsum
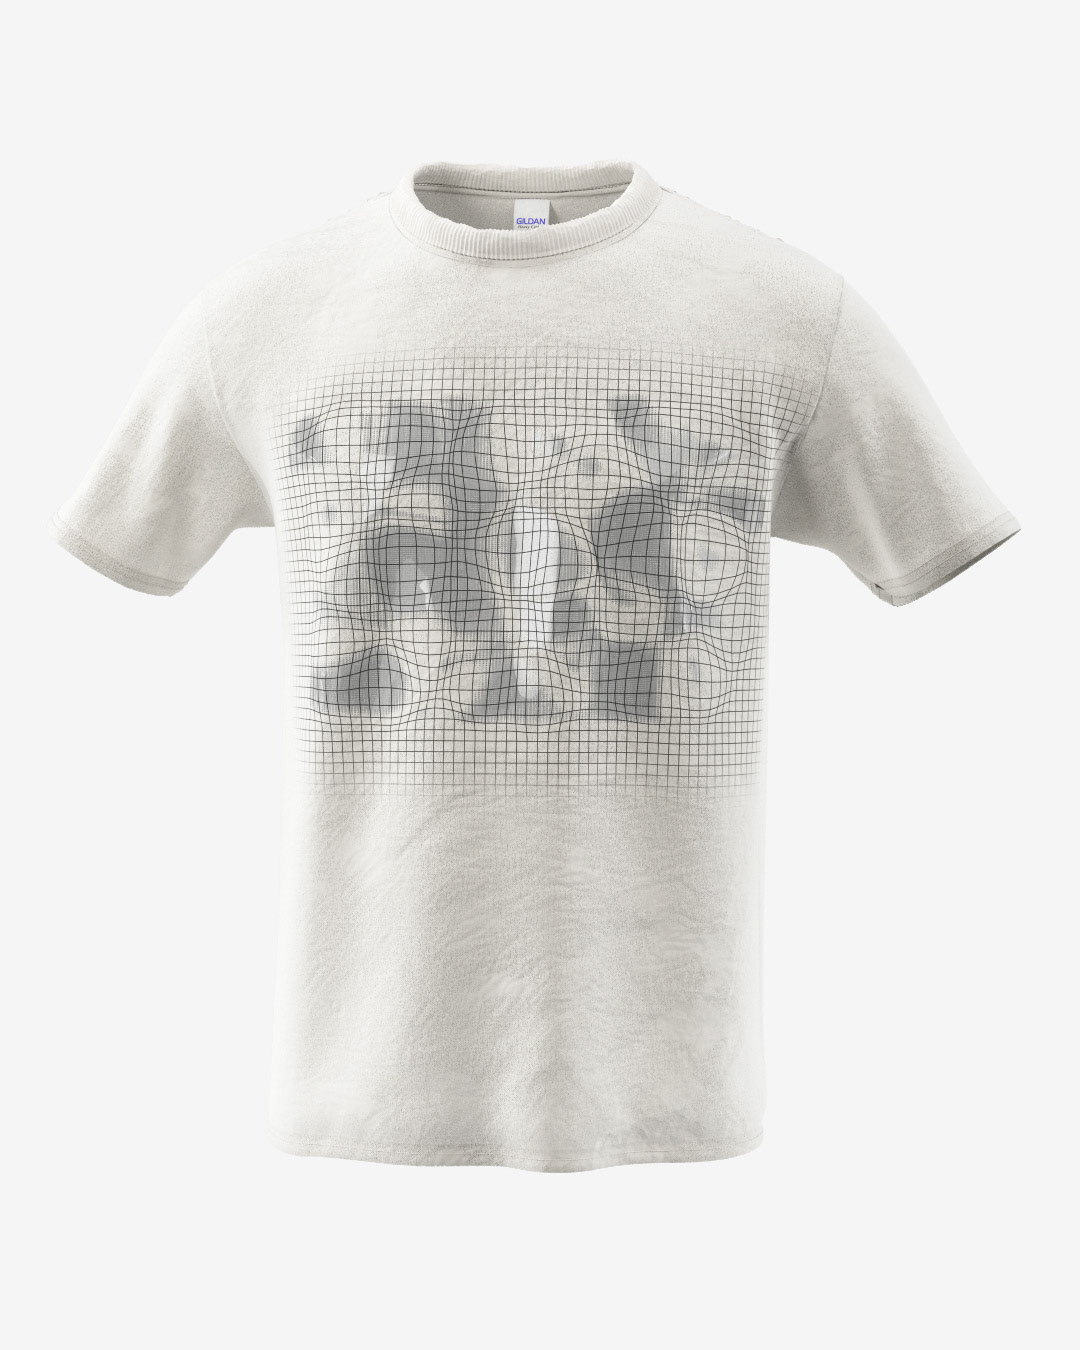
Graphics can be manipulated in a 2D texture space to align across seams this allowing for accurate representation. This process could also be manipulated to accommodate all-over prints where the 2D space would represent the fabric, pattern pieces could then be arranged to fit the desired look.
Lorem Ipsum
Lorem Ipsum
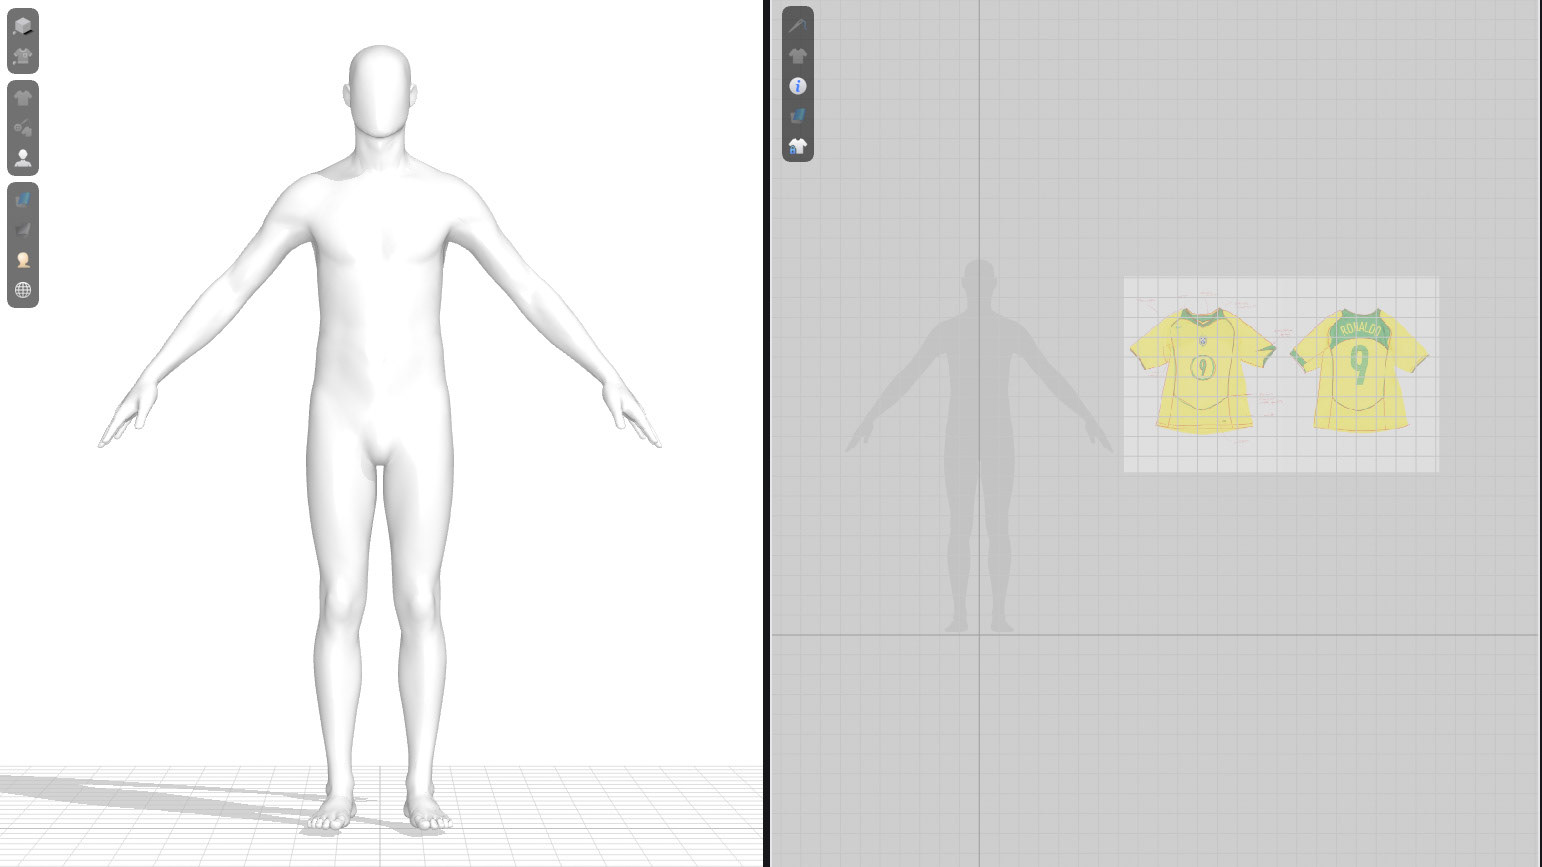
Import Reference Image
Add Basic T-shirt
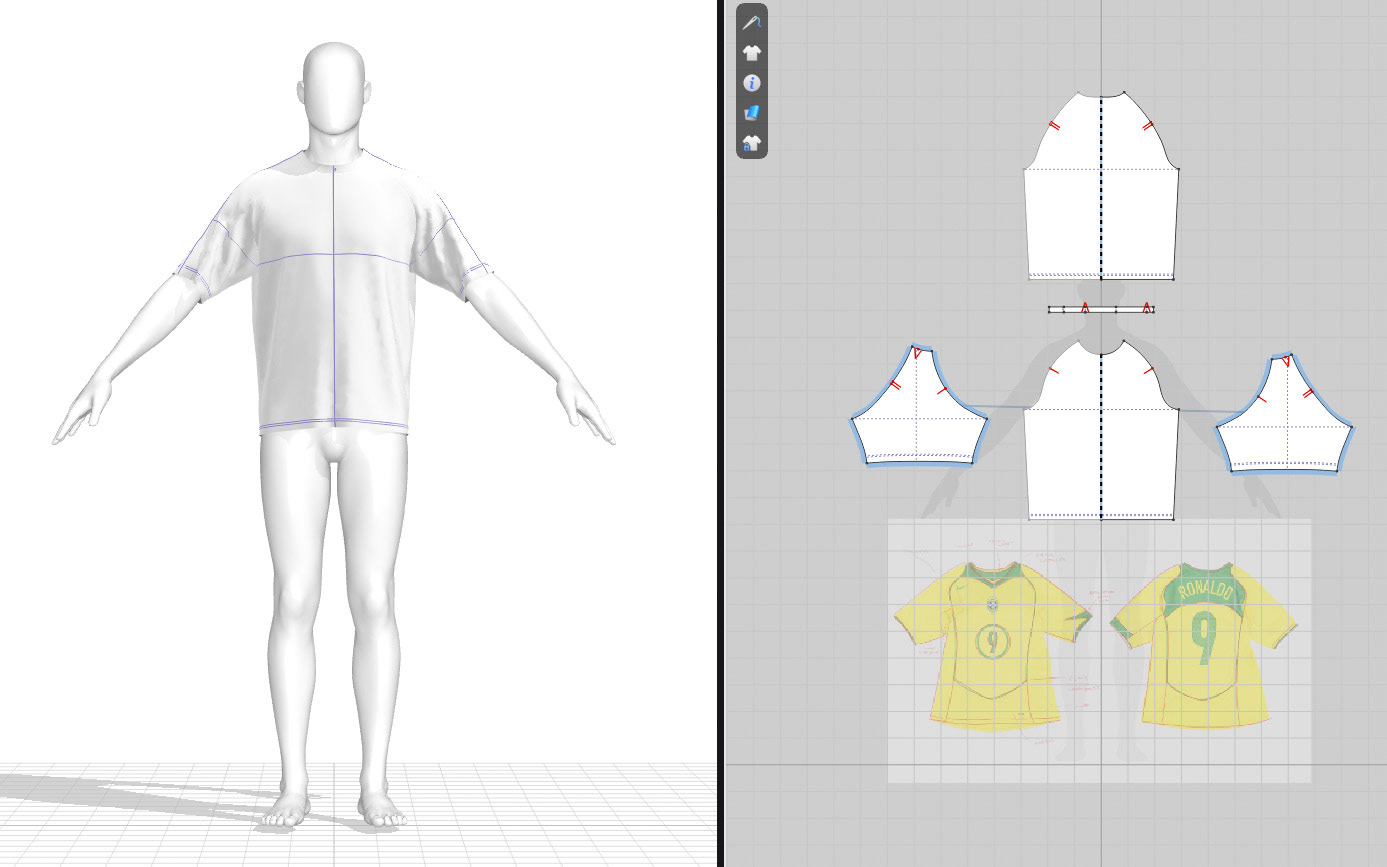
Sketch Style Lines
Convert To Baselines
Cut and Sew
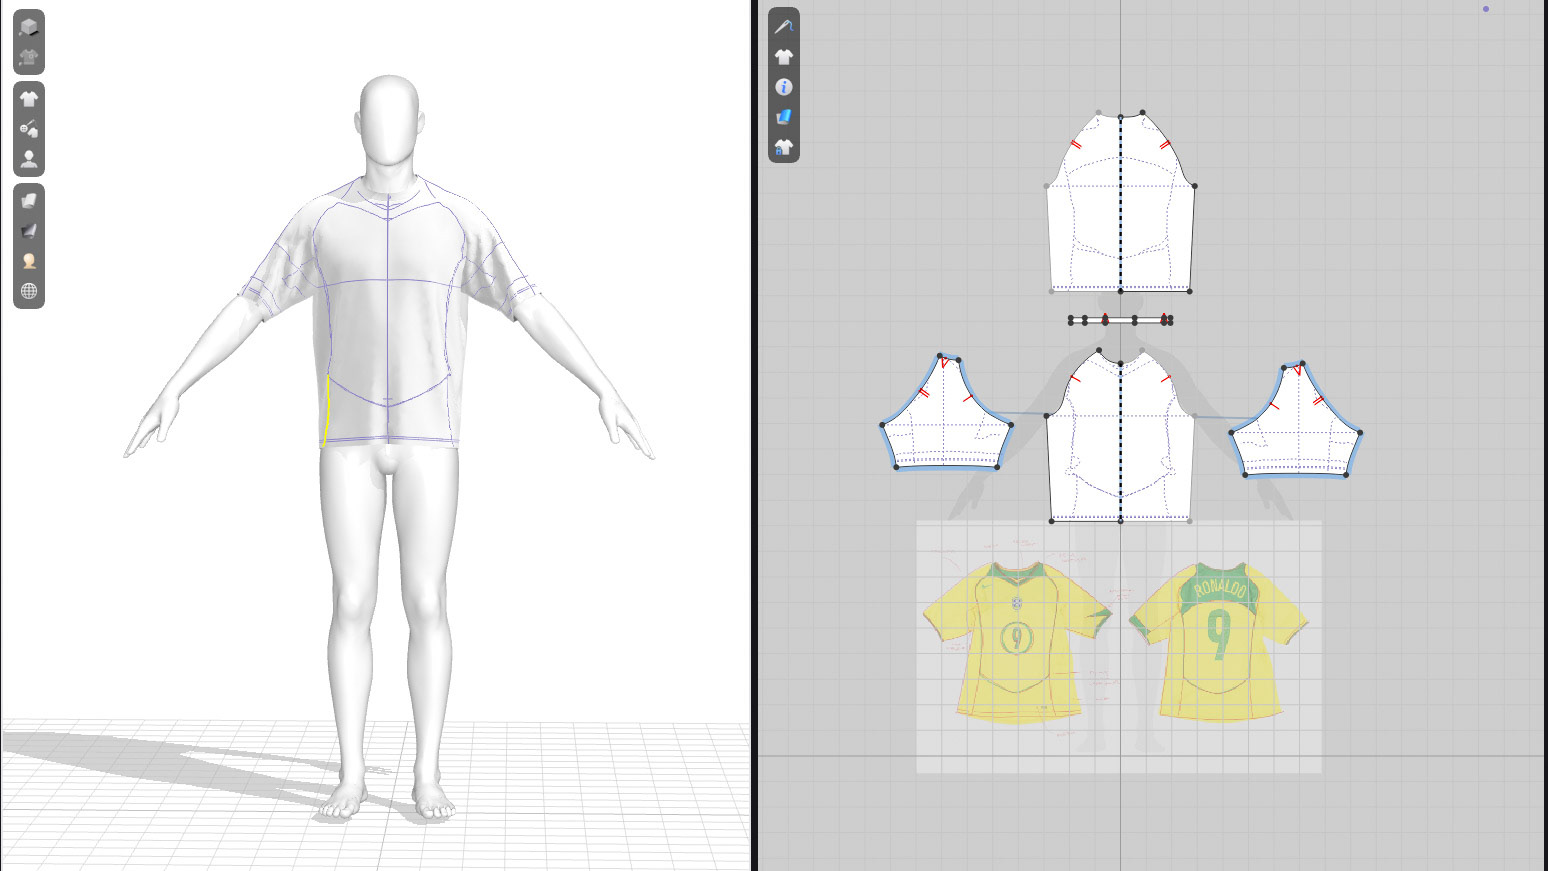
Reposition in 3D
Drape and Simulate
Add Materials
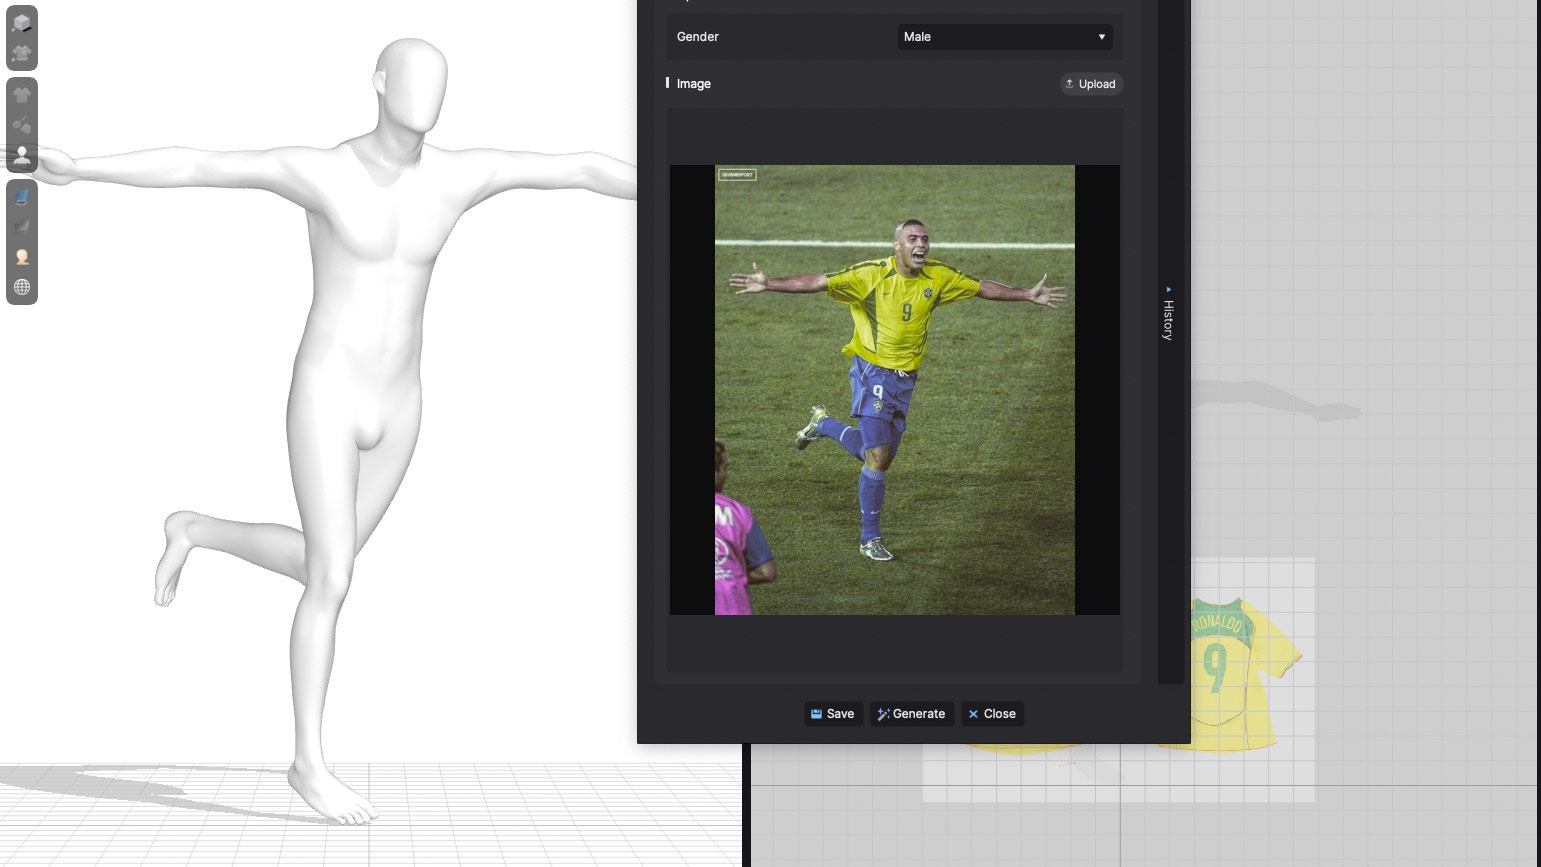
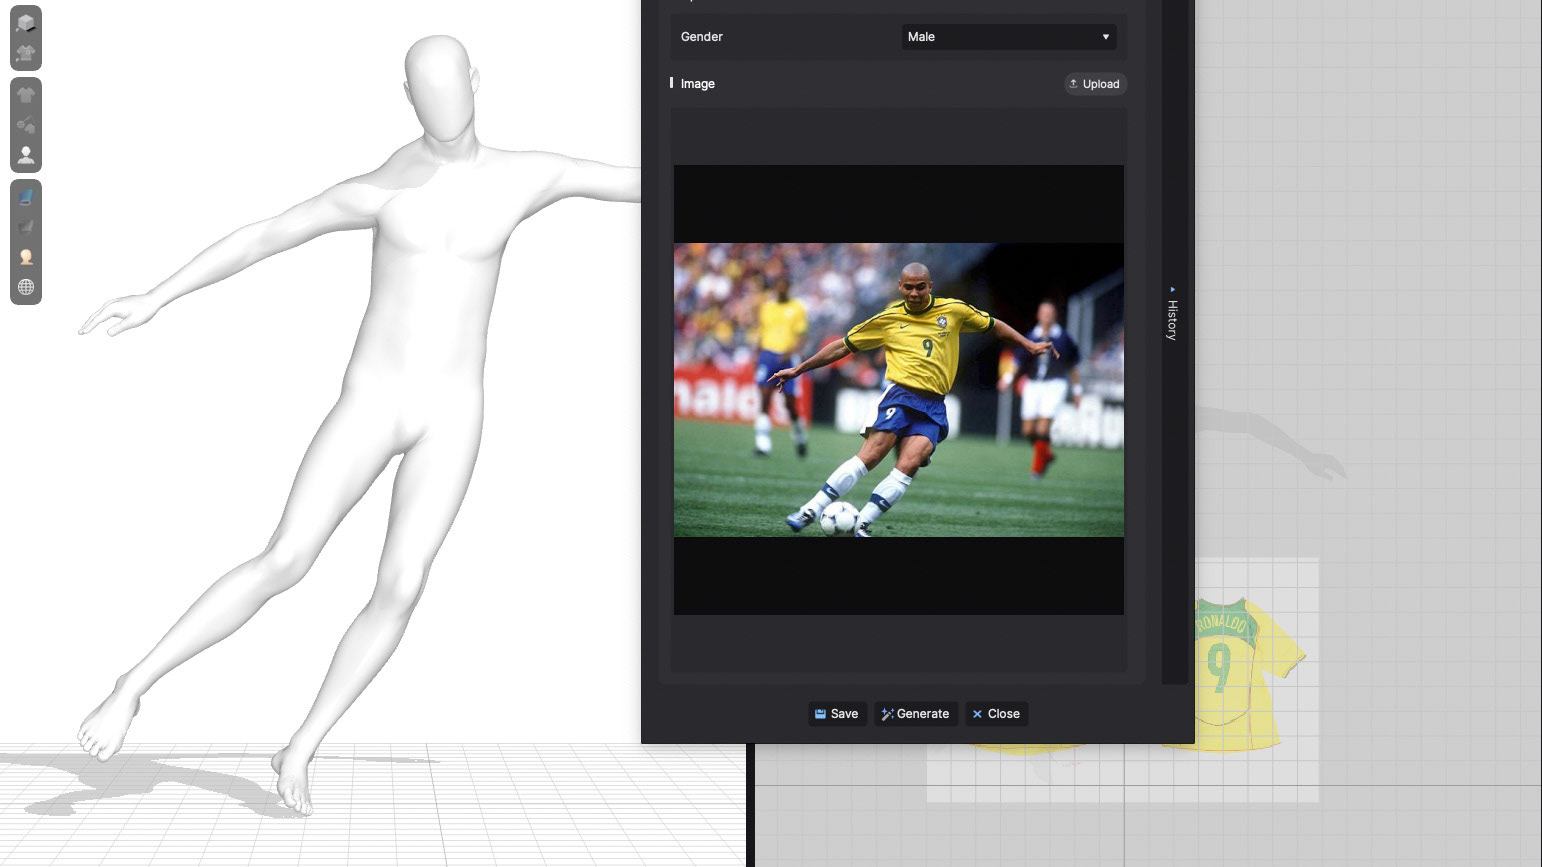
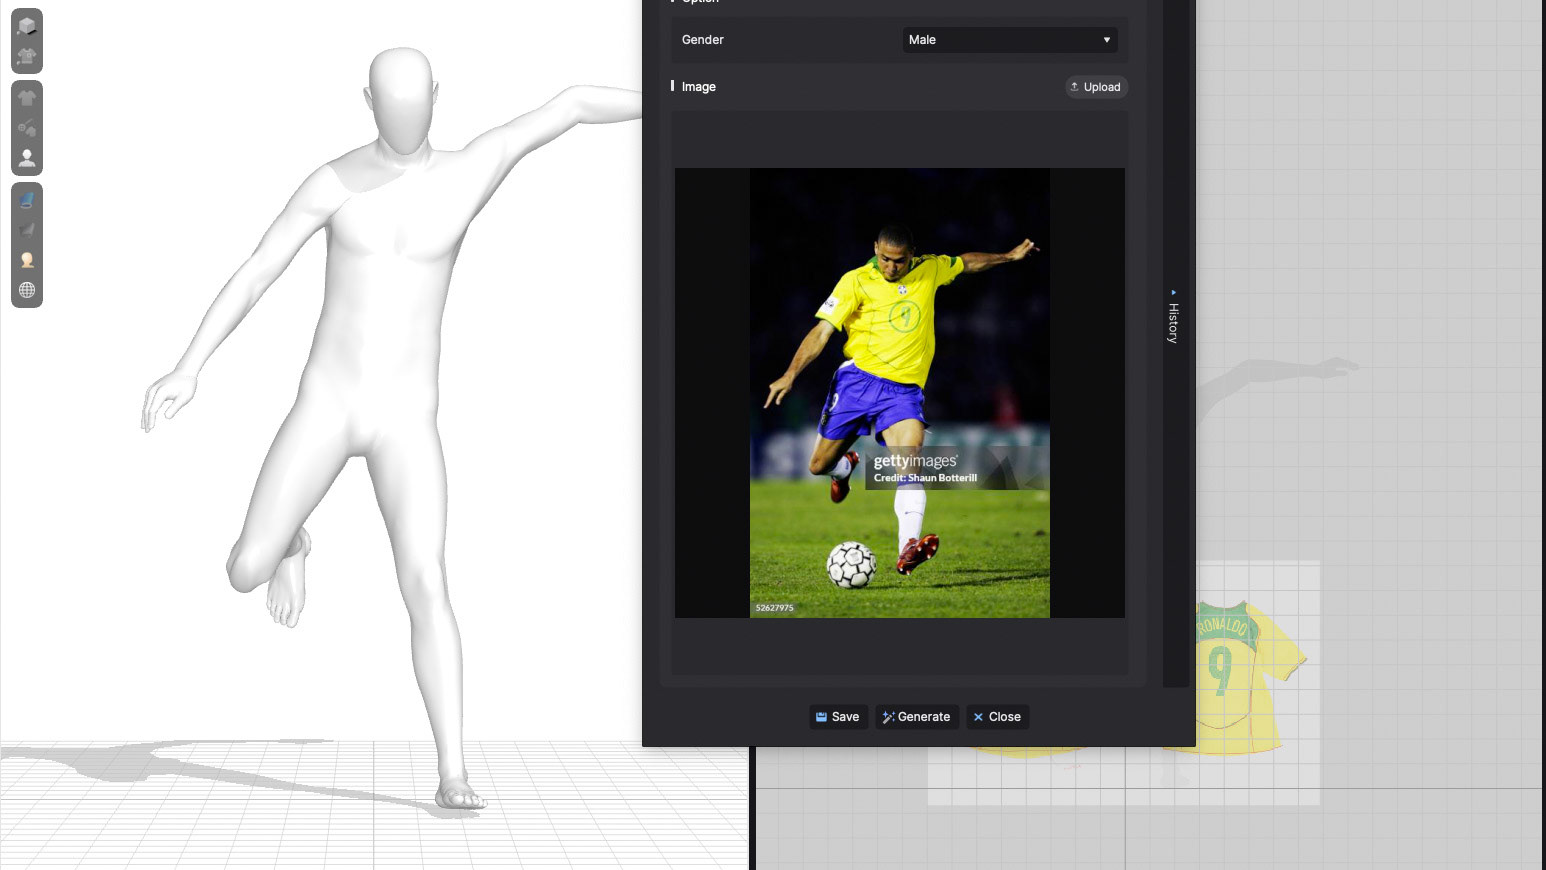
Following the garment design process by using CLO's new AI image to pose to create unique poses from uploaded images those are then saved and used to adjust the original model.
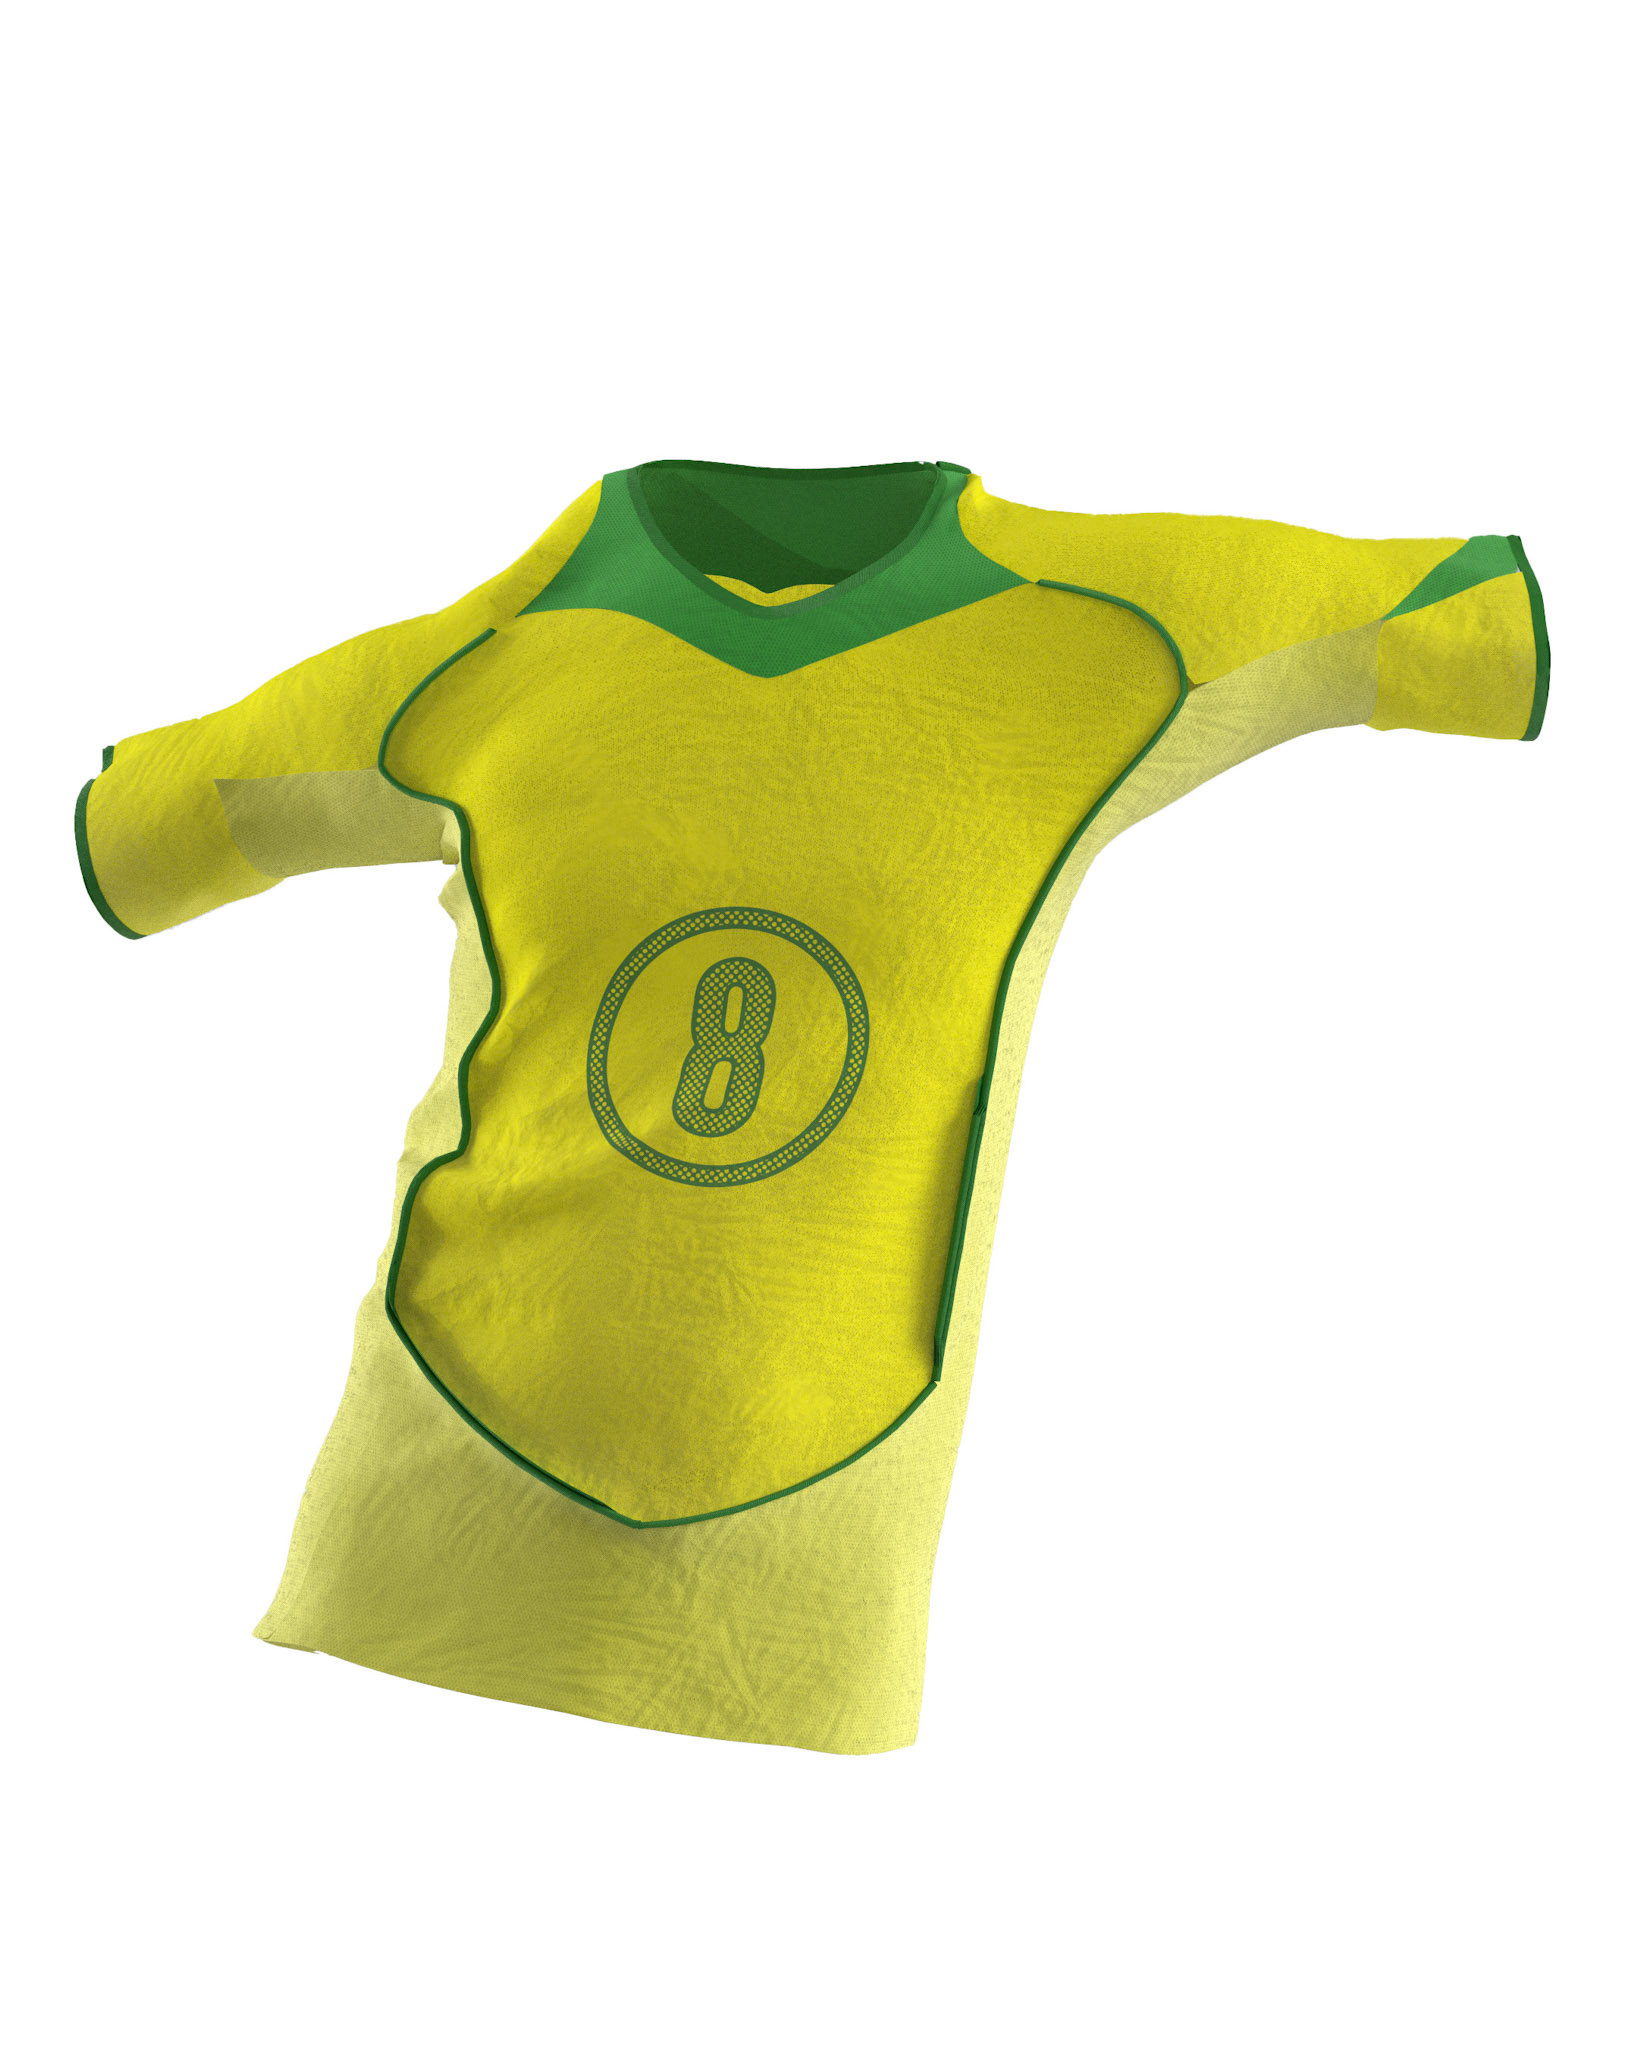
The garment is then exported as a 3D model and imported into Houdini for rendering. Applying materials in CLO creates a material name attribute in Houdini which can be used to split the model into parts. This method can be useful when adding additional geometric details such as ribbing, it also increases efficiency when applying textures. With a simple lighting setup, the render is then converted to a bitmap in Photoshop (Below). These are recombined in Illustrator according to the UV map of the original T-shirt creating a 3D feedback loop of sorts. The UV map is used as a blending mask that combines the textile material with an ink like material.

Lorem Ipsum
Lorem Ipsum