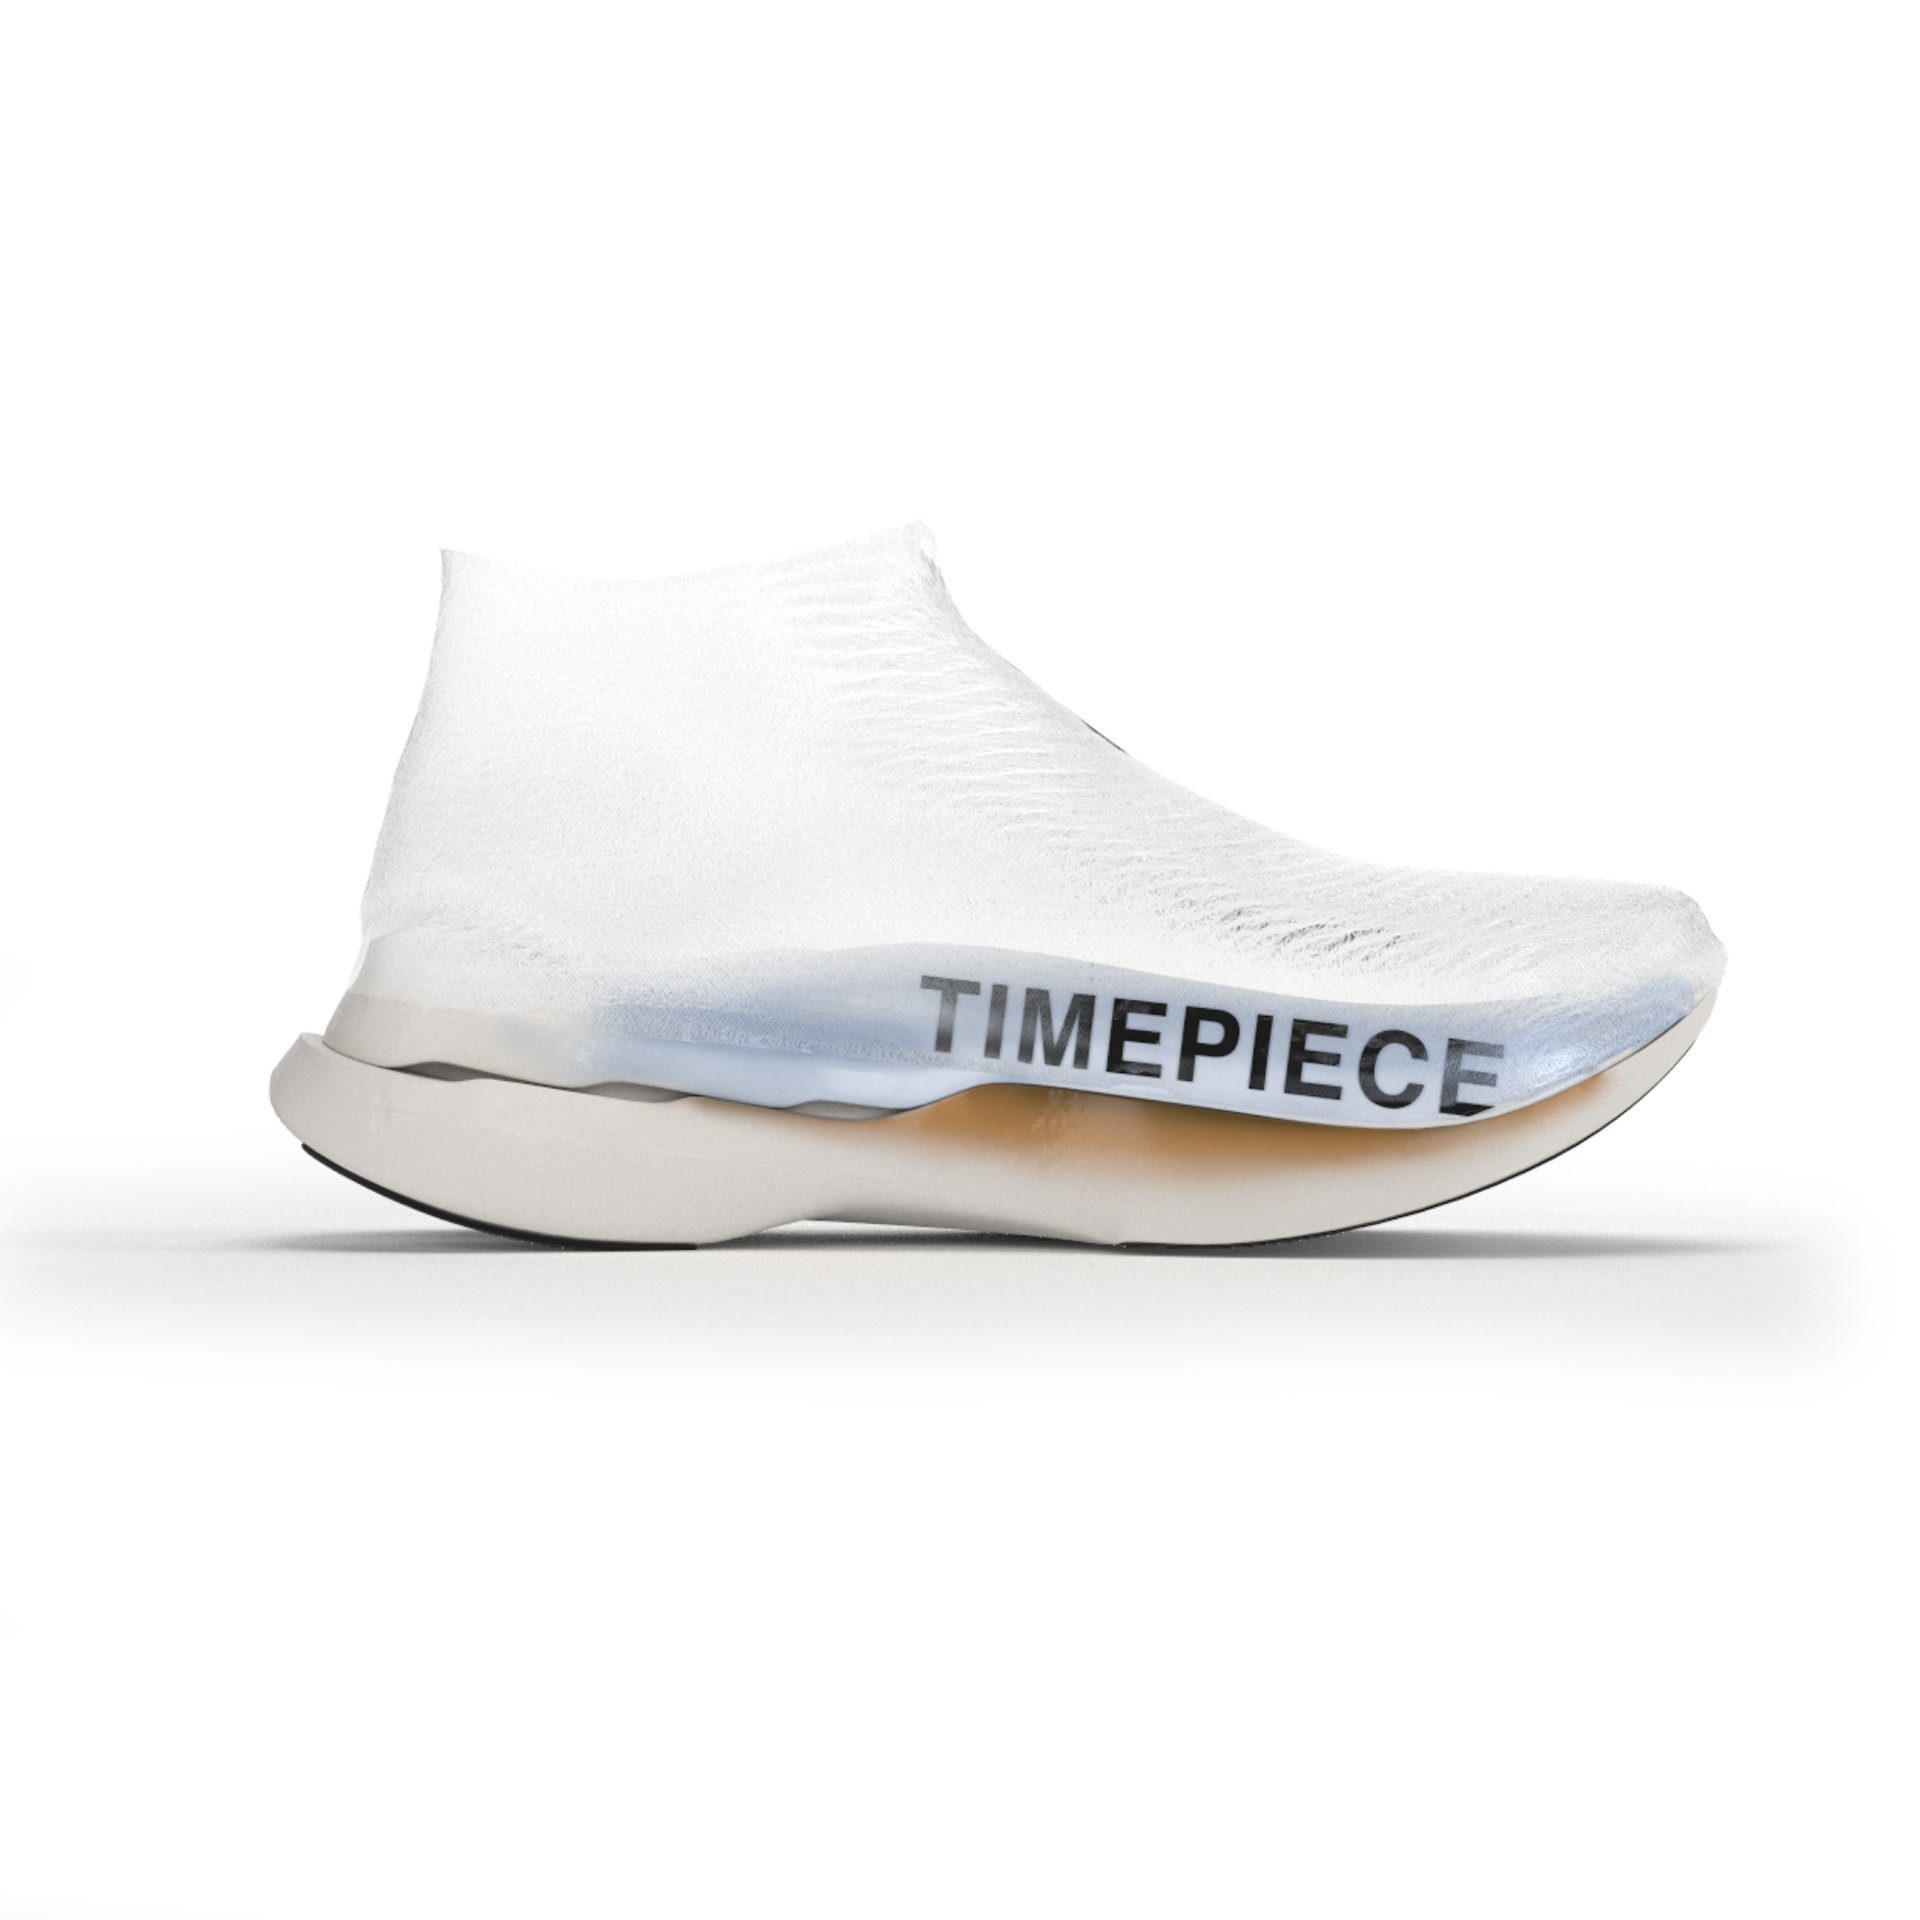
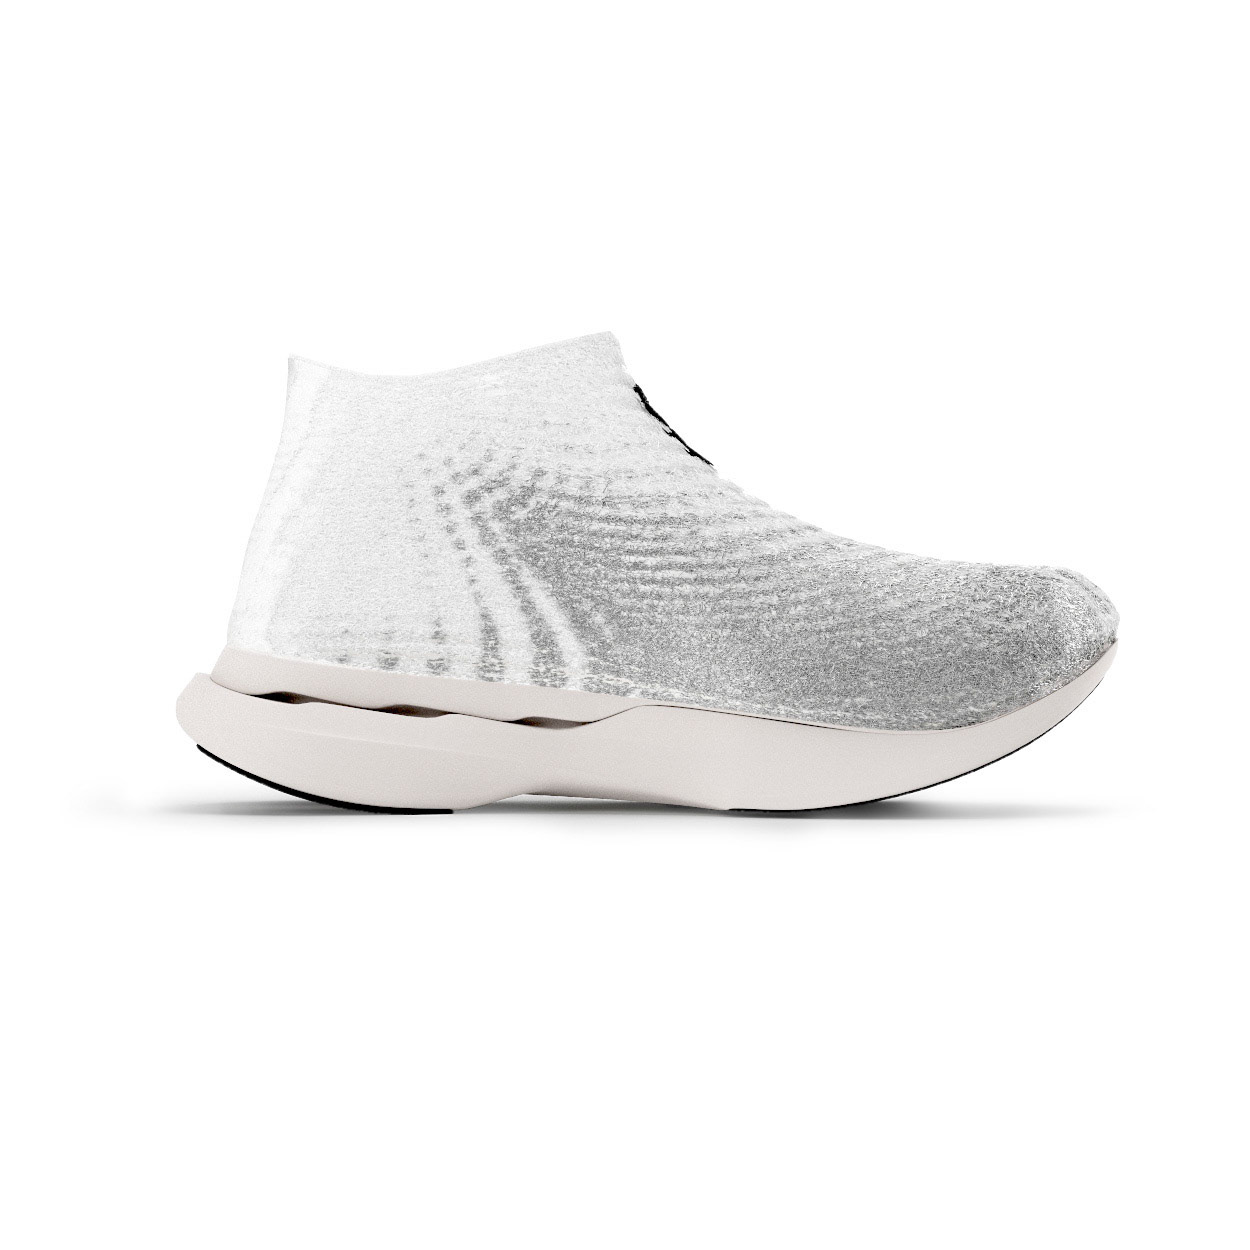
Development of a digital twin for an unreleased product featuring innovative materiality, exploring advanced texture and geometry creation through procedural methods in Houdini.
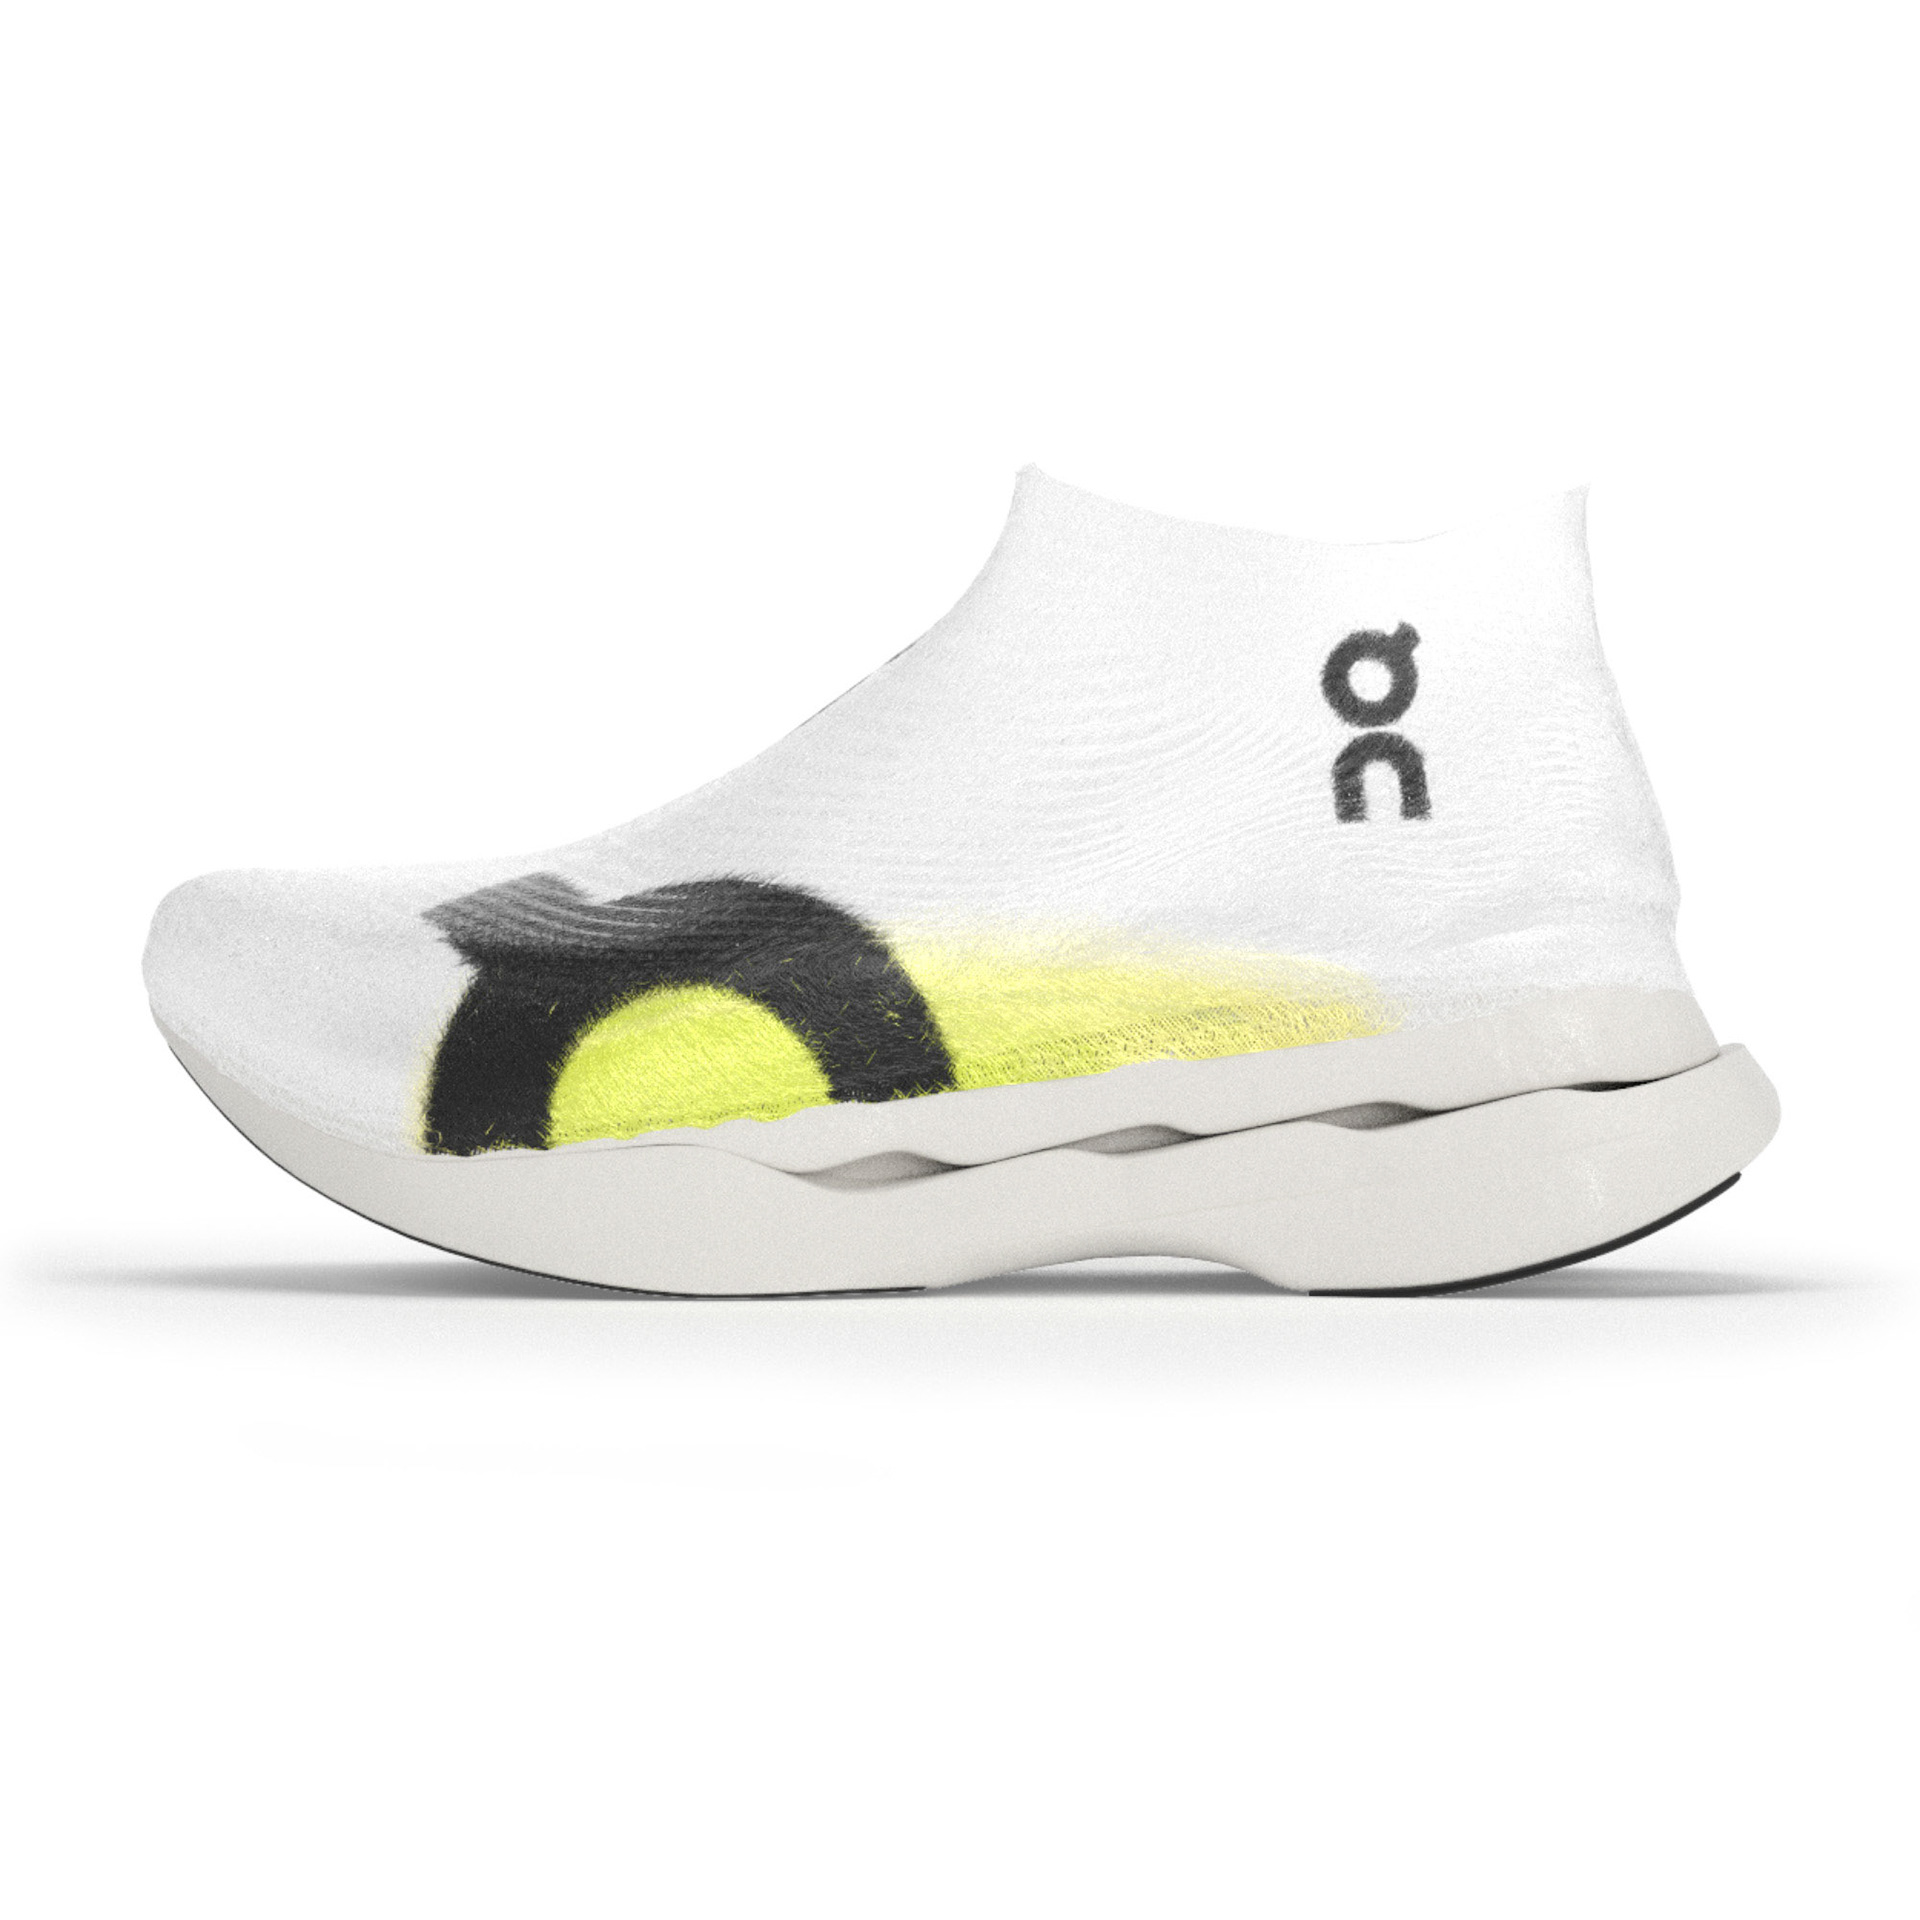
On Cloud Cloudboom Strike LS
On Cloud Cloudboom Strike LS
Technical Development, Modelling and Rendering.
Model: Clo3D, Blender, and Houdini
Render: Redshift
Model: Clo3D, Blender, and Houdini
Render: Redshift


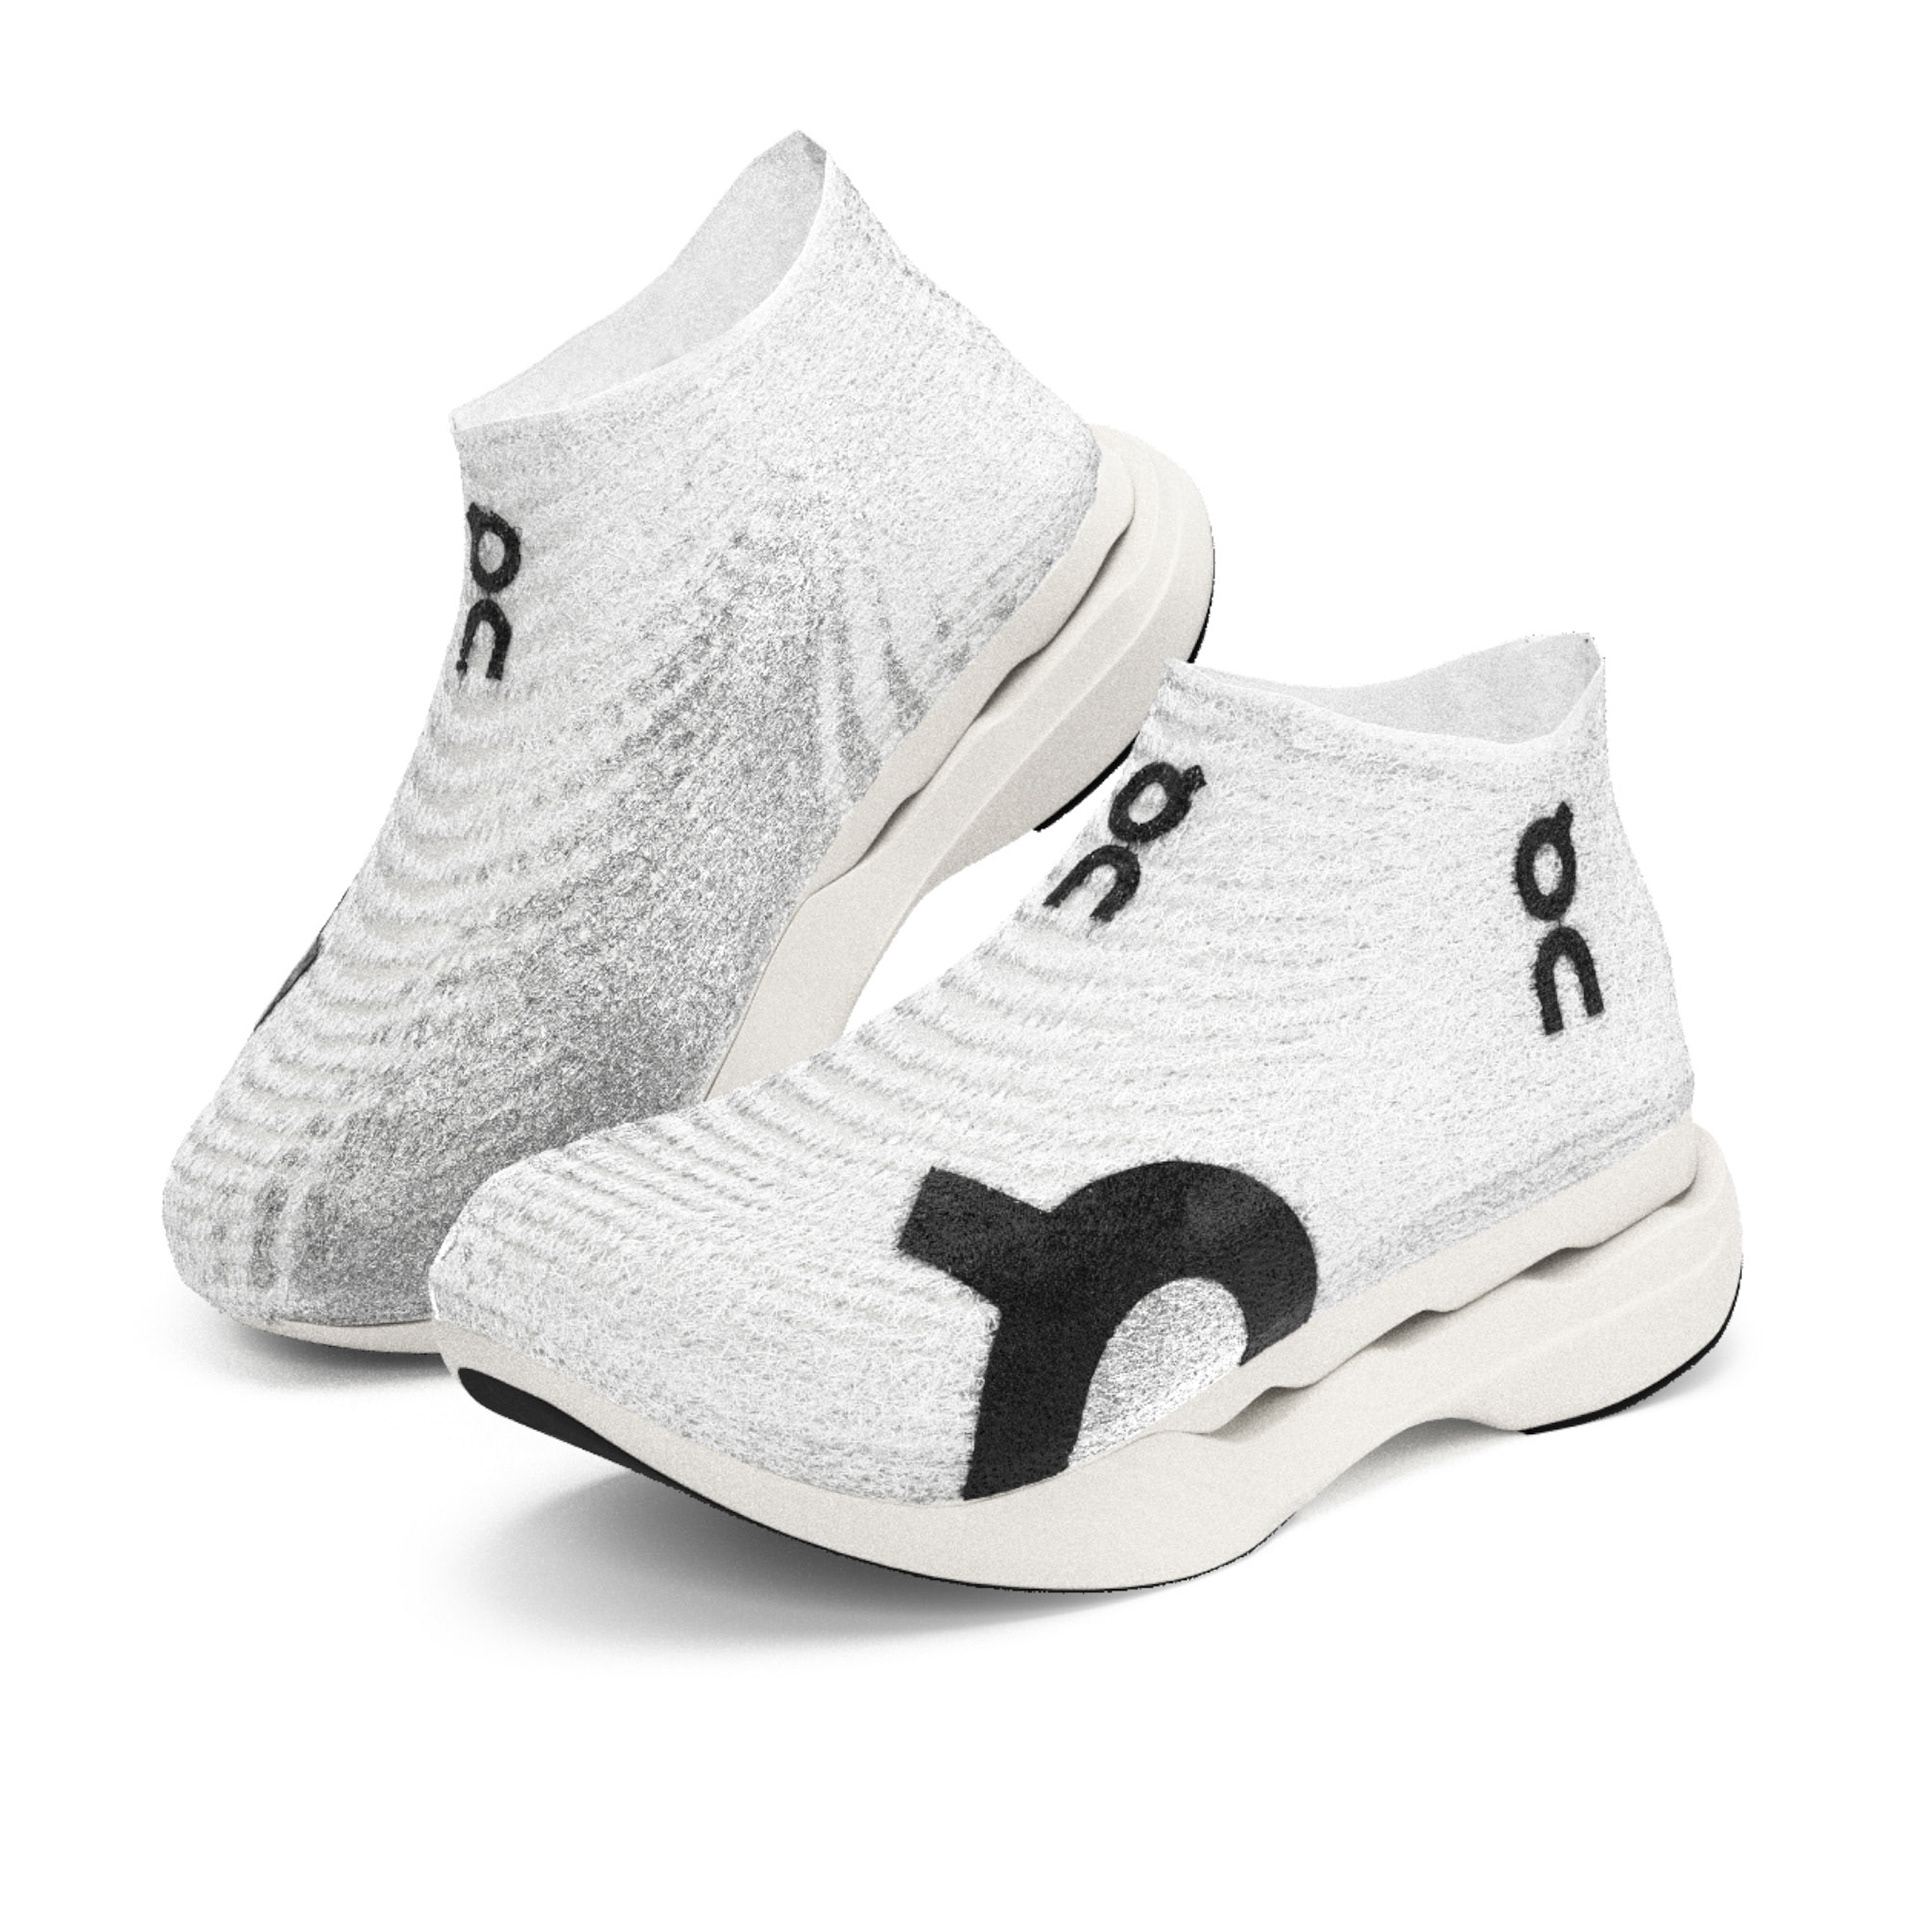

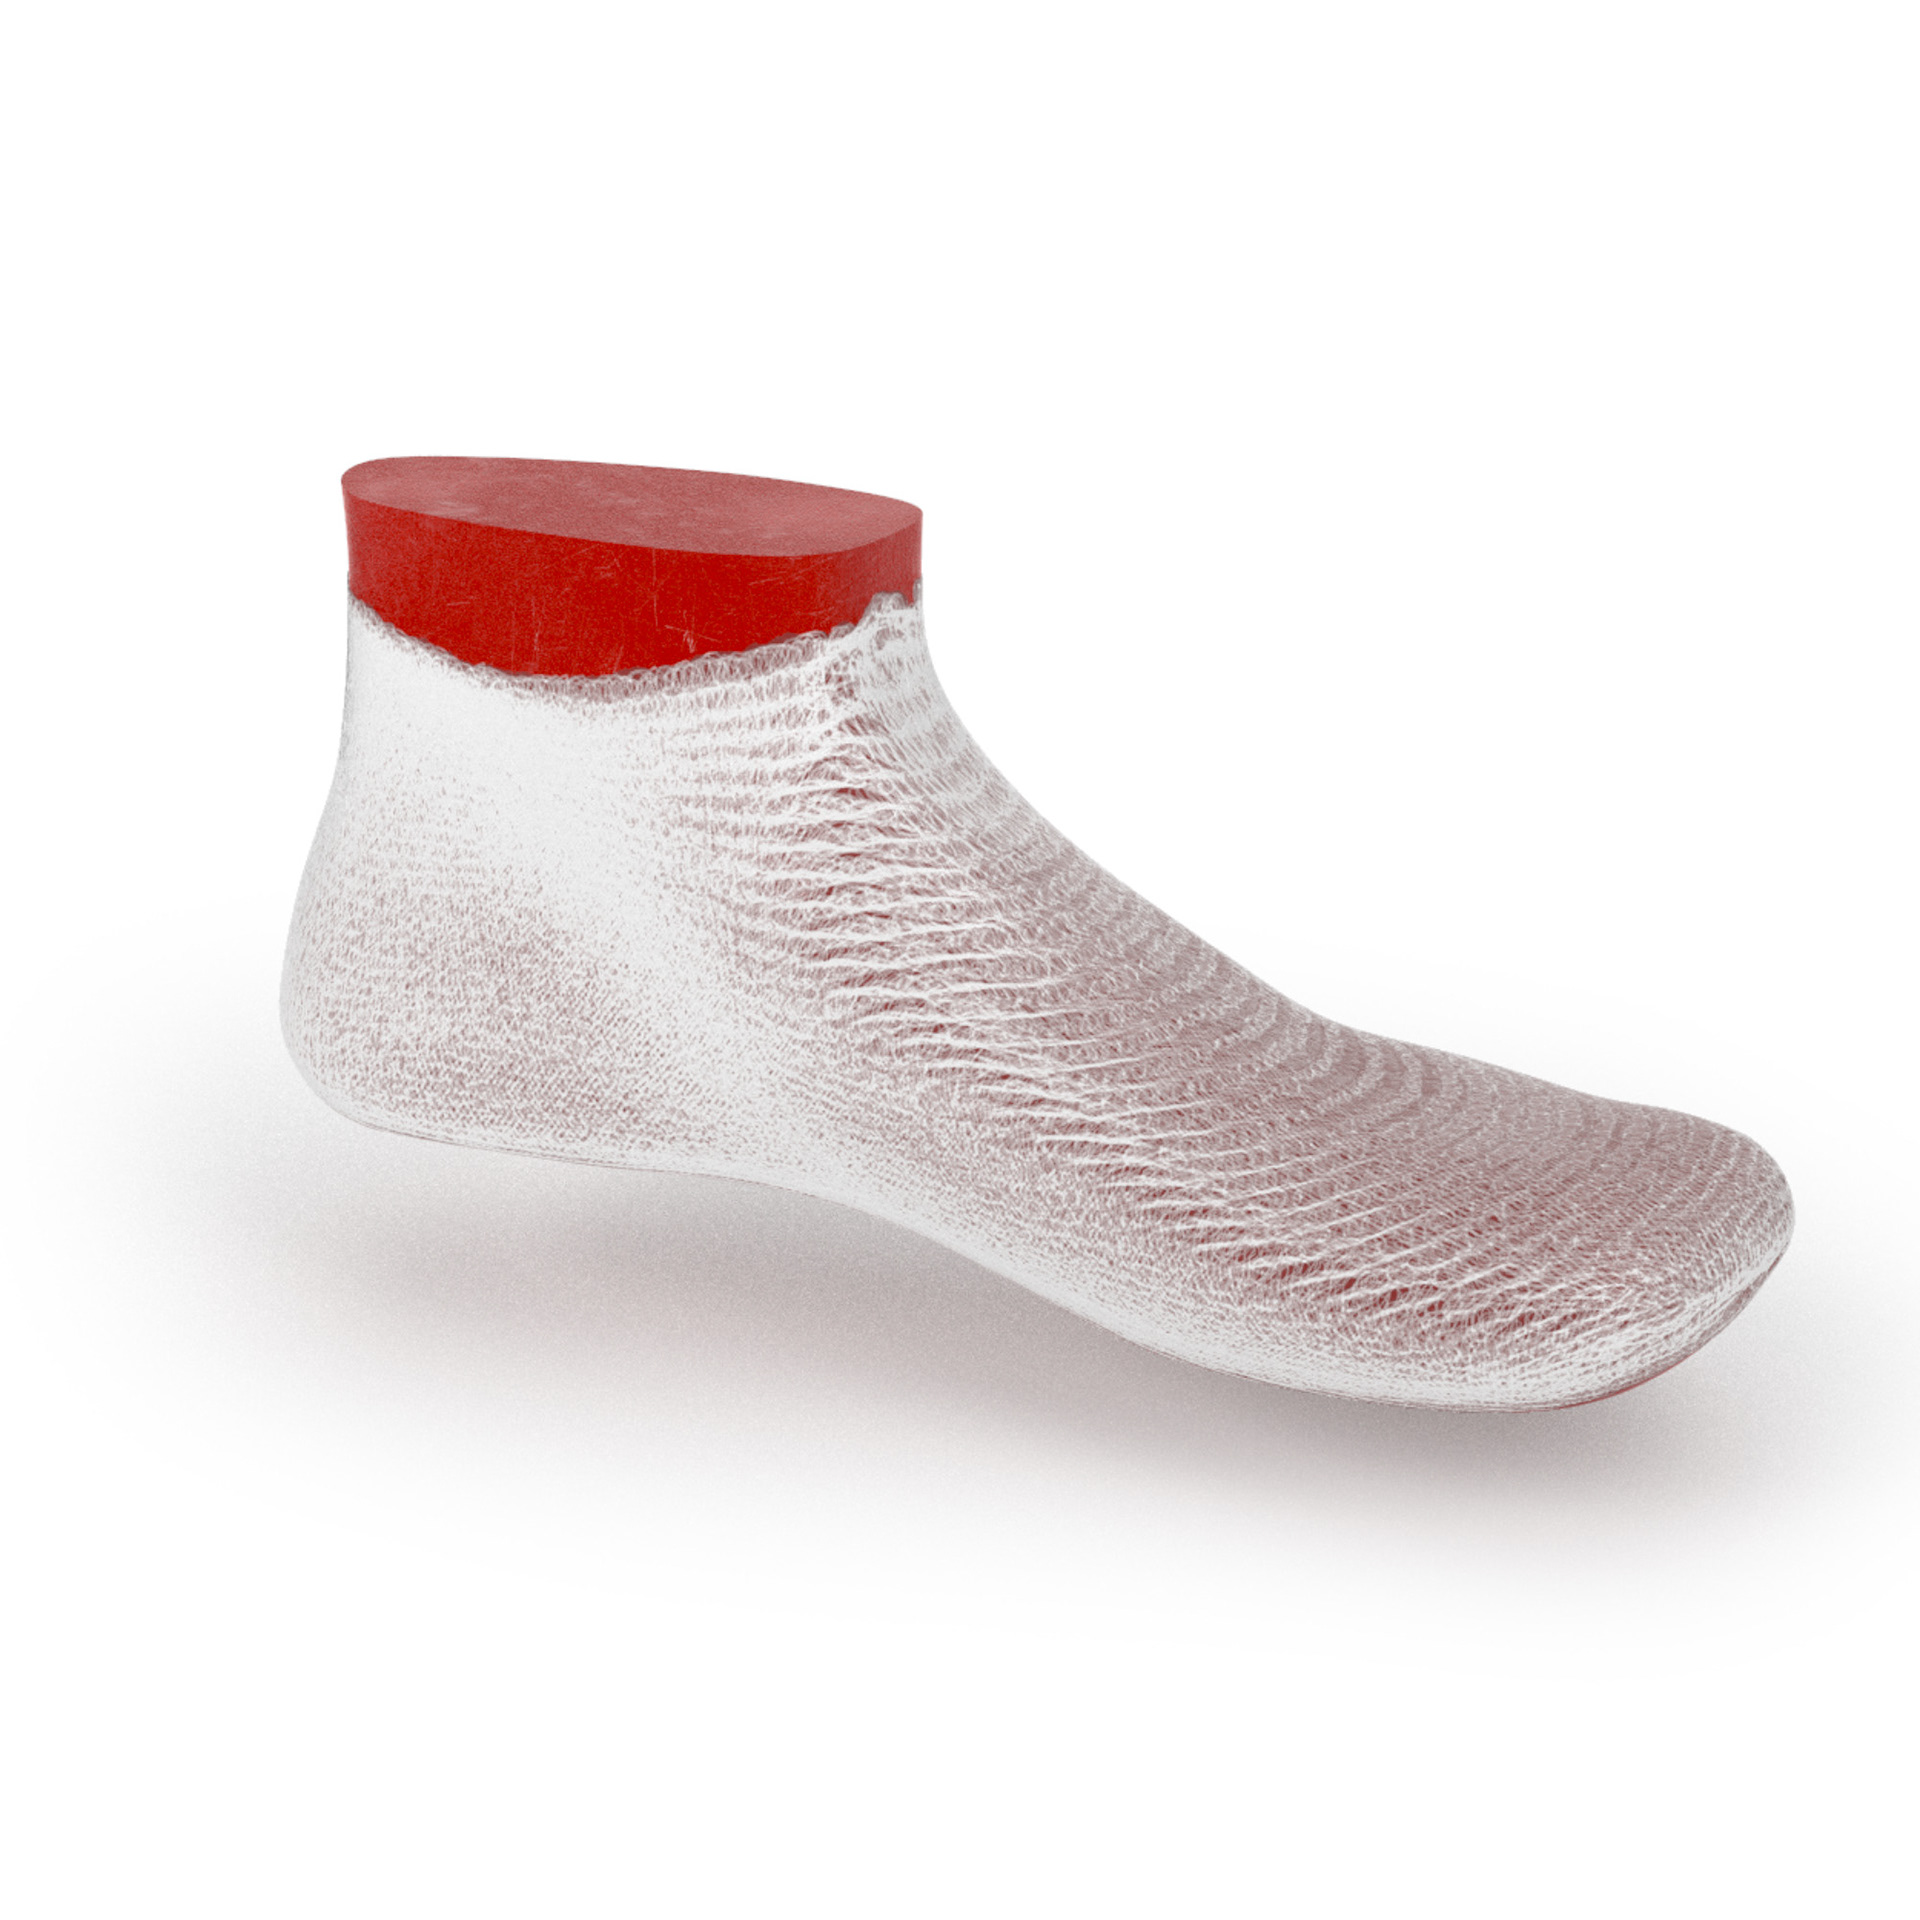
The first attempt. Here the strands were applied in a sort of random pattern, imagining and emulating what the profile of the spray might look like.
The test swatch was created after determining that this
result was not correct.
The test swatch was created after determining that this
result was not correct.
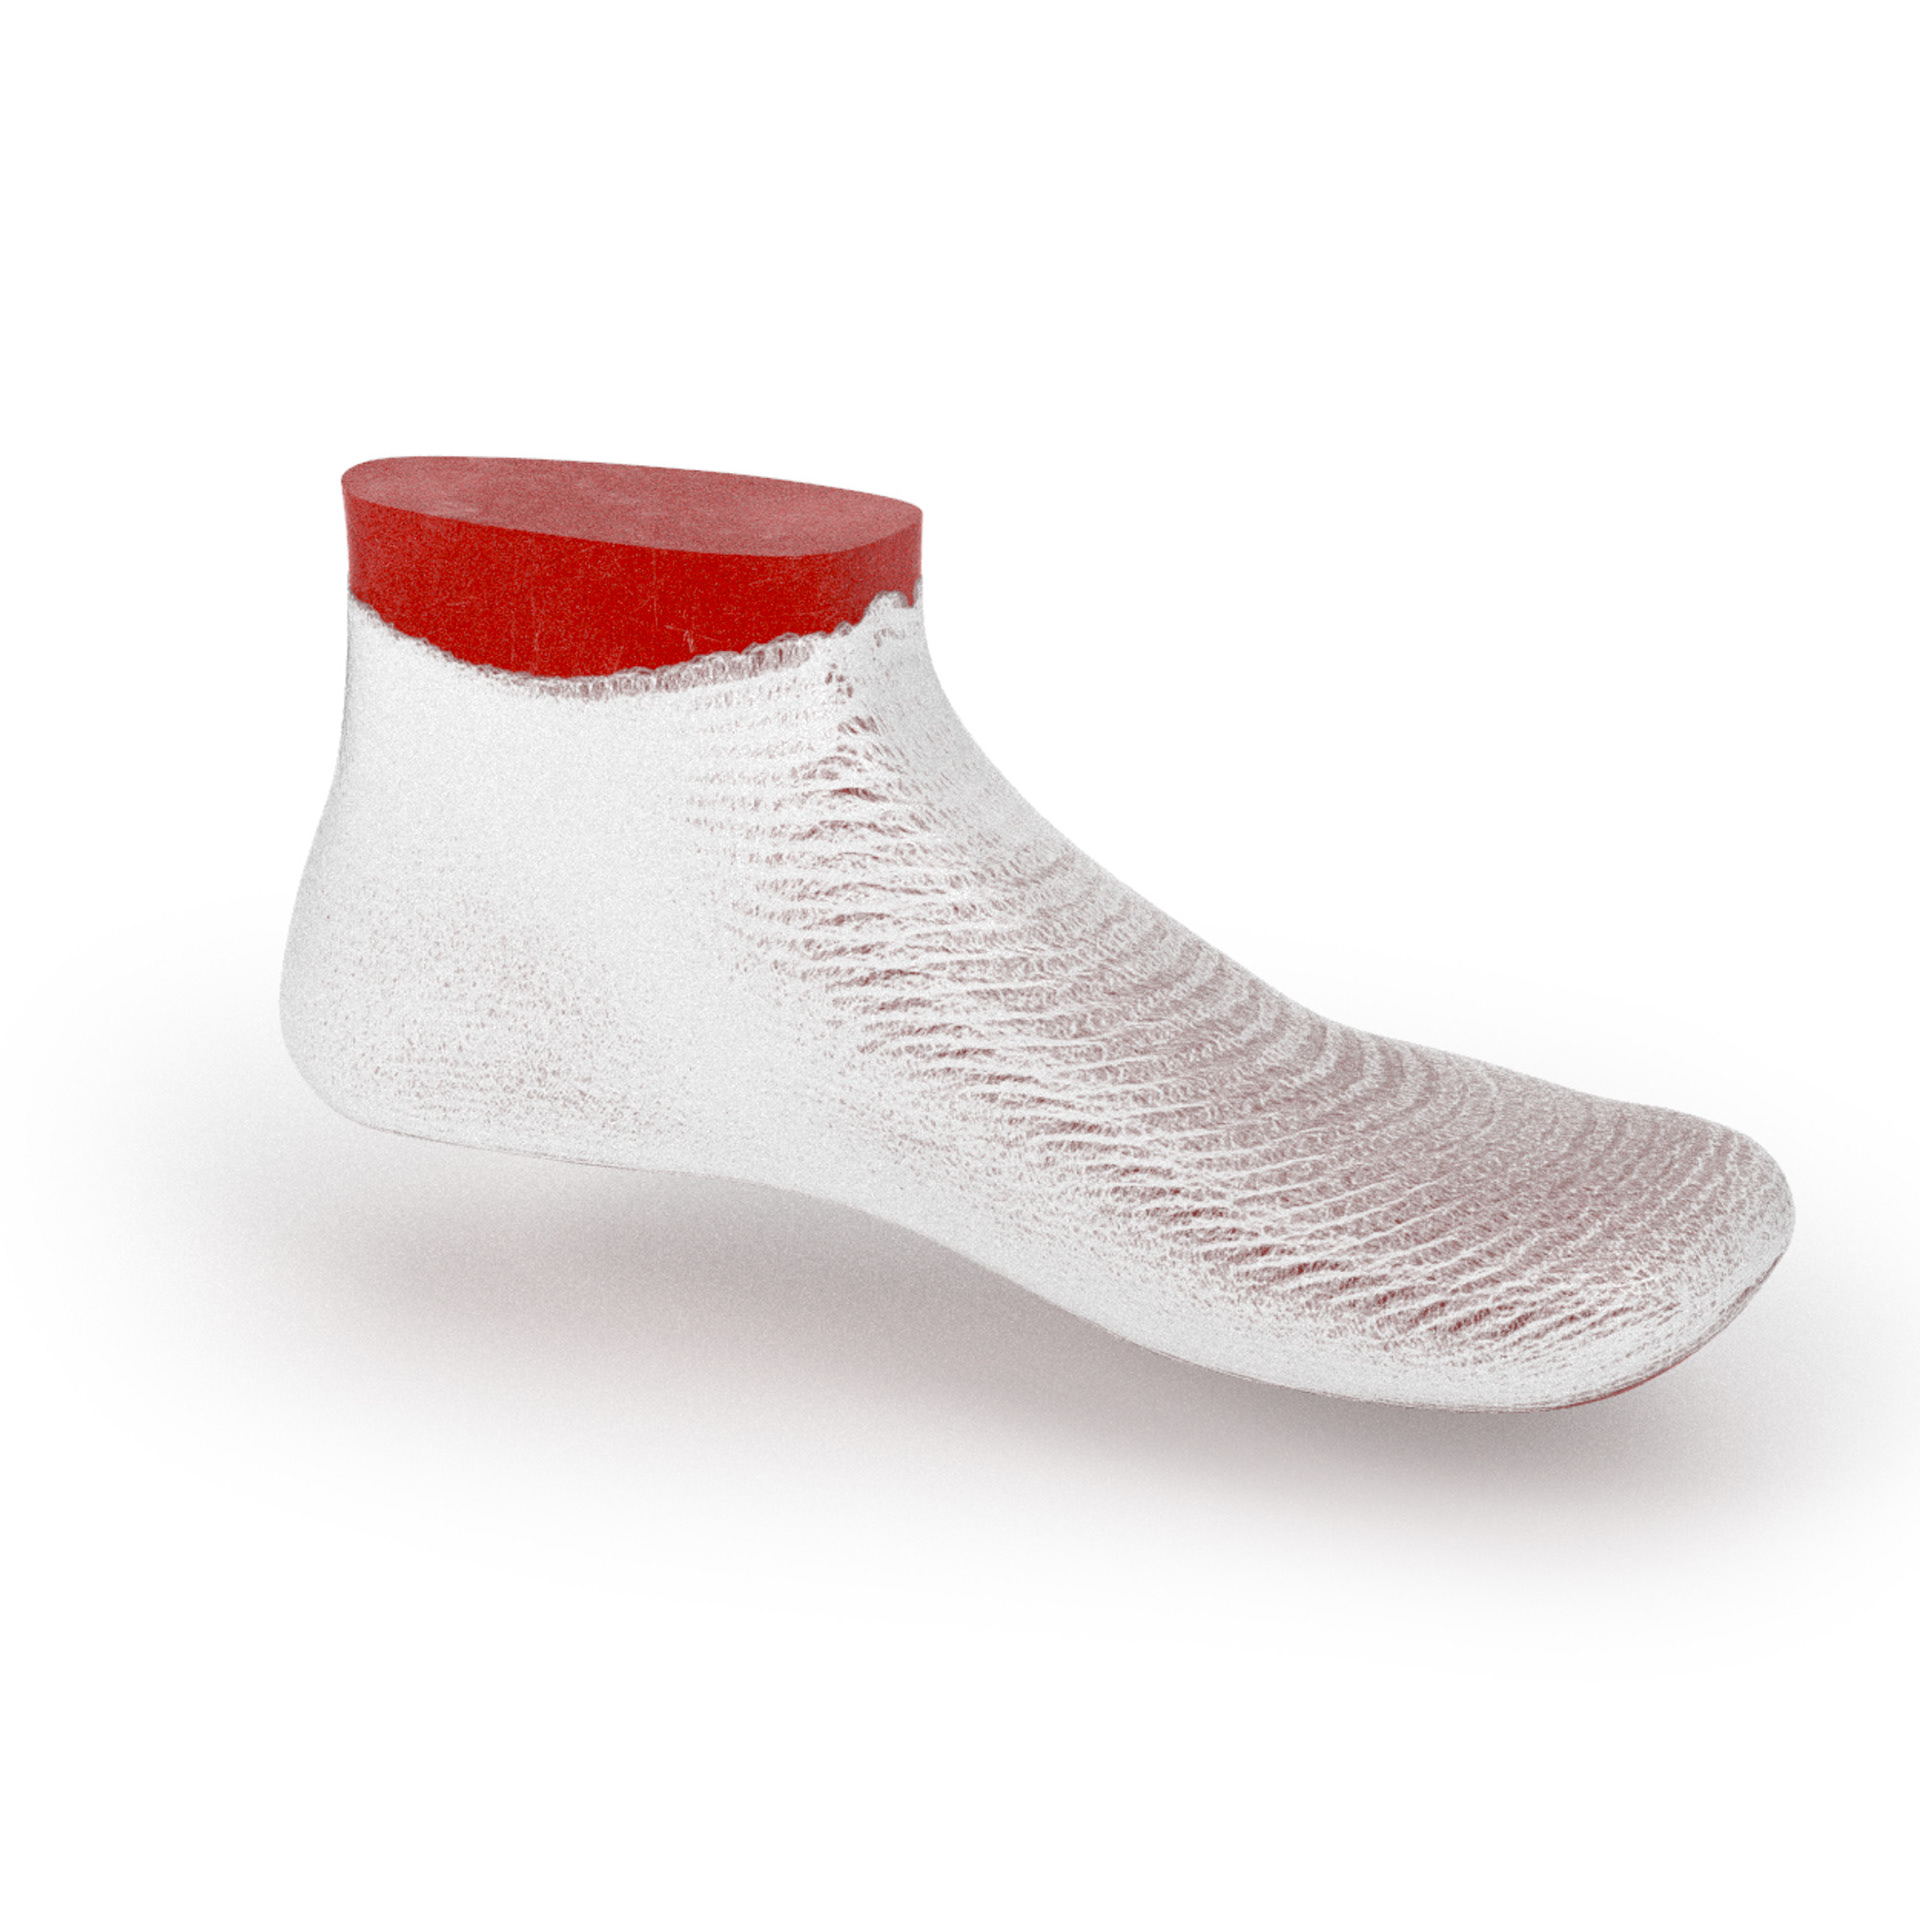
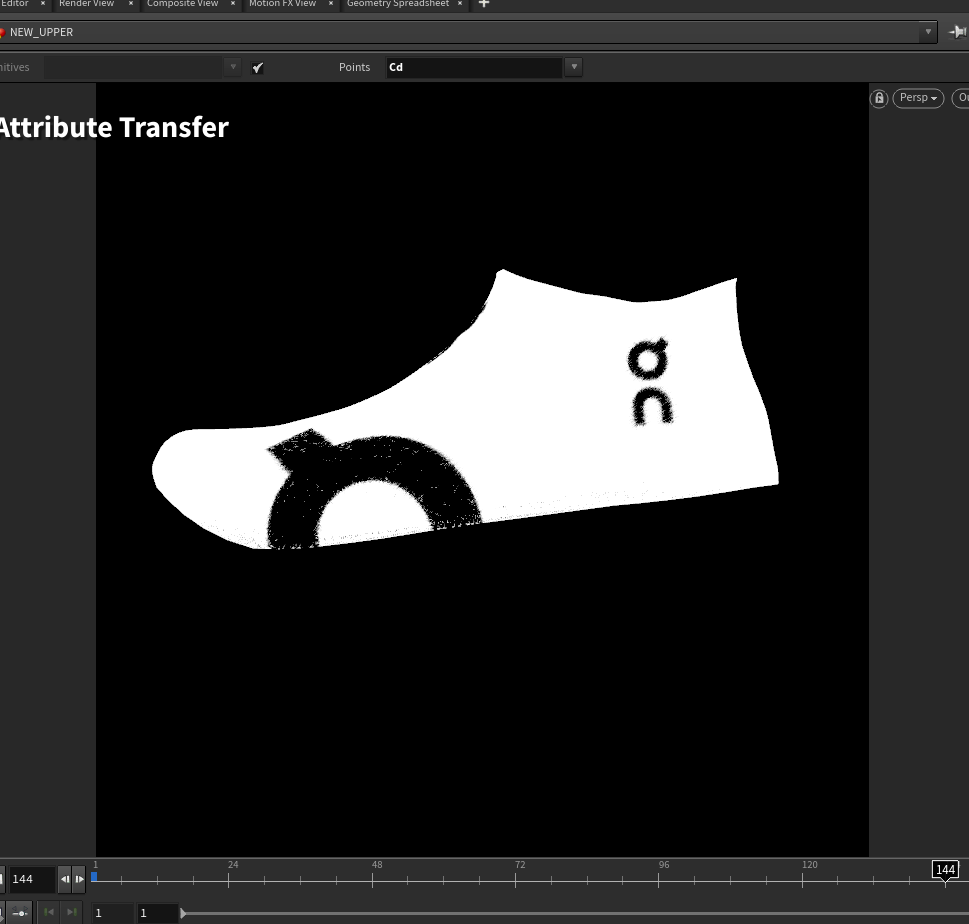
Watching the videos on On.com furthered the understanding of the structure of the spray. The top row is the original attempt, the bottom row, re-testing the creation of the helical pattern formed by the application of the fibre strands.
This also garnered a better understanding of how translucency results from the overlapping of the fibers.
This also garnered a better understanding of how translucency results from the overlapping of the fibers.


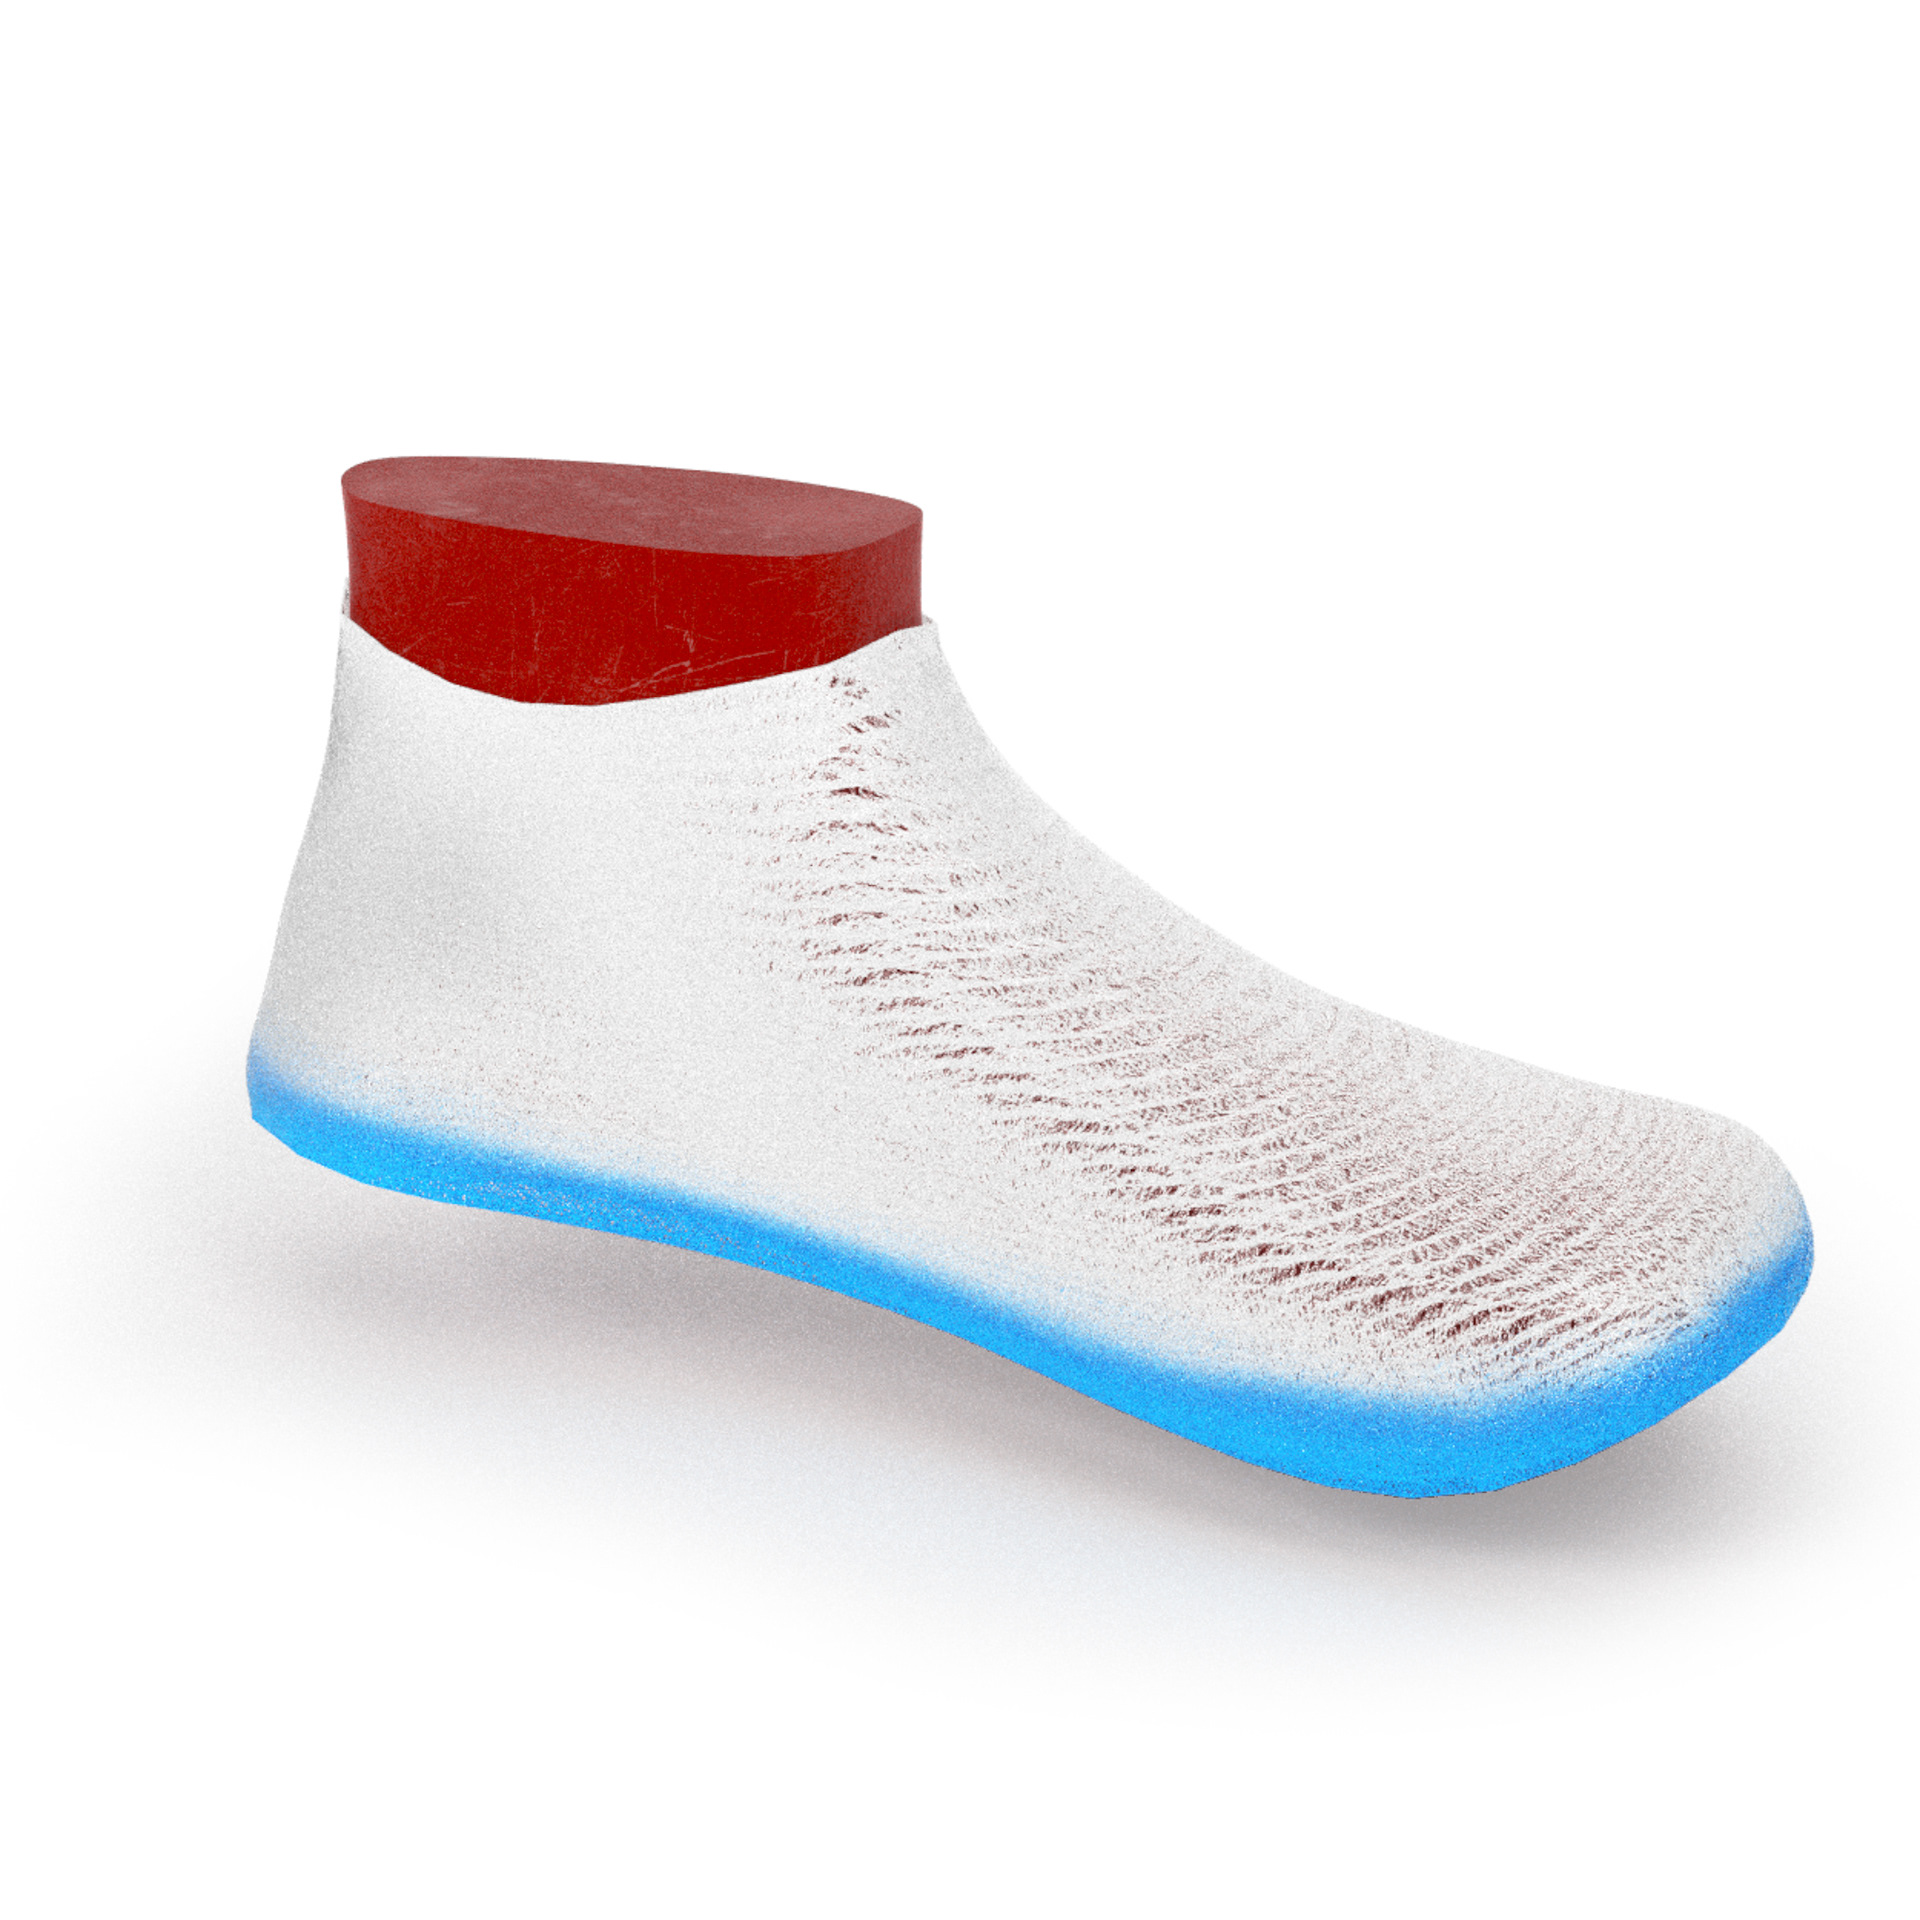
The basic shape of the upper was modelled in CLO3D. Additional simulation was done in Houdini using Vellum, its softbody functions, which allowed for more accurate collisions and lower tolerances between surfaces.
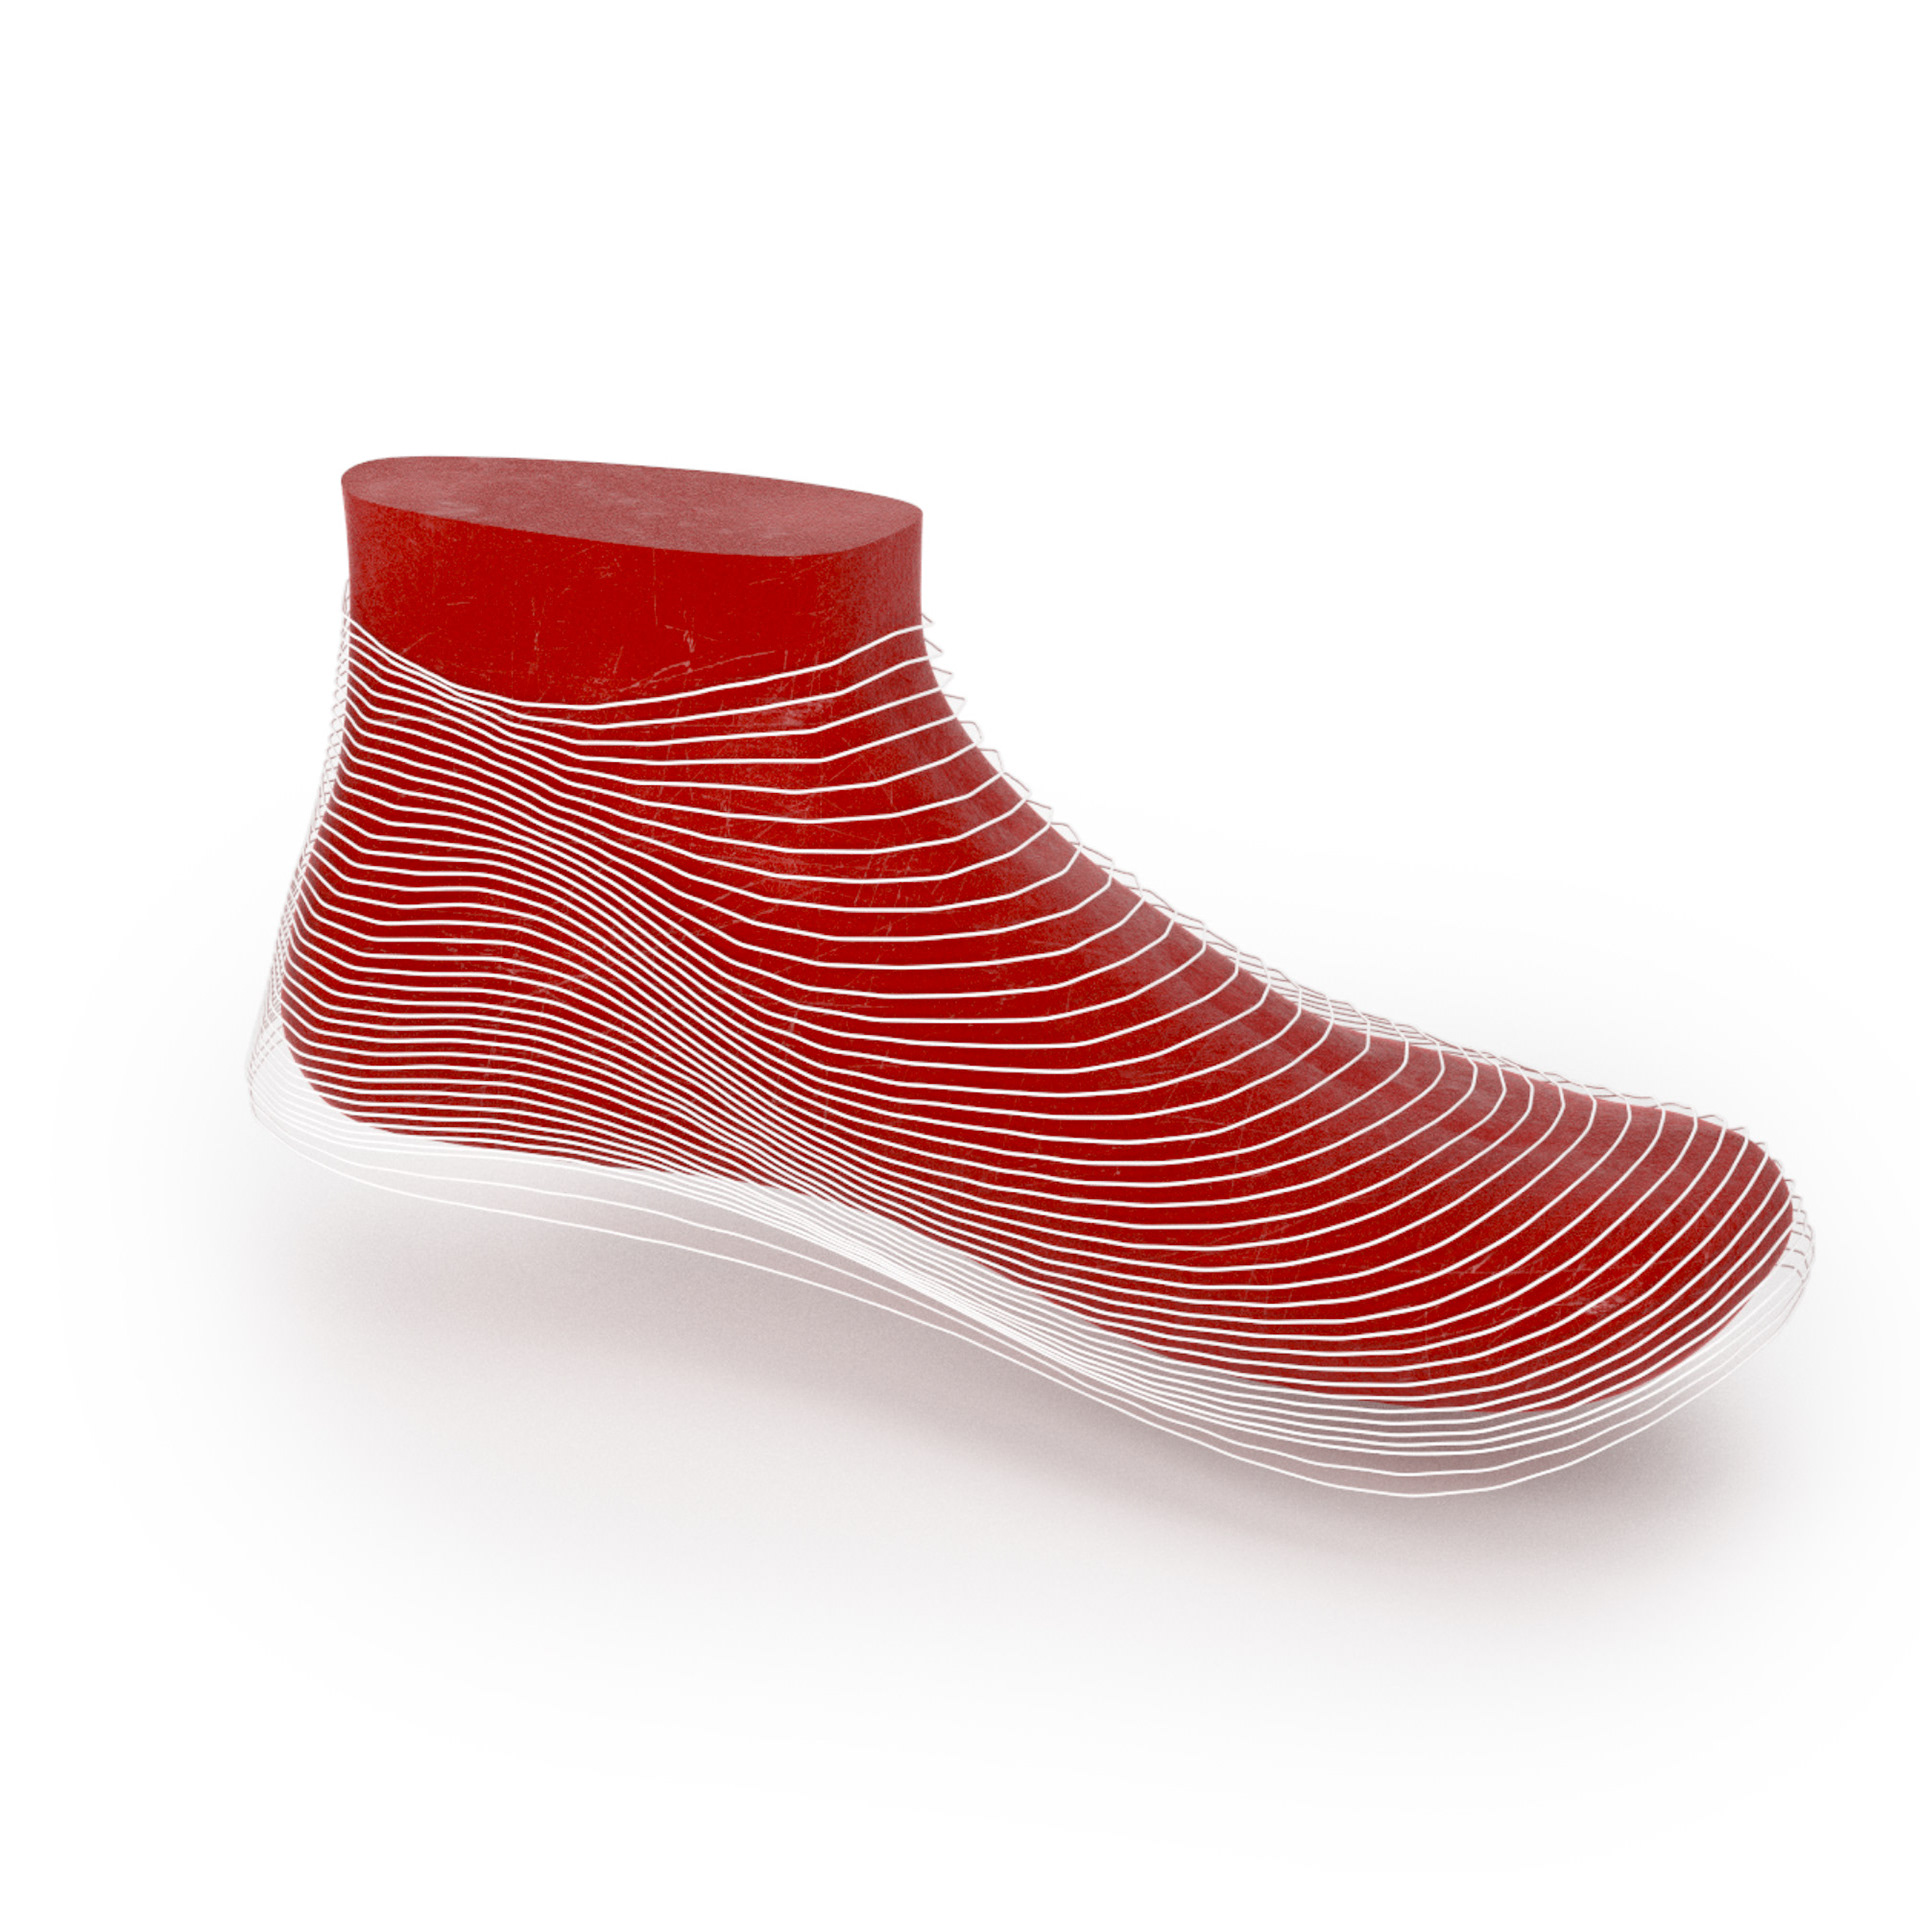
The model was manipulated in 2D and 3D, so working from a pattern in CLO3D was integral to the process. The 2D pattern provided a secondary space to project onto the 3D object from.
The 2D data is stored in 3D by UV coordinates. UV coordinates are used for texture application but can be leveraged in Houdini to transpose from 2D to 3D.
The “spray paths”, represented by lines here, were generated in 2D and projected onto the upper in 3D. The spray pattern is then applied to the paths. This parametric setup allows for experimentation, testing the density of spray to achieve an accurate translucency.
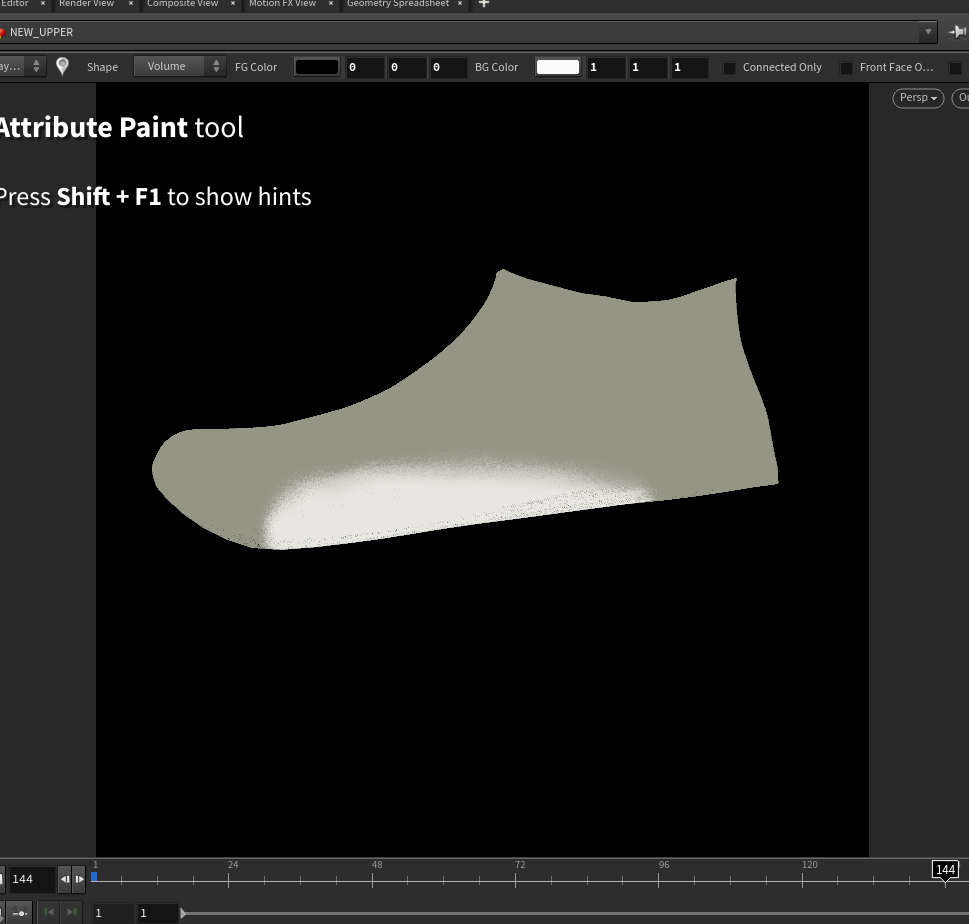
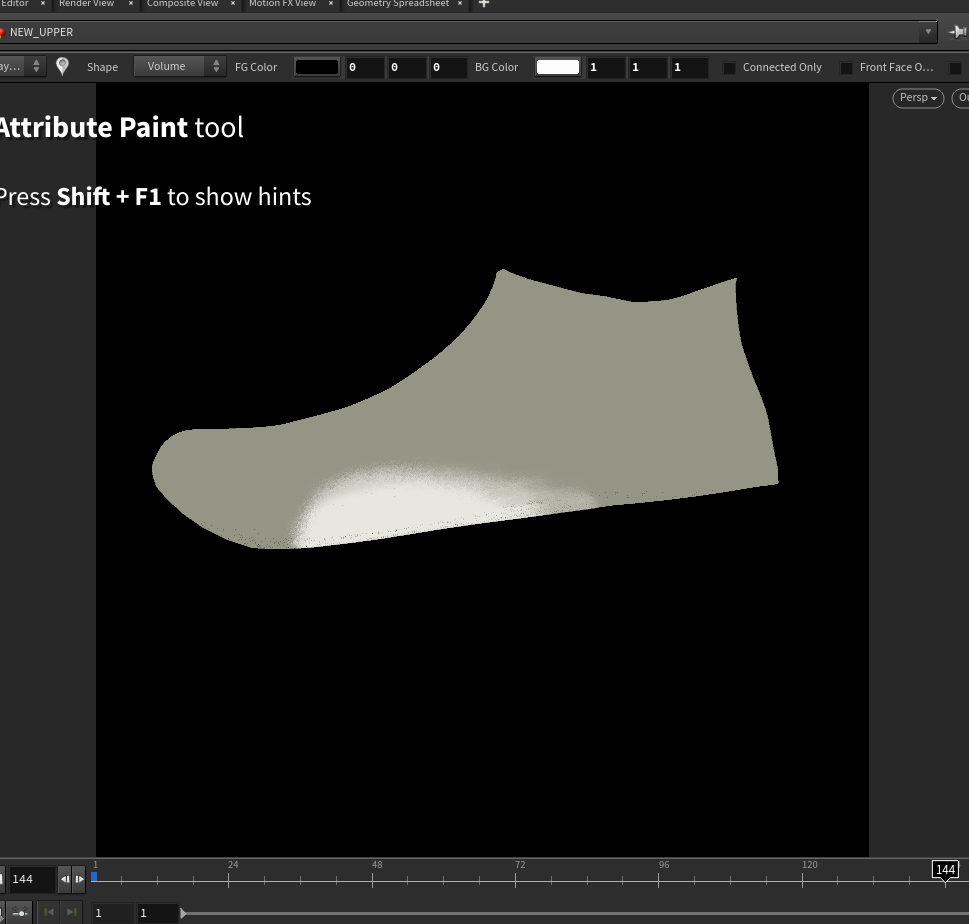
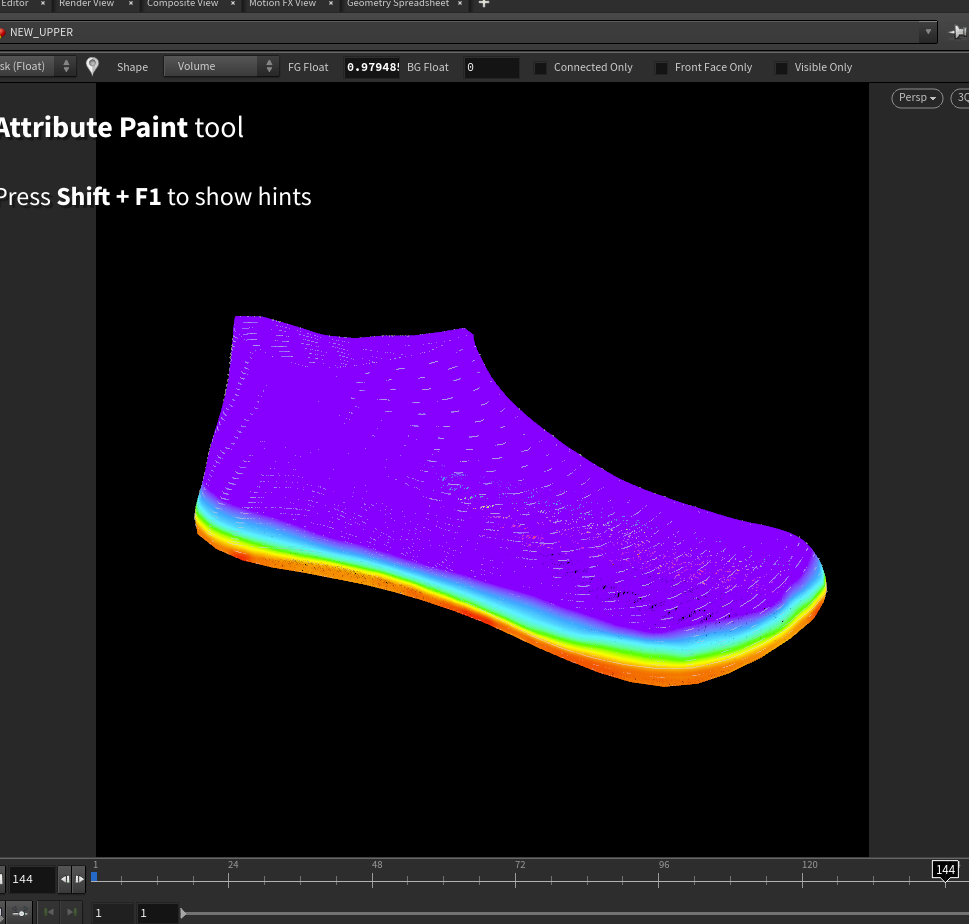
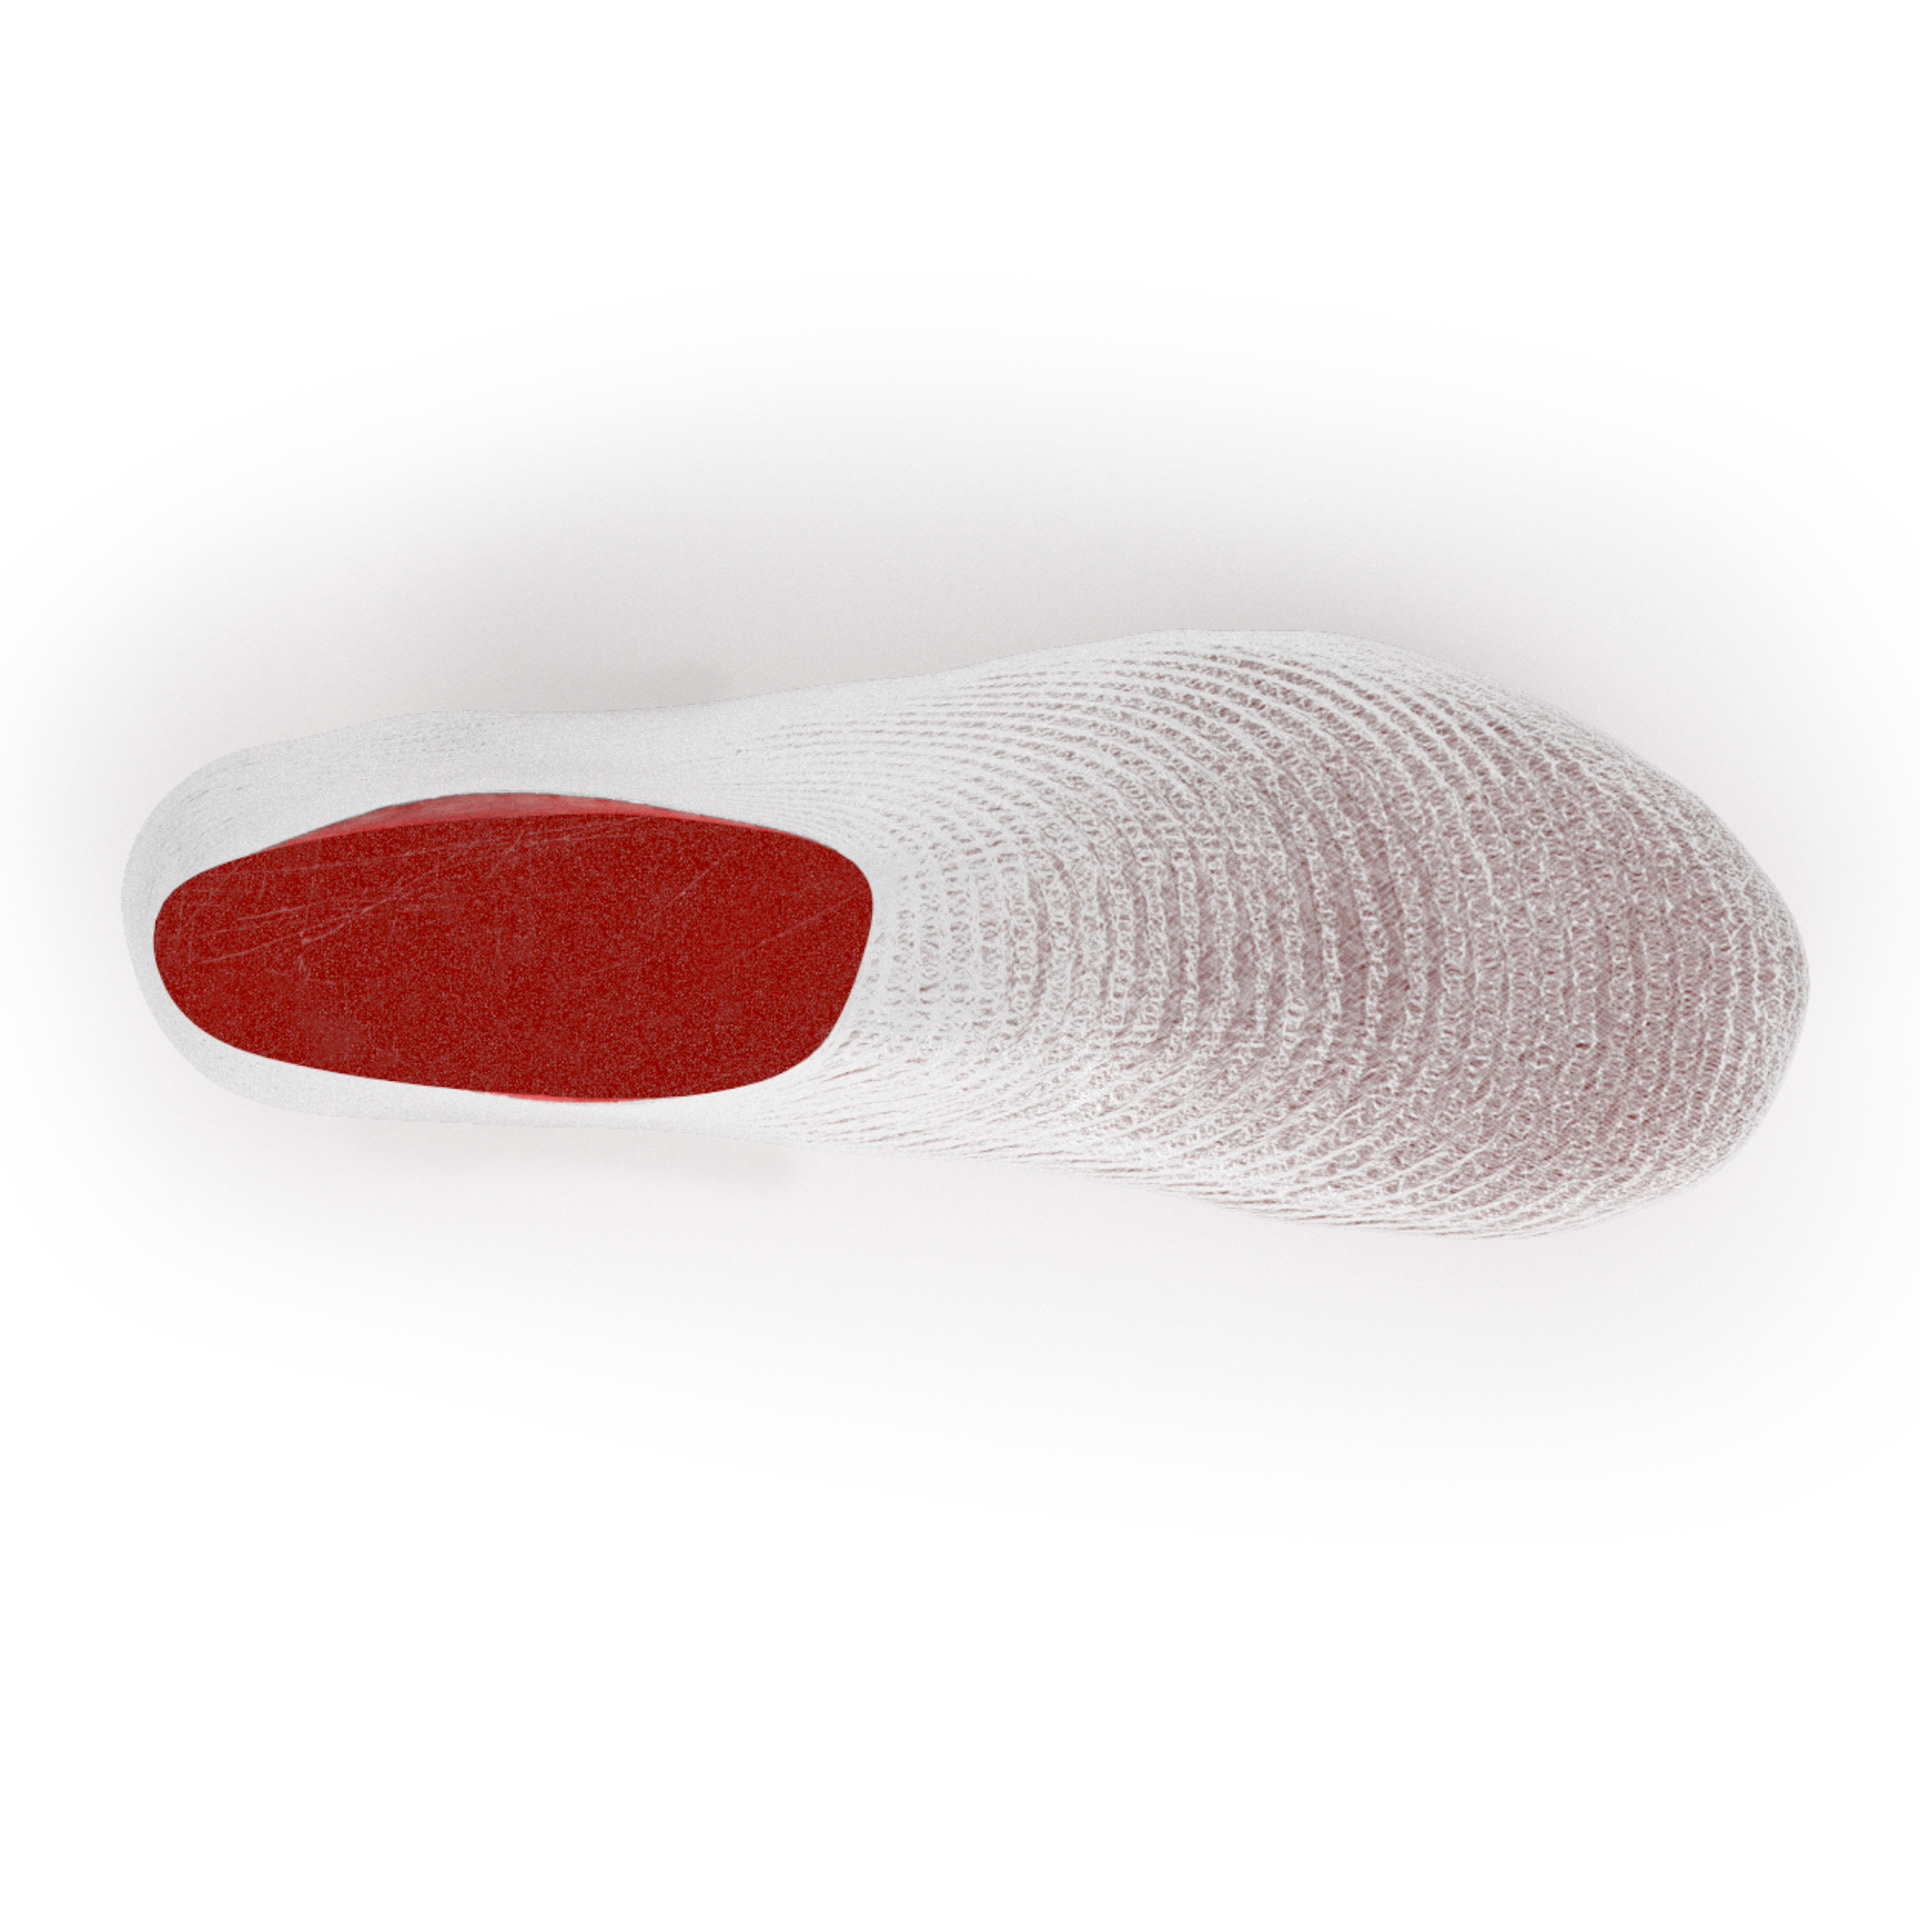
Recognizing the translucency where the midsole and upper meet, the desired look was controlled through secondary masking which is hand “painted” on the model in 3D.